How To Attach A Uv Filter To Alens ?
To attach a UV filter to a lens, follow these steps:
1. Ensure that the lens and filter are clean and free from any dust or debris.
2. Locate the filter thread on the front of the lens. This is usually a threaded ring around the lens barrel.
3. Check the size of the filter thread, which is indicated by a number on the lens or lens cap. It is typically measured in millimeters (e.g., 52mm, 67mm).
4. Choose a UV filter that matches the size of the filter thread on your lens.
5. Align the filter's threads with the lens's filter thread.
6. Gently rotate the filter clockwise until it is securely attached to the lens.
7. Ensure that the filter is straight and properly aligned with the lens.
8. To remove the filter, rotate it counterclockwise until it comes off.
Remember, a UV filter is primarily used to protect the lens from scratches, dust, and moisture. It also helps reduce the effects of ultraviolet light.
1、 Types of UV filters for camera lenses
To attach a UV filter to a camera lens, follow these steps:
1. Determine the filter size: Check the diameter of your lens, usually indicated on the front of the lens or in the lens specifications. This will help you choose the correct filter size.
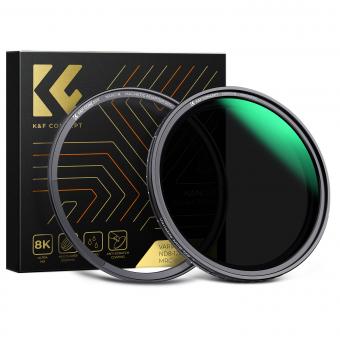
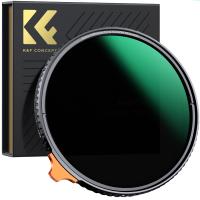
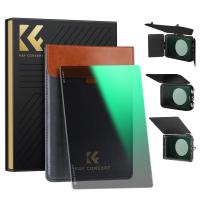
2. Purchase a UV filter: There are various types of UV filters available in the market, such as screw-on filters or drop-in filters. Screw-on filters are the most common and easily attach to the front of the lens by screwing them on. Drop-in filters are placed in a filter holder that attaches to the lens.
3. Clean the lens: Before attaching the filter, ensure that the lens is clean and free from dust or smudges. Use a lens cleaning solution and a microfiber cloth to gently clean the lens surface.
4. Attach the filter: For screw-on filters, align the threads of the filter with the lens threads and gently screw it on in a clockwise direction until it is securely attached. Be careful not to overtighten, as it may become difficult to remove later. For drop-in filters, follow the specific instructions provided with the filter holder.
Types of UV filters for camera lenses:
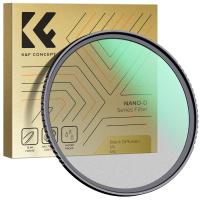
1. UV Haze Filters: These filters are designed to block ultraviolet light and reduce haze, resulting in clearer and sharper images. They are transparent and do not affect color balance.
2. Multi-Coated UV Filters: These filters have multiple layers of coating to minimize reflections and flare. They provide better image quality and are more resistant to scratches and smudges.
3. Slim UV Filters: These filters have a thinner profile, which reduces the chances of vignetting when using wide-angle lenses. They are ideal for photographers who frequently shoot with wide-angle lenses.
4. Water-Repellent UV Filters: These filters have a hydrophobic coating that repels water, making them easier to clean and less prone to water spots.
5. Night Sky UV Filters: These filters are specifically designed to block certain wavelengths of ultraviolet light that can cause a bluish cast in night sky photography. They help capture more accurate colors in astrophotography.
It's important to note that some photographers argue that UV filters are not necessary for digital cameras, as modern sensors have built-in UV filters. However, others still use them for lens protection and to reduce the risk of scratches or damage to the lens. Ultimately, the decision to use a UV filter depends on personal preference and shooting conditions.
2、 Step-by-step guide to attaching a UV filter
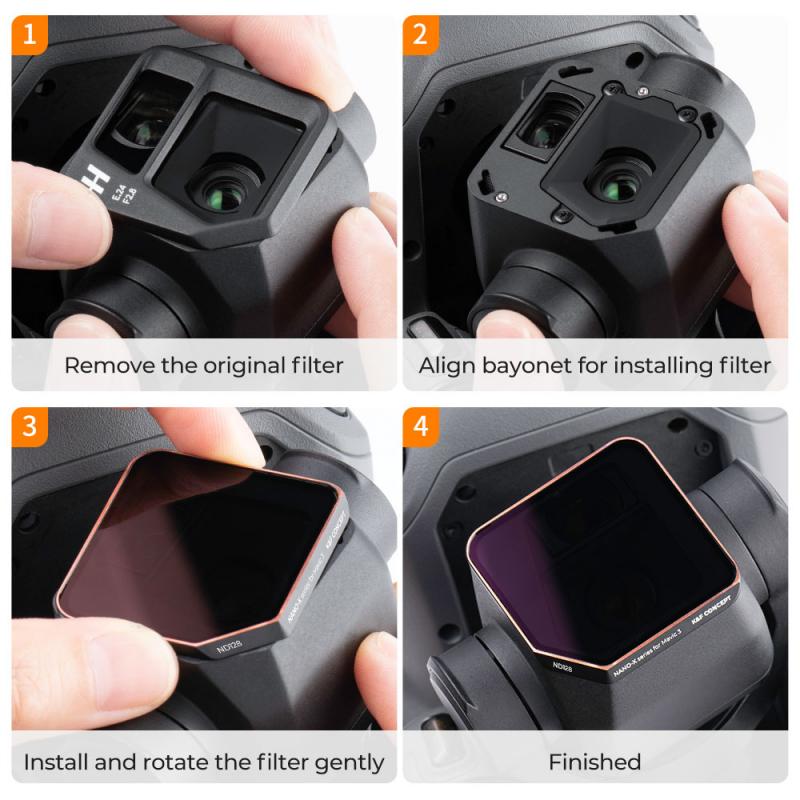
Step-by-step guide to attaching a UV filter:
1. Choose the right filter: Before attaching a UV filter to your lens, make sure you have the correct size filter for your lens diameter. UV filters come in various sizes, so check the diameter of your lens either on the front or in the lens specifications.
2. Clean your lens: Use a lens cleaning cloth or a blower brush to remove any dust or debris from the lens surface. This will ensure a clean and clear attachment.
3. Align the filter: Hold the UV filter in front of your lens, aligning it with the lens threads. Make sure the filter is facing the correct way, with the side labeled "UV" facing outward.
4. Screw on the filter: Gently rotate the filter clockwise until it starts to thread onto the lens. Be careful not to force it or cross-thread it. Once it catches, continue rotating until it is securely attached.
5. Check for tightness: After attaching the filter, give it a gentle twist to ensure it is securely fastened. However, be cautious not to overtighten, as this may make it difficult to remove later.
6. Test the filter: Take a few test shots to ensure the filter is not causing any vignetting or image quality issues. If you notice any problems, double-check the alignment and tightness of the filter.
It's worth noting that opinions on the use of UV filters vary among photographers. Some argue that modern lenses already have built-in UV protection, making the use of a UV filter unnecessary. However, others believe that UV filters can provide an extra layer of protection for the lens, especially in harsh environments or when shooting near water or sand. Ultimately, the decision to use a UV filter is a personal one, based on your specific shooting conditions and preferences.
3、 Common mistakes to avoid when attaching a UV filter
How to attach a UV filter to a lens:
Attaching a UV filter to a lens is a simple process that can greatly benefit your photography. Here are the steps to follow:
1. Choose the right size: Ensure that the UV filter you purchase matches the diameter of your lens. This information can usually be found on the front of the lens or in the lens specifications.
2. Clean the lens: Before attaching the UV filter, make sure the lens is clean and free from dust or smudges. Use a lens cleaning solution and a microfiber cloth to gently wipe the lens surface.
3. Align the filter: Hold the UV filter in front of the lens and align it with the threads on the lens. Be careful not to touch the glass surface of the filter to avoid leaving fingerprints.
4. Screw it on: Once aligned, gently screw the UV filter onto the lens in a clockwise direction. Be cautious not to overtighten it, as this may make it difficult to remove later.
5. Check for compatibility: Some lenses have a rotating front element, which may cause the UV filter to rotate as well. Ensure that the filter is securely attached and does not interfere with the lens functionality.
Common mistakes to avoid when attaching a UV filter:
1. Using a low-quality filter: Investing in a high-quality UV filter is essential to maintain image quality. Low-quality filters can introduce unwanted artifacts or reduce image sharpness.
2. Forgetting to remove the lens cap: It may seem obvious, but it's easy to forget to remove the lens cap before attaching the UV filter. Double-check to ensure the lens cap is off before attaching the filter.
3. Over-tightening the filter: While it's important to screw the filter on securely, overtightening can make it difficult to remove later. Tighten it just enough to ensure it stays in place.
4. Neglecting to clean the lens: Attaching a UV filter to a dirty lens can trap dust or smudges between the filter and the lens, affecting image quality. Always clean the lens before attaching the filter.
5. Not checking for compatibility: Some lenses have a wide front element or a built-in lens hood that may cause vignetting or interfere with the UV filter. Ensure the filter does not obstruct the lens functionality.
In conclusion, attaching a UV filter to a lens is a straightforward process that can protect your lens and improve image quality. By following these steps and avoiding common mistakes, you can ensure a successful attachment and enhance your photography experience.
4、 Benefits of using a UV filter on your lens
How to attach a UV filter to a lens:
Attaching a UV filter to your lens is a simple process that can help protect your camera lens from dust, scratches, and other potential damage. Here's a step-by-step guide on how to attach a UV filter to your lens:
1. Ensure that your lens is clean and free from any dust or debris. Use a lens cleaning cloth or brush to gently remove any particles.
2. Take the UV filter and carefully align it with the front of your lens. The filter should have threads on the inside that match the threads on the lens.
3. Slowly rotate the filter clockwise until it starts to catch the threads. Be careful not to force it or cross-thread it.
4. Continue rotating the filter until it is securely attached to the lens. Make sure it is snug but not overly tight.
5. Once attached, you can adjust the position of the filter by rotating it. This allows you to control the amount of UV light that enters the lens.
Benefits of using a UV filter on your lens:
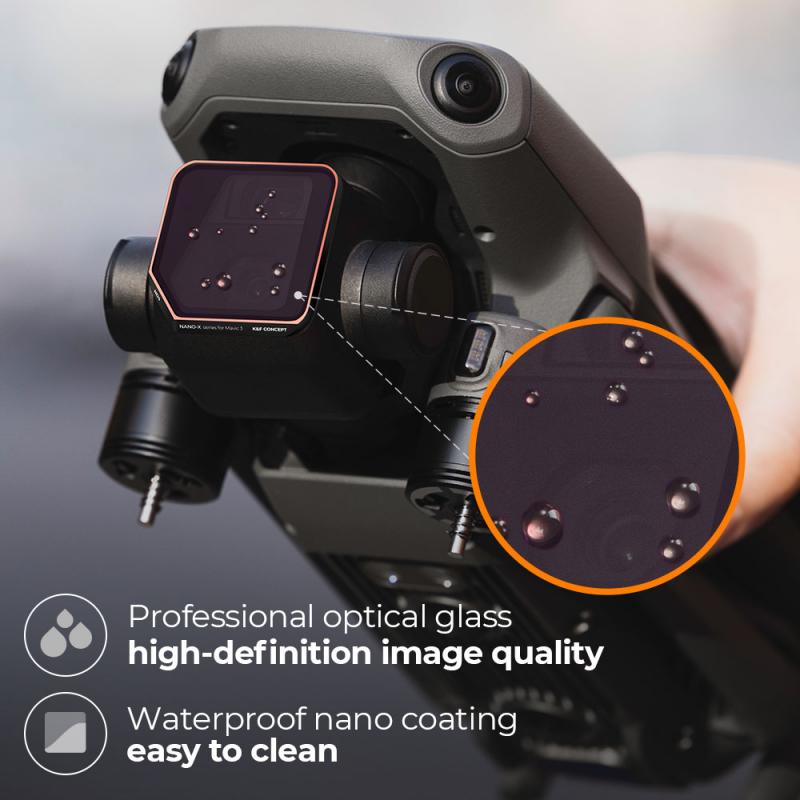
1. Protection: One of the main benefits of using a UV filter is that it acts as a protective barrier for your lens. It helps shield the lens from dust, moisture, fingerprints, and scratches, reducing the risk of damage.
2. UV light filtration: UV filters are designed to block ultraviolet light, which can cause hazy and blurry images, especially in high-altitude or coastal areas. By using a UV filter, you can improve the clarity and sharpness of your photographs.
3. Lens longevity: By adding a UV filter to your lens, you can extend its lifespan. The filter acts as a sacrificial layer, absorbing any potential damage that would otherwise affect the lens itself.
4. Convenience: UV filters are easy to attach and remove, making them a convenient accessory for photographers. They can be left on the lens at all times, providing continuous protection without hindering the image quality.
5. Cost-effective: Compared to the cost of repairing or replacing a damaged lens, UV filters are relatively inexpensive. Investing in a good quality UV filter can save you money in the long run.
In recent years, there has been some debate about the necessity of UV filters, as modern lenses are often coated to reduce the impact of UV light. However, many photographers still choose to use UV filters for the added protection they provide. Ultimately, the decision to use a UV filter depends on personal preference and shooting conditions.
