How To Attach A Webcam To A Tripod ?
To attach a webcam to a tripod, you will need a tripod with a standard 1/4-inch screw mount and a webcam with a compatible mounting option. Most webcams have a threaded hole on the bottom for mounting purposes.
First, ensure that your tripod is set up and stable. Then, locate the mounting hole on the bottom of your webcam. It is usually located in the center or towards one side.
Next, align the mounting hole of the webcam with the screw mount on the tripod head. Insert the screw into the mounting hole and turn it clockwise to secure the webcam onto the tripod. Make sure to tighten it securely, but be careful not to overtighten and damage the webcam.
Once the webcam is securely attached, adjust the tripod head to position the webcam at the desired angle and tighten any knobs or locks to hold it in place. Finally, test the stability of the setup and make any necessary adjustments to ensure a steady and level position for your webcam.
1、 Tripod Mounting Options for Attaching a Webcam Securely
Tripod Mounting Options for Attaching a Webcam Securely
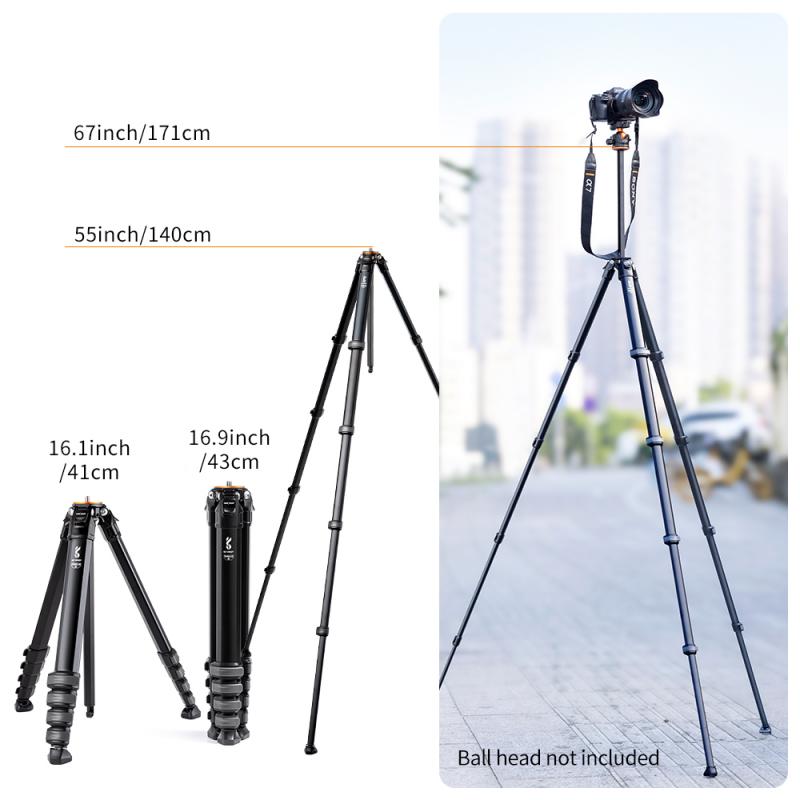
Attaching a webcam to a tripod can greatly enhance the quality and stability of your video recordings or live streams. There are several tripod mounting options available that can securely hold your webcam in place. Here's a guide on how to attach a webcam to a tripod:
1. Tripod Mount: Many webcams come with a standard tripod mount built-in. This allows you to directly attach the webcam to the tripod using the screw thread on the bottom of the camera. Simply align the mount with the tripod's screw and tighten it securely.
2. Tripod Adapter: If your webcam doesn't have a tripod mount, you can use a tripod adapter. These adapters are small accessories that attach to the bottom of your webcam and provide a standard tripod mount. They are widely available and can be easily screwed onto the camera.
3. Clamp Mount: Another option is to use a clamp mount. These mounts have a clamp mechanism that can securely hold your webcam in place. They can be attached to the tripod's legs or any other stable surface. Clamp mounts are versatile and allow you to position your webcam at different angles.
4. Flexible Tripod: A flexible tripod, also known as a gorilla pod, is a great option for attaching a webcam. These tripods have flexible legs that can be wrapped around objects or positioned on uneven surfaces. They usually come with a standard tripod mount, making it easy to attach your webcam.
5. Magnetic Mount: Some webcams come with a magnetic base, allowing you to attach them to metal surfaces. If your tripod has a metal plate or a magnetic surface, you can simply place the webcam on it and it will stay securely in place.
It's important to ensure that your webcam is securely attached to the tripod to avoid any accidental falls or instability during use. Always double-check the tightness of the mount or adapter before starting your recording or streaming session.
In conclusion, attaching a webcam to a tripod can be done using various mounting options such as tripod mounts, tripod adapters, clamp mounts, flexible tripods, or magnetic mounts. Choose the option that best suits your webcam and tripod setup to ensure a secure and stable attachment.
2、 Using an Adapter to Connect Webcam to Tripod
Using an Adapter to Connect Webcam to Tripod
Attaching a webcam to a tripod can greatly enhance the quality of your video calls, live streaming, or content creation. While webcams are typically designed to be mounted on top of computer monitors, they can also be easily connected to tripods using an adapter. Here's a step-by-step guide on how to attach a webcam to a tripod:
1. Check the compatibility: Ensure that your webcam has a standard tripod mount thread, which is usually 1/4-inch in size. Most modern webcams come with this feature, but it's always good to double-check.
2. Purchase an adapter: If your webcam doesn't have a tripod mount thread, you will need to purchase an adapter. These adapters are readily available online or at electronics stores. Look for one that is compatible with your webcam model.
3. Screw the adapter onto the tripod: Attach the adapter to the tripod by screwing it onto the tripod's mounting plate. Make sure it is securely tightened to avoid any wobbling or instability.
4. Connect the webcam to the adapter: If your webcam has a tripod mount thread, simply screw it onto the adapter. If you are using an adapter, attach it to the webcam according to the instructions provided with the adapter.
5. Adjust the position: Once the webcam is securely attached, adjust the tripod's height and angle to achieve the desired framing. Ensure that the webcam is stable and level.
6. Test the setup: Connect your webcam to your computer and test the setup by launching your preferred video conferencing or streaming software. Make any necessary adjustments to the webcam's position or settings to optimize the video quality.
It's worth noting that some webcams come with built-in tripod mounts or flexible stands that can be easily adjusted to sit on a tripod. These options provide added convenience and flexibility when it comes to positioning your webcam.
In conclusion, attaching a webcam to a tripod is a simple process that can greatly improve your video quality and overall experience. Whether you're using an adapter or a webcam with a built-in tripod mount, following these steps will ensure a stable and professional setup for your video calls or content creation.
3、 DIY Methods for Attaching Webcam to Tripod
DIY Methods for Attaching Webcam to Tripod
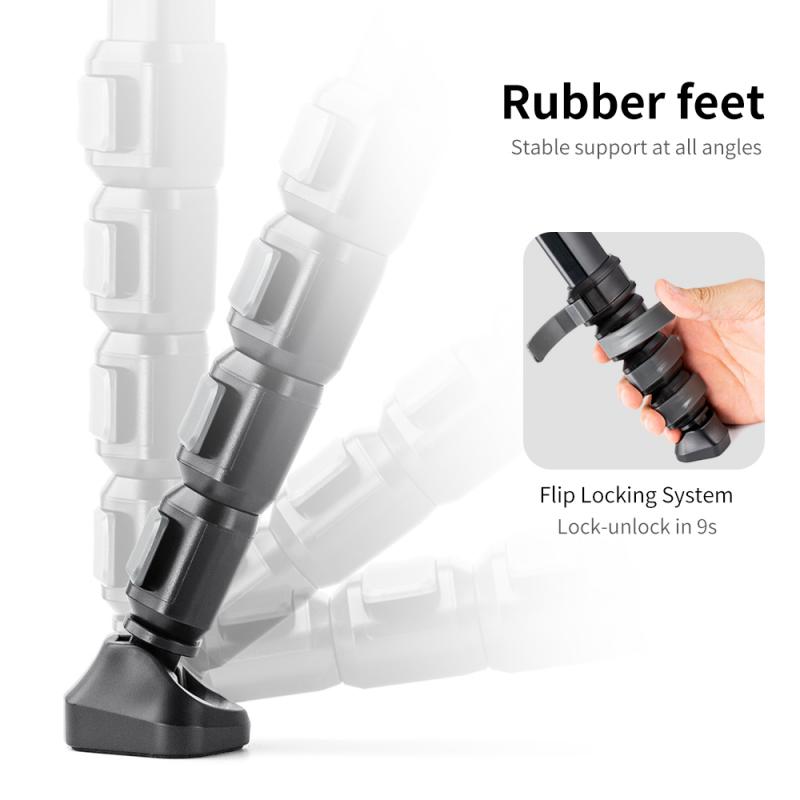
Attaching a webcam to a tripod can greatly enhance your video quality and stability, whether you're streaming, video conferencing, or recording content. Here are some DIY methods to securely attach your webcam to a tripod:
1. Tripod Mount: Check if your webcam has a standard tripod mount screw hole at the bottom. If it does, you can simply screw it onto the tripod's mounting plate. Most webcams have a 1/4"-20 thread, which is the standard size for tripod mounts.
2. Adhesive Mounts: If your webcam lacks a tripod mount, you can use adhesive mounts. These mounts come with a sticky backing that adheres to the bottom of your webcam. Once attached, you can then screw the mount onto the tripod's mounting plate. Ensure the adhesive is strong enough to hold the weight of your webcam.
3. Clamp Mounts: Another option is to use a clamp mount. These mounts have a clamp mechanism that securely grips onto the webcam. You can then attach the clamp to the tripod's mounting plate. Clamp mounts provide flexibility in positioning your webcam and are suitable for webcams without a tripod mount.
4. Flexible Tripod: Consider using a flexible tripod with bendable legs. These tripods have a universal mount that can hold various devices, including webcams. You can wrap the tripod's legs around objects or adjust them to different angles, providing versatility in positioning your webcam.
5. Adapter Plates: In some cases, you may need an adapter plate to connect your webcam to a tripod. These plates come with different mounting options, allowing you to attach devices with non-standard tripod mounts.
Always ensure that the tripod is stable and secure before attaching your webcam. Additionally, be mindful of the weight capacity of your tripod to avoid any accidents or damage.
As technology evolves, new methods and accessories may become available for attaching webcams to tripods. Stay updated with the latest innovations and recommendations from manufacturers to ensure the best setup for your specific webcam model.
4、 Tripod Compatibility and Webcam Mounting Considerations
To attach a webcam to a tripod, you will need to consider tripod compatibility and webcam mounting options. Here's a step-by-step guide to help you with the process:
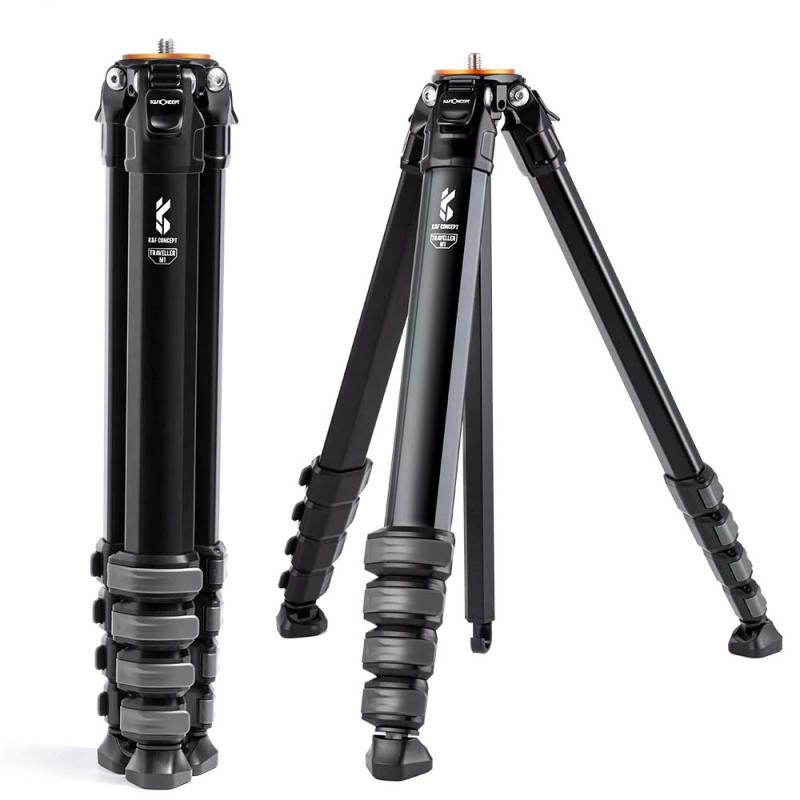
1. Tripod Compatibility: Ensure that your tripod has a standard 1/4-inch screw mount, as most webcams come with a compatible mounting hole. This is the most common size and should fit most tripods. However, some tripods may have different screw sizes, so check the specifications of both your tripod and webcam to ensure compatibility.
2. Webcam Mounting Considerations: Most webcams come with a built-in mounting bracket or clip that allows you to attach them to various surfaces. However, these mounting options may not be compatible with tripods. In such cases, you will need to purchase a separate webcam mount or adapter that can be attached to the tripod.
3. Webcam Mount or Adapter: Look for a webcam mount or adapter that is specifically designed for tripods. These accessories usually have a 1/4-inch screw on one end to attach to the tripod and a compatible mounting bracket on the other end to hold the webcam securely.
4. Attaching the Webcam: Once you have the appropriate mount or adapter, simply screw it onto the tripod using the 1/4-inch screw. Then, attach the webcam to the mounting bracket or clip on the other end of the mount/adapter. Ensure that the webcam is securely fastened to prevent any accidental falls or movements during use.
5. Adjusting the Webcam: Most tripods allow you to adjust the height and angle of the webcam. Use the tripod's adjustable legs and head to position the webcam according to your needs. Make sure the webcam is stable and level before starting any recording or streaming.
It's worth noting that with the rise of remote work and online meetings, many webcams now come with built-in tripod mounts or flexible stands that eliminate the need for additional mounting accessories. Always check the specifications of your webcam to see if it already has tripod compatibility.











There are no comments for this blog.