How To Attach Gimbal Head To Tripod ?
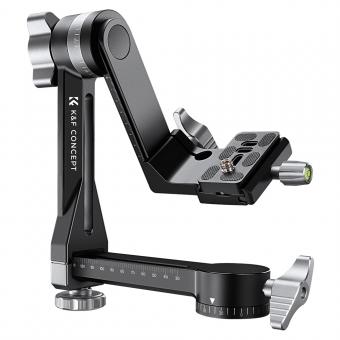
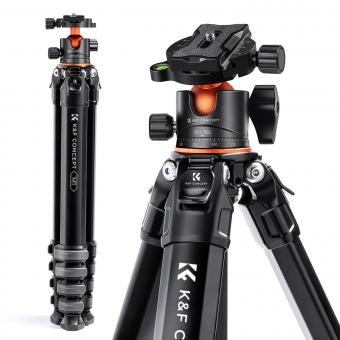
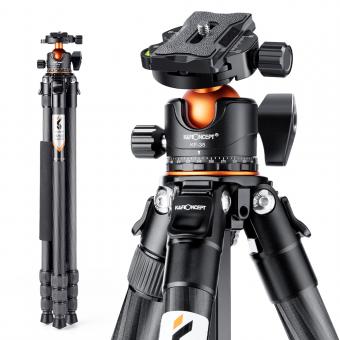
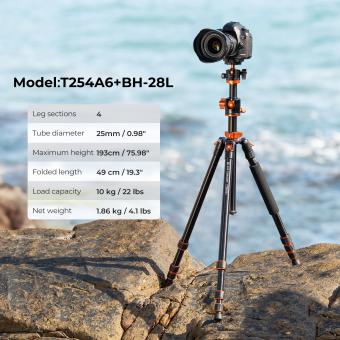
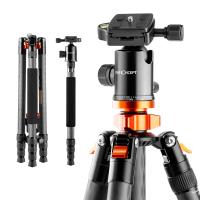
To attach a gimbal head to a tripod, first, ensure that the tripod is stable and secure. Then, locate the mounting plate on the gimbal head and attach it to the tripod's mounting plate using the screw provided. Make sure the screw is tightened securely to prevent any wobbling or movement. Once the gimbal head is attached to the tripod, you can then attach your camera or lens to the gimbal head using the appropriate mounting plate or bracket. Adjust the tension and balance of the gimbal head as needed to ensure smooth movement and stability while using it.
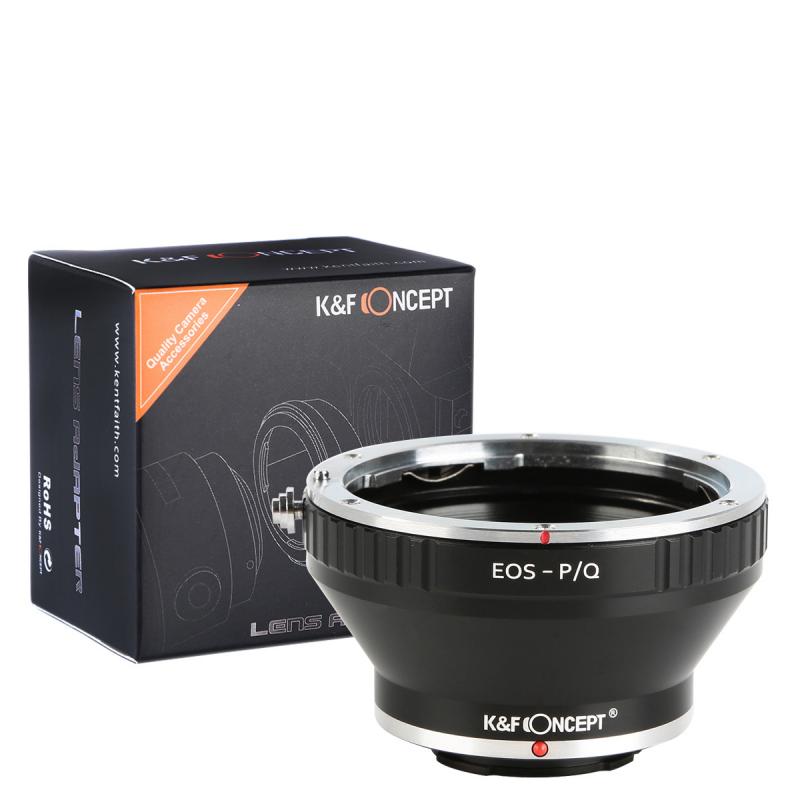
1、 Screw the gimbal head onto the tripod plate.
To attach a gimbal head to a tripod, you will need to follow a few simple steps. First, make sure that your tripod is set up and ready to go. Then, locate the tripod plate that came with your gimbal head. This plate should have a screw on the bottom that will attach to the tripod.
Next, screw the gimbal head onto the tripod plate. Make sure that it is securely attached and tightened down. You may need to use a wrench or pliers to get it tight enough.
Once the gimbal head is attached to the tripod plate, you can then attach your camera to the gimbal head. This will allow you to move your camera smoothly and easily, while still keeping it stable and secure.
It is important to note that different gimbal heads and tripods may have slightly different attachment methods. Always refer to the manufacturer's instructions for specific details on how to attach your gimbal head to your tripod.
In recent years, there has been a trend towards using quick-release plates for attaching cameras to tripods and gimbal heads. These plates allow you to quickly and easily attach and detach your camera from the tripod or gimbal head, without having to unscrew anything. If your gimbal head or tripod supports quick-release plates, this can be a convenient and time-saving option.
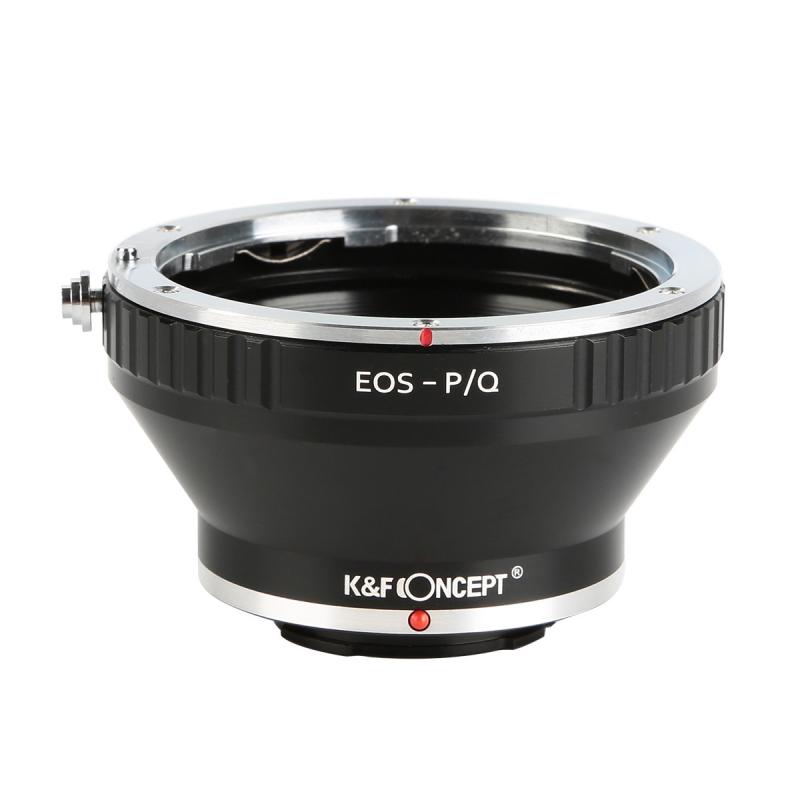
2、 Align the plate with the tripod head and tighten.
To attach a gimbal head to a tripod, you need to follow a few simple steps. First, make sure that the tripod is stable and secure. Then, locate the mounting plate on the gimbal head and attach it to the camera. Once the camera is securely attached to the gimbal head, you can then attach the gimbal head to the tripod.
To do this, align the plate with the tripod head and tighten. Make sure that the plate is securely attached to the tripod head and that the gimbal head is level. You can then adjust the position of the camera using the gimbal head to get the perfect shot.
It is important to note that different gimbal heads and tripods may have slightly different attachment methods. Always refer to the manufacturer's instructions for specific details on how to attach your gimbal head to your tripod.
In addition, it is important to ensure that the weight of your camera and lens is properly balanced on the gimbal head. This will help to prevent any unwanted movement or vibration during use. You may need to adjust the position of the camera and lens on the gimbal head to achieve the proper balance.
Overall, attaching a gimbal head to a tripod is a simple process that can greatly improve the stability and versatility of your camera setup. With a little practice, you can quickly and easily attach your gimbal head to your tripod and start capturing stunning photos and videos.
3、 Adjust the balance of the camera and lens.
To attach a gimbal head to a tripod, follow these steps:
1. Remove the existing head from the tripod by unscrewing it from the center column.
2. Place the gimbal head onto the center column of the tripod.
3. Tighten the screw on the gimbal head to secure it onto the center column.
Once the gimbal head is attached to the tripod, it's important to adjust the balance of the camera and lens. This is crucial for smooth and stable movement when using the gimbal head.
To adjust the balance, first, loosen the knobs on the gimbal head to allow for movement. Then, adjust the position of the camera and lens until it is balanced. This means that the camera and lens should stay in place when you let go of them. If the camera and lens are not balanced, it will be difficult to move the gimbal head smoothly and you may experience jerky movements or vibrations.
It's important to note that different cameras and lenses will require different adjustments to achieve balance. It may take some trial and error to find the perfect balance, but once you do, you'll be able to use the gimbal head to its full potential.
In conclusion, attaching a gimbal head to a tripod is a simple process, but adjusting the balance of the camera and lens is crucial for smooth and stable movement. Take the time to find the perfect balance and you'll be able to capture stunning footage with ease.
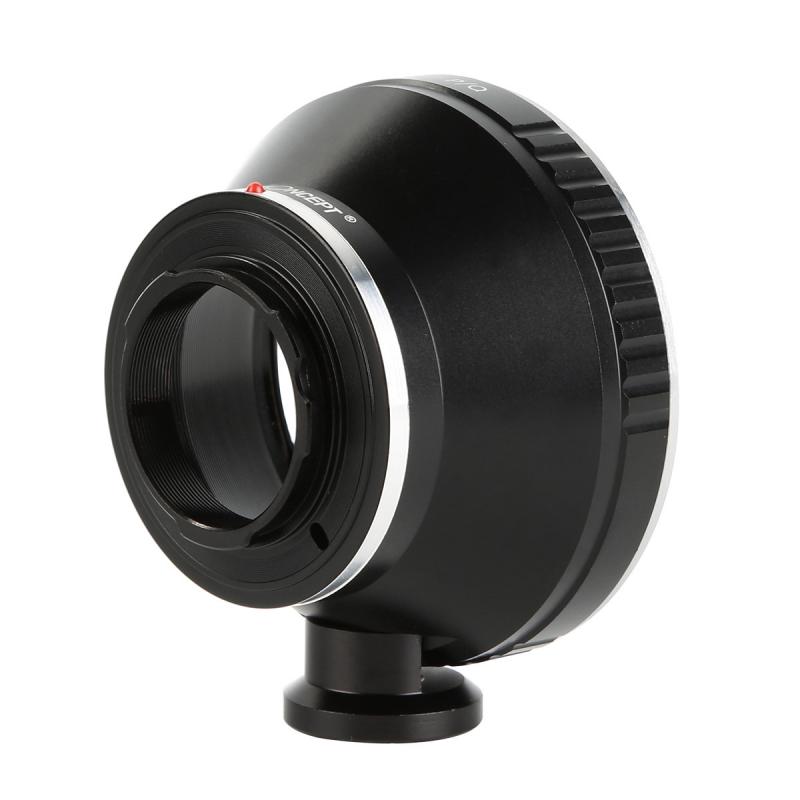
4、 Lock the gimbal head in place.
To attach a gimbal head to a tripod, follow these steps:
1. Remove the quick-release plate from the gimbal head by loosening the screw on the bottom of the plate.
2. Attach the quick-release plate to the camera by aligning the plate's screw with the camera's tripod mount and tightening the screw.
3. Slide the quick-release plate back onto the gimbal head and tighten the screw to secure it in place.
4. Attach the gimbal head to the tripod by screwing the head onto the tripod's mounting plate.
5. Adjust the tripod's height and position to your desired shooting angle.
6. Lock the gimbal head in place by tightening the locking knob or lever on the head.
It's important to make sure the gimbal head is securely attached to the tripod before using it to prevent any accidents or damage to your equipment. Additionally, make sure the camera is balanced on the gimbal head to ensure smooth movement and prevent any strain on the head or tripod.
