How To Build Your Own Microscope ?
To build your own microscope, you will need a few basic components. Start by obtaining a lens or set of lenses with different magnifications. These can be purchased or salvaged from old cameras or binoculars. Next, construct a sturdy base for your microscope using materials like wood or metal. Attach a stage to hold the specimen you want to observe.
Mount the lens(es) on a tube or frame that can be adjusted vertically. This will allow you to focus on the specimen. Ensure that the lens is securely attached and aligned properly. Use a light source, such as a small LED or flashlight, to illuminate the specimen from below or above.
Finally, position the lens above the stage and adjust the focus until you achieve a clear image. You can experiment with different lenses and lighting techniques to improve the quality of your observations. Remember to handle the lenses with care and keep the microscope clean for optimal performance.
1、 Choosing the right components for your DIY microscope setup
Choosing the right components for your DIY microscope setup is crucial to ensure accurate and high-quality imaging. Here are some key considerations and steps to follow when building your own microscope:
1. Determine your imaging needs: Decide on the type of microscopy you want to perform, such as brightfield, fluorescence, or phase contrast. This will help you select the appropriate components.
2. Optics: The quality of your microscope's optics is paramount. Consider using high-quality objective lenses with appropriate magnification and numerical aperture (NA) for your desired resolution. Additionally, choose a suitable condenser lens for optimal illumination.
3. Light source: Selecting the right light source is essential for proper illumination. LED lights are commonly used due to their low power consumption, long lifespan, and adjustable intensity. They also emit less heat, reducing the risk of sample damage.
4. Camera: To capture and analyze images, choose a camera that meets your resolution and sensitivity requirements. CMOS cameras are popular due to their high frame rates, low noise, and affordability. However, for more demanding applications, scientific-grade CCD cameras may be necessary.
5. Stage and focus mechanism: A stable and precise stage is crucial for accurate sample positioning. Consider a motorized stage for automated scanning and imaging. Additionally, choose a focus mechanism that allows for precise focusing adjustments.
6. Software and analysis: Select imaging software that is compatible with your camera and offers the necessary features for image acquisition, processing, and analysis. Open-source options like ImageJ or Fiji are popular choices.
7. Safety considerations: Ensure proper safety measures, such as using appropriate filters for fluorescence microscopy, and following electrical safety guidelines when working with high-intensity light sources.
It is important to stay updated with the latest advancements in microscopy technology and techniques. Online communities and forums can provide valuable insights and recommendations for building your own microscope setup.
2、 Assembling the microscope body and stage
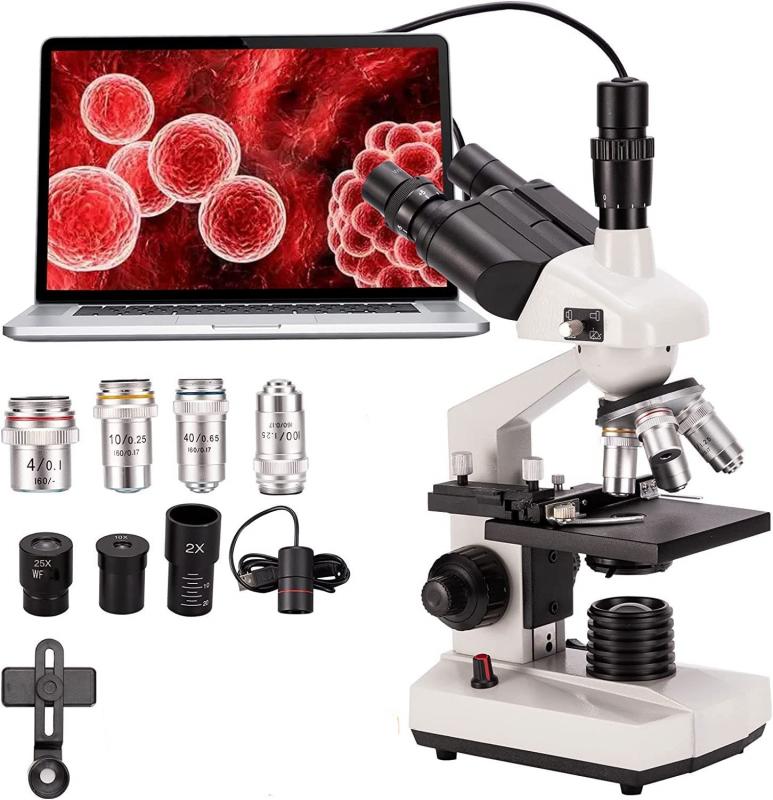
Assembling the microscope body and stage is a crucial step in building your own microscope. This part of the process involves putting together the main structure of the microscope and creating a stable platform for your samples.
To begin, gather all the necessary components including the microscope body, stage, and any additional accessories you may have. Start by attaching the microscope body to the base or stand, ensuring it is securely fastened. This will provide stability and support for the rest of the microscope components.
Next, attach the stage to the microscope body. The stage is where you will place your samples for observation. Make sure it is aligned properly and securely attached to the body. Some stages may have adjustable knobs or controls for precise movement and positioning of the samples.
Once the stage is in place, you can add any additional accessories such as a condenser or illuminator. These components help improve the quality of the image by focusing and enhancing the light source. Follow the manufacturer's instructions to attach these accessories correctly.
It is important to note that the latest point of view in building your own microscope involves the use of open-source hardware and 3D printing technology. This allows for greater customization and flexibility in designing and assembling the microscope body and stage. With the availability of online resources and communities, individuals can now access and share designs, making it easier to build a microscope tailored to their specific needs.
In conclusion, assembling the microscope body and stage is a fundamental step in building your own microscope. By following the manufacturer's instructions and utilizing the latest advancements in open-source hardware and 3D printing, you can create a customized microscope that suits your requirements.
3、 Understanding and selecting the appropriate lenses for magnification
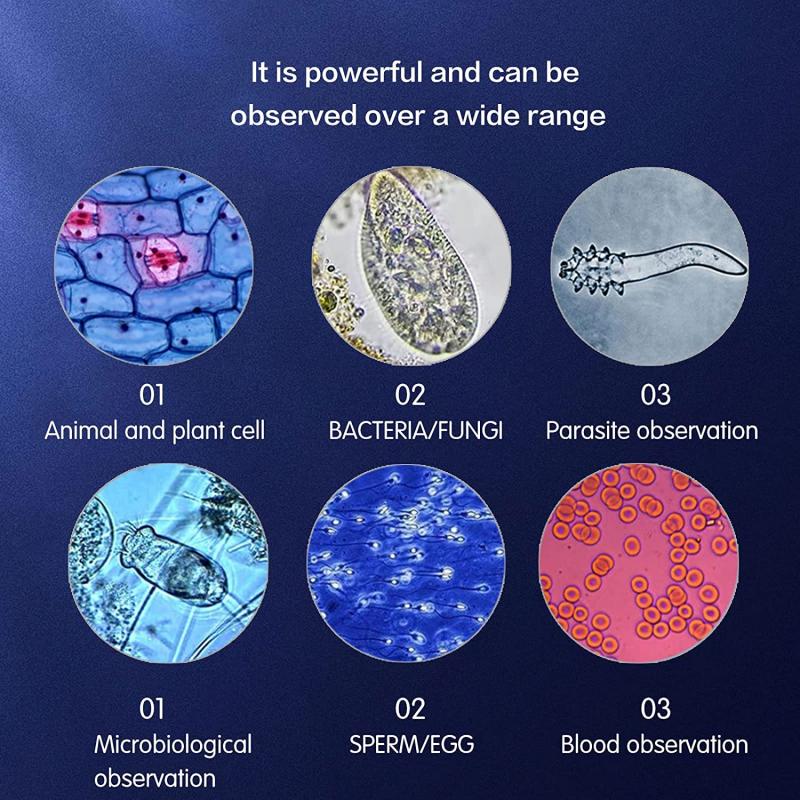
Understanding and selecting the appropriate lenses for magnification is a crucial aspect of building your own microscope. The lenses play a vital role in determining the quality and clarity of the magnified image. Here is a step-by-step guide on how to build your own microscope, including the lens selection process.
1. Start by gathering the necessary materials, including a light source, a stage to hold the specimen, and a lens system. The lens system typically consists of an objective lens, an eyepiece lens, and a condenser lens.
2. Determine the magnification level you desire. This will depend on the application and the level of detail you wish to observe. Higher magnification requires lenses with shorter focal lengths.
3. Select an appropriate objective lens. The objective lens is responsible for gathering light from the specimen and forming the initial image. It is available in various magnification levels, typically ranging from 4x to 100x. Consider factors such as numerical aperture (NA) and working distance when choosing the objective lens. Higher NA values provide better resolution, while longer working distances allow for more space between the lens and the specimen.
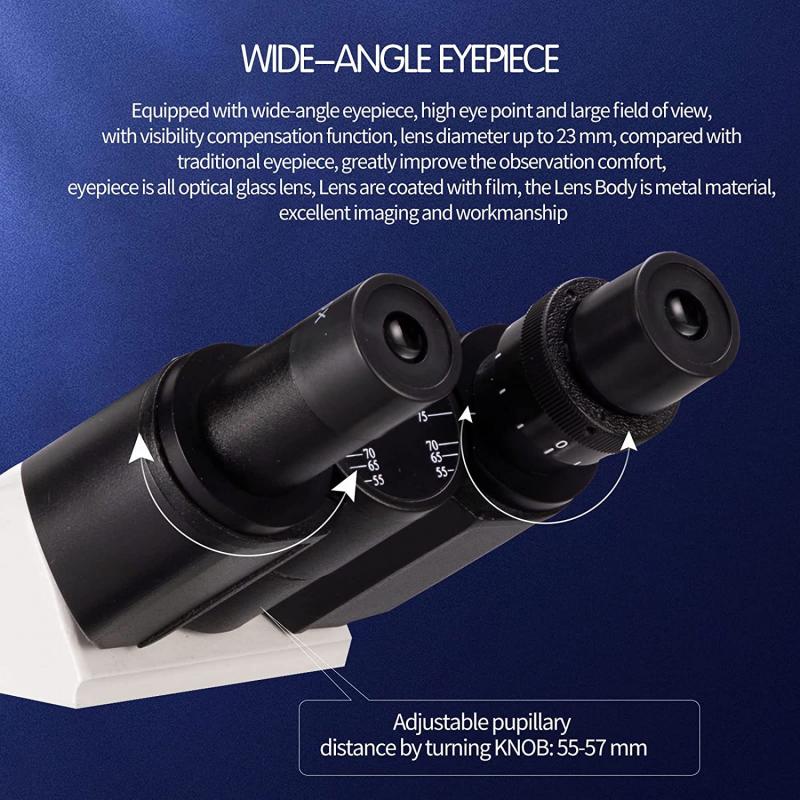
4. Choose an eyepiece lens. The eyepiece lens further magnifies the image formed by the objective lens. It is available in different magnification powers, typically ranging from 5x to 30x. The combination of the objective and eyepiece lenses determines the overall magnification of the microscope.
5. Consider the latest advancements in lens technology. With the rapid development of optics, there are now advanced lenses available, such as achromatic and apochromatic lenses, which correct for chromatic aberration and provide improved image quality.
6. Assemble the lens system by attaching the objective lens to the microscope body and the eyepiece lens to the eyepiece tube. Ensure proper alignment and focus adjustments.
By understanding the principles of lens selection and considering the latest advancements in lens technology, you can build your own microscope with the appropriate lenses for your desired magnification.
4、 Incorporating lighting and illumination techniques for optimal viewing
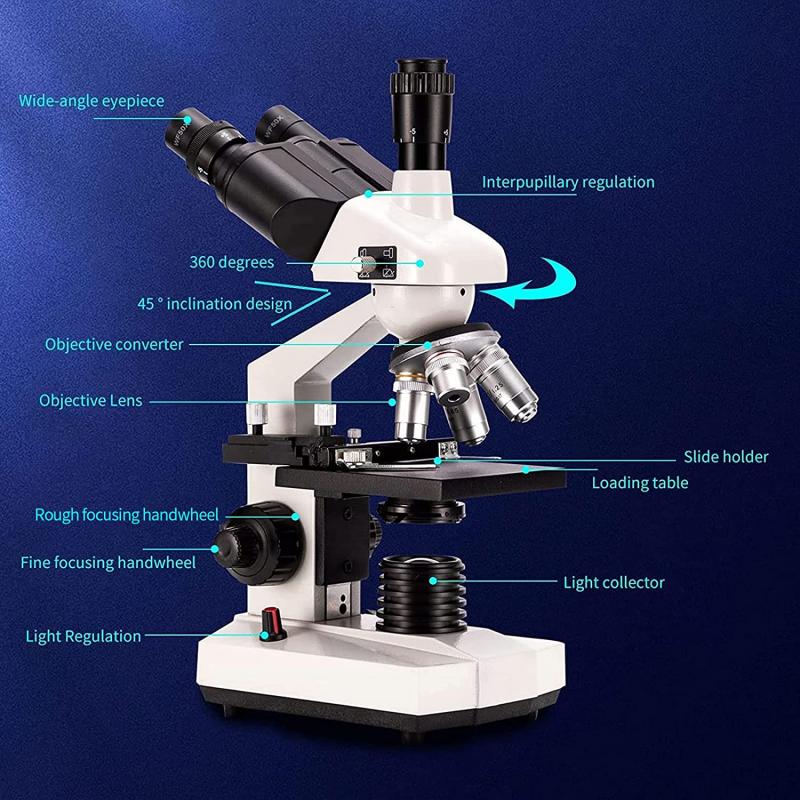
To build your own microscope, you will need a few key components and tools. Here is a step-by-step guide on how to build your own microscope, incorporating lighting and illumination techniques for optimal viewing.
1. Gather the necessary materials: You will need a lens or set of lenses, a stage to hold the specimen, a light source, and a base to support the microscope.
2. Construct the base: Start by building a sturdy base for your microscope. This can be made from wood or metal, ensuring stability and durability.
3. Mount the lens: Attach the lens or set of lenses to the base. This will serve as the primary magnification component of your microscope. Ensure that the lens is securely mounted and aligned properly.
4. Add the stage: Attach a stage to the base, which will hold the specimen you want to view. The stage should be adjustable to allow for precise positioning of the specimen.
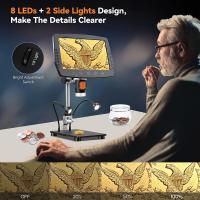
5. Incorporate lighting: To optimize viewing, incorporate lighting techniques. Attach a light source, such as an LED or halogen bulb, to the base. Position the light source in a way that provides even illumination of the specimen.
6. Use filters: Consider using filters to enhance contrast and improve visibility. Filters can help reduce glare and improve image quality.
7. Fine-tune the focus: Adjust the lens and stage to achieve the desired magnification and focus. This may require some trial and error to find the optimal settings for your specific needs.
8. Test and refine: Once your microscope is assembled, test it with various specimens to ensure optimal viewing. Make any necessary adjustments to improve the clarity and quality of the images.
Incorporating the latest point of view, advancements in lighting and illumination techniques have led to the development of more efficient and versatile microscopes. LED lighting, for example, offers brighter and more consistent illumination while consuming less energy. Additionally, advanced techniques such as darkfield and phase contrast microscopy have been developed to enhance the visibility of transparent or low-contrast specimens. These techniques utilize specialized lighting setups and filters to improve image quality. As technology continues to advance, new lighting and illumination techniques are being explored to further enhance the capabilities of DIY microscopes.
