How To Choose A Graduated Neutral Density Filter ?
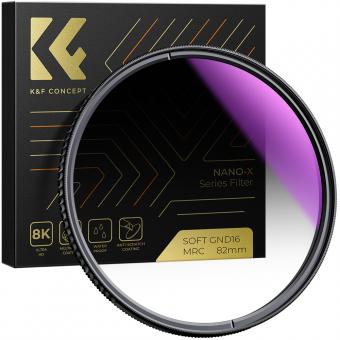
When choosing a graduated neutral density filter, consider factors such as the filter's density, size, and type. Density refers to the amount of light the filter blocks, so choose a density that suits your specific needs, such as 1-stop or 3-stop. The size of the filter should match the diameter of your lens, so check the lens specifications before purchasing. Additionally, consider the type of graduated neutral density filter you prefer, such as a hard-edge or soft-edge filter. Hard-edge filters have a distinct transition line, ideal for scenes with a clear horizon, while soft-edge filters have a gradual transition, suitable for scenes with uneven horizons. Ultimately, choose a graduated neutral density filter that aligns with your photography style and the specific requirements of your shooting environment.
1、 Understanding the purpose of a graduated neutral density filter
Understanding the purpose of a graduated neutral density (ND) filter is crucial before learning how to choose one. A graduated ND filter is a tool used in photography to balance the exposure between the bright and dark areas of a scene. It is particularly useful in landscape photography when the sky is significantly brighter than the foreground.
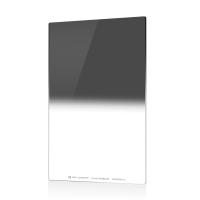
The filter is designed with a gradient, transitioning from dark to clear, allowing the photographer to darken the sky while keeping the foreground properly exposed. This helps to retain detail in both the highlights and shadows, resulting in a more balanced and visually appealing image.
When choosing a graduated ND filter, there are a few factors to consider. Firstly, the strength of the filter is important. Graduated ND filters come in different densities, usually measured in stops. The strength needed depends on the scene and the dynamic range of the lighting conditions. For example, a stronger filter (e.g., 3-stop) may be required for a scene with a very bright sky, while a weaker filter (e.g., 1-stop) may suffice for a less extreme contrast.
Another consideration is the transition type of the filter. Some filters have a hard transition, with a clear line between the dark and clear areas, while others have a soft transition, providing a more gradual blend. The choice depends on the specific scene and the desired effect.
Lastly, the size of the filter should match the lens diameter. It is important to choose a filter that fits securely on the lens to avoid light leaks or vignetting.
In recent years, advancements in post-processing software have provided photographers with more flexibility in balancing exposures. However, graduated ND filters still offer advantages in the field by allowing for accurate exposure capture, reducing the need for extensive post-processing adjustments.
In conclusion, understanding the purpose of a graduated ND filter is essential in choosing the right one. Considering factors such as filter strength, transition type, and size will help photographers achieve the desired exposure balance and enhance their landscape photography.
2、 Evaluating the different types of graduated neutral density filters
Evaluating the different types of graduated neutral density (GND) filters is crucial when choosing the right one for your photography needs. GND filters are essential tools for landscape photographers as they help balance the exposure between the sky and the foreground, resulting in well-exposed images.
When selecting a GND filter, there are a few key factors to consider. Firstly, you need to determine the strength of the filter. GND filters come in various densities, such as 1-stop, 2-stop, or 3-stop, indicating the amount of light they block. The choice depends on the scene's dynamic range and the level of exposure compensation required.
Next, you should consider the type of GND filter. There are two main types: hard-edge and soft-edge. Hard-edge filters have a distinct transition line between the dark and clear areas, suitable for scenes with a clear horizon line. Soft-edge filters have a gradual transition, ideal for scenes with uneven horizons or objects protruding into the sky.
Additionally, the size of the filter is important. Ensure it matches the diameter of your lens or invest in a filter holder system that allows you to use different sizes of filters with various lenses.
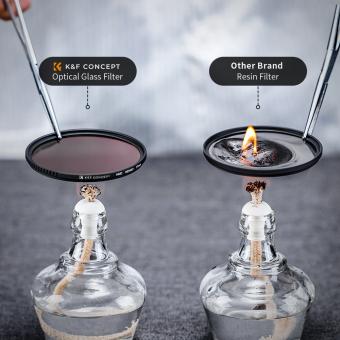
Lastly, consider the quality of the filter. Look for reputable brands that offer high-quality optical glass or resin filters to ensure minimal color cast and maximum image sharpness.
It is also worth mentioning that advancements in post-processing software, such as Adobe Lightroom, have made it possible to replicate the effect of GND filters to some extent. However, using physical filters in the field still provides more control and accuracy during the image capture process.
In conclusion, when choosing a graduated neutral density filter, evaluate the strength, type, size, and quality of the filter to suit your specific photography needs. Stay updated with the latest advancements in filter technology and consider experimenting with different filters to achieve the desired results.
3、 Considering the filter's density and transition zone
When choosing a graduated neutral density (ND) filter, there are two key factors to consider: the filter's density and the transition zone.
Density refers to the amount of light the filter blocks. Graduated ND filters come in different densities, typically ranging from 1-stop to 4-stops. The density you choose depends on the scene you are photographing and the amount of light you want to balance. For example, if you are shooting a landscape with a bright sky and darker foreground, a 2-stop or 3-stop filter may be suitable. On the other hand, if the contrast between the sky and foreground is less pronounced, a 1-stop filter might suffice.
The transition zone refers to the area where the filter transitions from its full density to clear. It is important to choose a filter with a smooth and gradual transition to avoid harsh lines or abrupt changes in exposure. Look for filters with a soft-edge transition for landscapes with a more gradual horizon, and hard-edge transition filters for scenes with a distinct and straight horizon line.
Additionally, consider the size of the filter that fits your lens diameter, the quality of the filter's glass or resin material, and the brand's reputation for color accuracy and durability.
It is worth noting that advancements in post-processing software have made it possible to replicate the effect of graduated ND filters to some extent. However, using an actual filter during the capture process can help preserve more details in the highlights and shadows, resulting in a higher quality image.
Ultimately, the choice of a graduated ND filter depends on your specific shooting conditions and creative vision. Experimenting with different densities and transition zones will help you determine the most suitable filter for your needs.
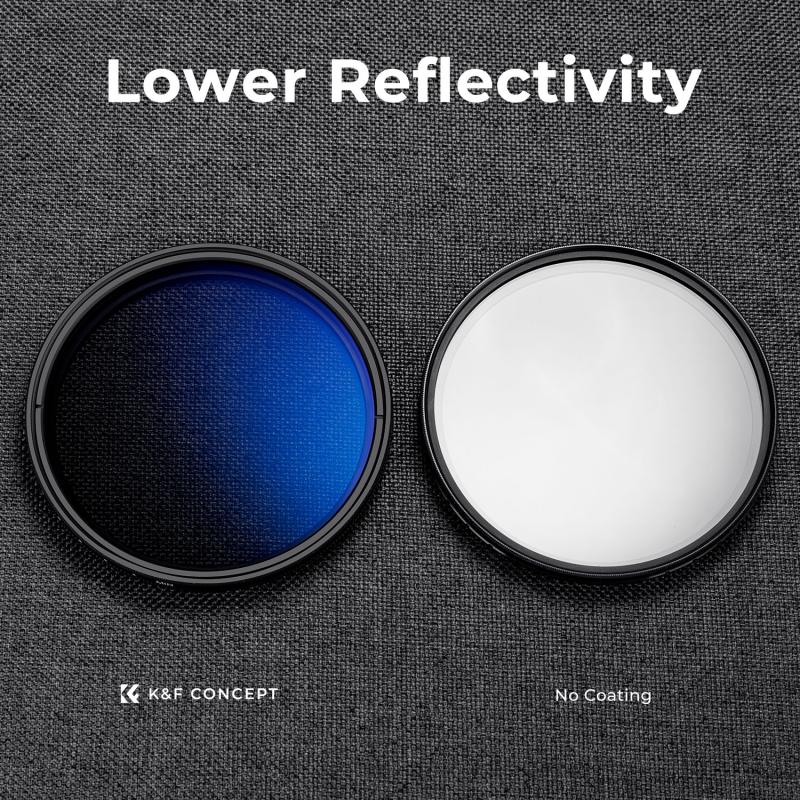
4、 Selecting the appropriate filter size for your lens
When it comes to choosing a graduated neutral density (ND) filter, there are a few factors to consider. One of the most important aspects is selecting the appropriate filter size for your lens. Here are some tips to help you make the right choice:
1. Lens Diameter: The first step is to determine the diameter of your lens. This information is usually marked on the front of the lens or can be found in the lens specifications. The filter size you choose should match the lens diameter to ensure a proper fit.
2. Filter Holder System: Some photographers prefer using a filter holder system, which allows for flexibility in using different filter sizes with various lenses. In this case, you would need to select a filter holder that is compatible with your lens diameter.
3. Lens Compatibility: Consider the lenses you frequently use and their filter thread sizes. If you have multiple lenses with different filter thread sizes, you may need to invest in multiple filters or a filter holder system that can accommodate various sizes.
4. Filter Thickness: The thickness of the filter can affect the overall image quality. Thicker filters may introduce vignetting or image degradation, especially when using wide-angle lenses. It is generally recommended to choose a filter with a slim profile to minimize these issues.
5. Budget: Lastly, consider your budget. Graduated ND filters come in various price ranges, and while quality is important, you don't necessarily need to break the bank for a good filter. Research different brands and read reviews to find a filter that offers a good balance between price and performance.
It's worth noting that with advancements in post-processing software, some photographers prefer to simulate the effect of a graduated ND filter in post-production. However, using an actual filter during the capture process can often yield better results, especially in challenging lighting conditions.
In conclusion, selecting the appropriate filter size for your lens is crucial when choosing a graduated ND filter. Consider the lens diameter, filter holder system, lens compatibility, filter thickness, and your budget to make an informed decision.
