How To Connect A Microphone To Iphone ?
To connect a microphone to an iPhone, you will need a compatible microphone and an adapter. The type of adapter you need will depend on the type of microphone you have. If you have a microphone with a 3.5mm jack, you will need a Lightning to 3.5mm headphone jack adapter. If you have a microphone with a USB connection, you will need a Lightning to USB adapter.
Once you have the appropriate adapter, plug it into your iPhone's Lightning port. Then, plug your microphone into the adapter. Your iPhone should automatically recognize the microphone and switch to using it for audio input. You can test the microphone by opening the Voice Memos app and recording a short clip.
It's important to note that not all microphones are compatible with iPhones, so be sure to check the manufacturer's specifications before purchasing a microphone. Additionally, some microphones may require additional setup or configuration in order to work properly with an iPhone.
1、 Lightning to 3.5mm adapter
To connect a microphone to an iPhone, you will need a Lightning to 3.5mm adapter. This adapter allows you to connect a 3.5mm audio cable to your iPhone's Lightning port. Once you have the adapter, simply plug the microphone into the 3.5mm jack and connect the Lightning end to your iPhone.
It's important to note that not all microphones are compatible with iPhones. Make sure to check the microphone's specifications to ensure it is compatible with your device. Additionally, some microphones may require additional software or apps to function properly with your iPhone.
The latest point of view on connecting a microphone to an iPhone is that it has become increasingly important for content creators, musicians, and podcasters to have high-quality audio. With the rise of remote work and virtual events, having a reliable and clear microphone is essential. Many companies have started to produce microphones specifically designed for use with iPhones, making it easier than ever to achieve professional-quality audio on the go.
Overall, connecting a microphone to an iPhone is a simple process with the right adapter. Just make sure to choose a compatible microphone and consider investing in a high-quality option for the best results.
2、 Lightning-enabled microphone
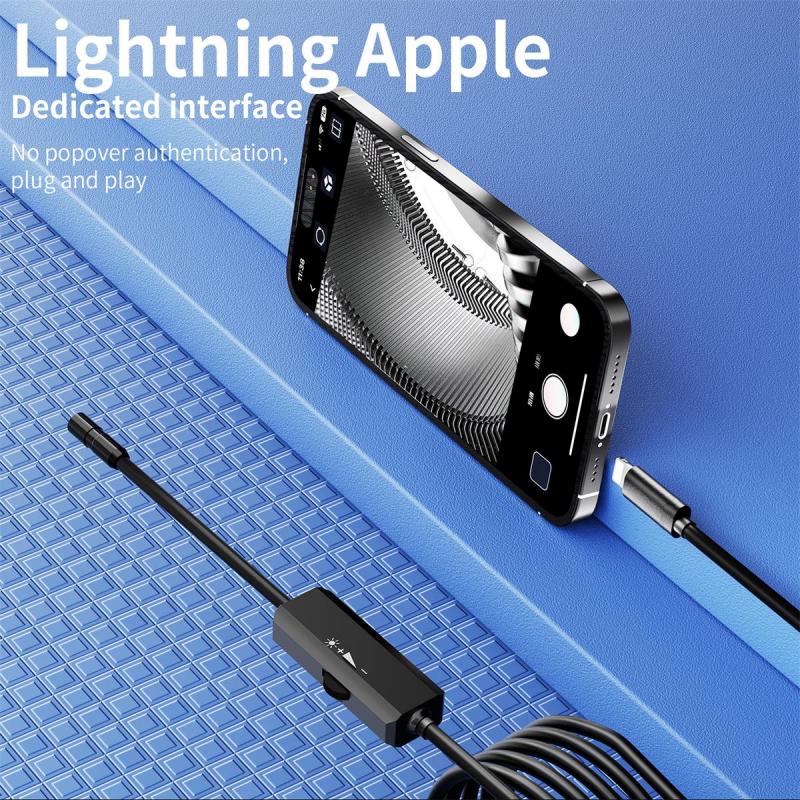
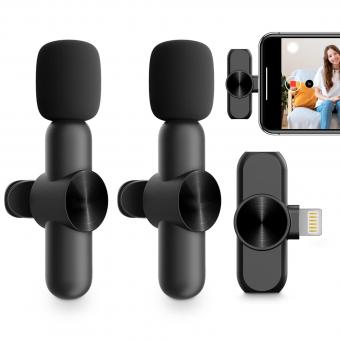
To connect a microphone to an iPhone, you can use a Lightning-enabled microphone. These microphones connect directly to the Lightning port on your iPhone, allowing you to record high-quality audio for podcasts, videos, or music.
To connect a Lightning-enabled microphone to your iPhone, follow these steps:
1. Plug the microphone into the Lightning port on your iPhone.
2. Open the app you want to use for recording audio.
3. In the app, select the microphone as the input source.
4. Start recording.
It's important to note that not all Lightning-enabled microphones are created equal. Some may offer better sound quality or additional features, such as adjustable gain or built-in filters. It's worth doing some research to find a microphone that meets your needs and budget.
Additionally, some newer iPhones may not have a dedicated headphone jack, which can make it more difficult to monitor your audio while recording. In this case, you may need to use a Lightning-to-headphone adapter or invest in a microphone with a built-in headphone jack.
Overall, connecting a microphone to your iPhone is a simple process that can greatly improve the quality of your audio recordings. With the right microphone and app, you can create professional-quality content right from your phone.
3、 Bluetooth microphone
How to connect a microphone to iPhone:
Connecting a microphone to your iPhone can be done in a few simple steps. First, you will need to ensure that your microphone is compatible with your iPhone. Most microphones will work with an iPhone as long as they have a 3.5mm jack or a lightning connector. Once you have confirmed compatibility, follow these steps:
1. Plug in your microphone: If your microphone has a 3.5mm jack, simply plug it into the headphone jack on your iPhone. If your microphone has a lightning connector, plug it into the lightning port on your iPhone.
2. Open the recording app: Open the app you want to use to record audio. This could be the Voice Memos app or a third-party app like GarageBand.
3. Select your microphone: In the recording app, select the microphone you want to use. This can usually be done by tapping on the microphone icon in the app and selecting your microphone from the list of available options.
4. Start recording: Once you have selected your microphone, you can start recording audio.
Bluetooth microphone:
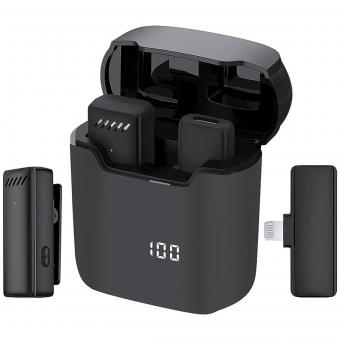
Connecting a Bluetooth microphone to your iPhone is also possible. Bluetooth microphones are wireless and can be connected to your iPhone via Bluetooth. To connect a Bluetooth microphone to your iPhone, follow these steps:
1. Turn on your Bluetooth microphone: Make sure your Bluetooth microphone is turned on and in pairing mode.
2. Open the Bluetooth settings on your iPhone: Go to Settings > Bluetooth on your iPhone.
3. Pair your microphone: In the Bluetooth settings, select your microphone from the list of available devices and follow the on-screen instructions to pair it with your iPhone.
4. Select your microphone in the recording app: Once your microphone is paired with your iPhone, open the recording app you want to use and select your microphone from the list of available options.
5. Start recording: Once you have selected your microphone, you can start recording audio.
It's worth noting that some Bluetooth microphones may have a slight delay in audio transmission, which can cause syncing issues when recording video. However, the latest Bluetooth technology has significantly reduced this delay, making Bluetooth microphones a viable option for recording audio on your iPhone.
4、 USB microphone with Lightning adapter
To connect a microphone to an iPhone, there are a few different options available. One popular method is to use a USB microphone with a Lightning adapter. This allows you to connect a high-quality microphone directly to your iPhone, which can be especially useful for recording podcasts, music, or other audio content.
To get started, you'll need to purchase a USB microphone that is compatible with your iPhone. There are many different options available, ranging from affordable entry-level models to more advanced professional-grade microphones. Some popular choices include the Blue Yeti, the Audio-Technica AT2020USB+, and the Rode NT-USB.
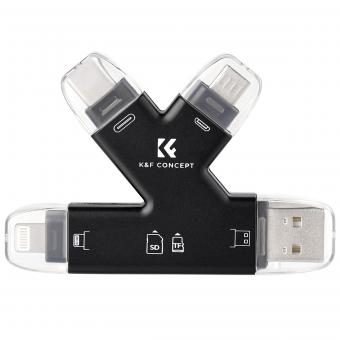
Once you have your microphone, you'll need to connect it to your iPhone using a Lightning adapter. This adapter plugs into the Lightning port on your iPhone and provides a USB port for connecting your microphone. You can purchase Lightning adapters from Apple or from third-party manufacturers.
Once your microphone is connected, you'll need to configure your iPhone to use it as the audio input device. This can typically be done through the settings menu on your iPhone or through the app you're using to record audio.
Overall, using a USB microphone with a Lightning adapter is a great way to get high-quality audio recordings on your iPhone. With the right microphone and adapter, you can capture clear, professional-grade audio for a variety of different applications.











There are no comments for this blog.