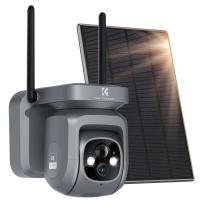
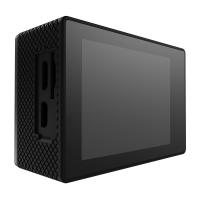
How To Connect A Wifi Smart Net Camera ?
To connect a WiFi smart net camera, follow these steps:
1. Power on the camera and connect it to a power source.
2. Download the camera's app on your smartphone or tablet.
3. Open the app and create an account if necessary.
4. Follow the app's instructions to connect the camera to your WiFi network.
5. Once the camera is connected to your WiFi network, you can view the camera's live feed and adjust settings through the app.
Note: The specific steps may vary depending on the brand and model of the camera. It's important to refer to the camera's user manual or online support resources for detailed instructions.
1、 Camera setup and installation process
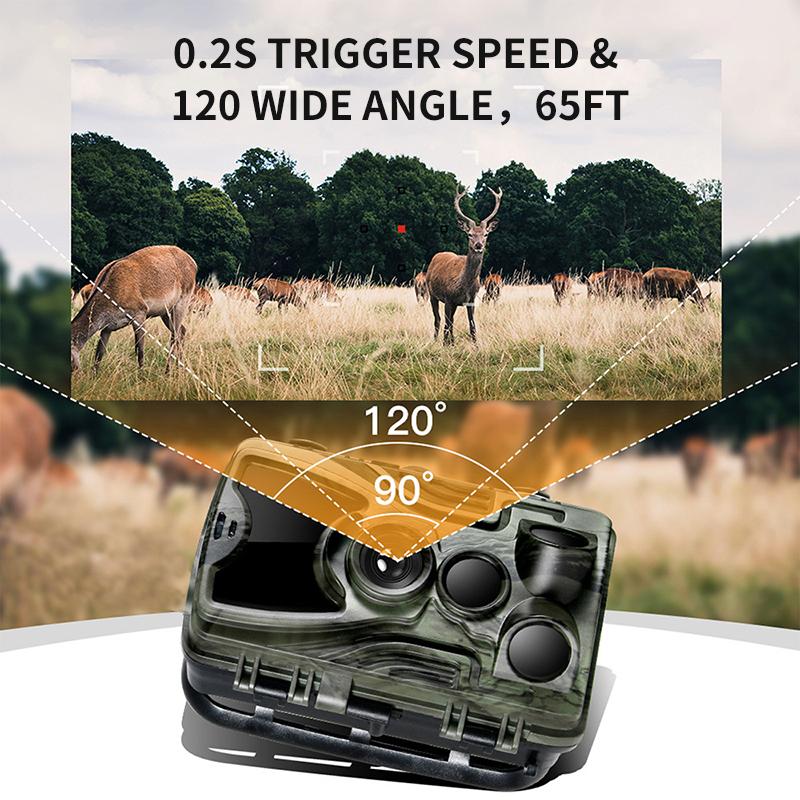
Camera setup and installation process is an essential step to ensure that your wifi smart net camera is working correctly. Here are the steps to connect a wifi smart net camera:
Step 1: Choose a location for your camera. Ensure that it is within the range of your wifi network.
Step 2: Connect the camera to a power source using the provided power adapter.
Step 3: Download the camera's app on your smartphone or tablet.
Step 4: Open the app and create an account.
Step 5: Follow the app's instructions to connect the camera to your wifi network. You will need to enter your wifi network's name and password.
Step 6: Once the camera is connected to your wifi network, you can access it through the app on your smartphone or tablet.
Step 7: Adjust the camera's settings, such as motion detection and recording, to suit your needs.
It is essential to keep your camera's firmware up to date to ensure that it is working correctly. Check the manufacturer's website regularly for firmware updates.
In conclusion, connecting a wifi smart net camera is a straightforward process that can be done in a few simple steps. By following the above steps, you can ensure that your camera is working correctly and providing you with the security and peace of mind you need.
2、 Connecting the camera to a Wi-Fi network
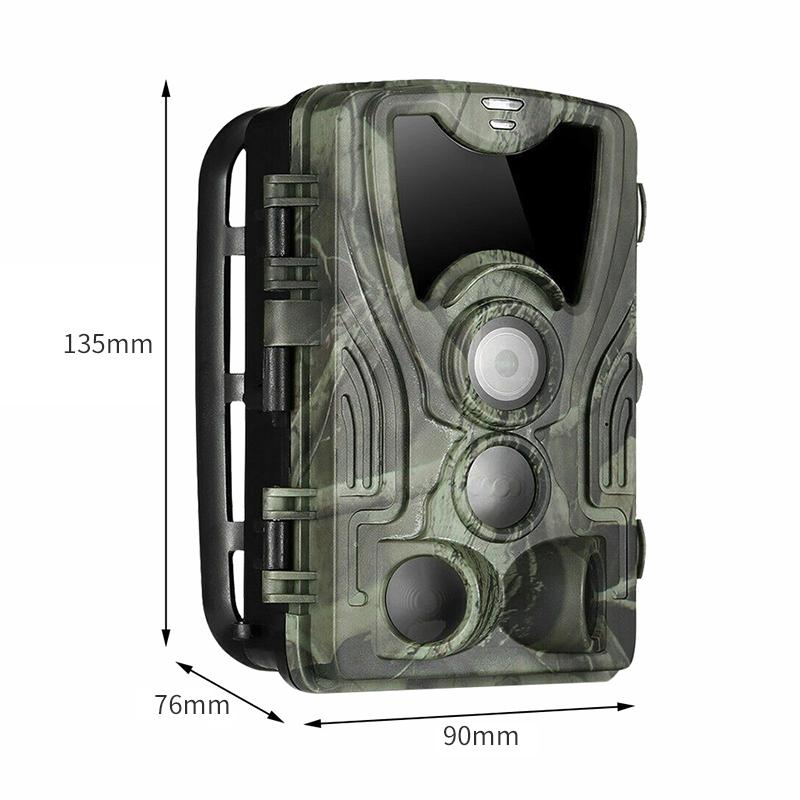
Connecting the camera to a Wi-Fi network is a simple process that can be done in a few easy steps. First, ensure that the camera is powered on and within range of your Wi-Fi network. Then, download the camera's app onto your smartphone or tablet and create an account. Once you have logged in, follow the app's instructions to connect the camera to your Wi-Fi network. This typically involves selecting your network from a list of available networks and entering your Wi-Fi password.
It is important to note that some cameras may require additional steps, such as pressing a button on the camera or using a QR code to connect. Additionally, some cameras may only be compatible with certain types of Wi-Fi networks, such as 2.4GHz networks. It is important to check the camera's specifications and instructions before attempting to connect it to your Wi-Fi network.
In recent years, many Wi-Fi smart net cameras have also added voice control capabilities, allowing users to connect and control their cameras using voice commands through virtual assistants like Amazon Alexa or Google Assistant. This can make the process even more convenient and hands-free.
3、 Configuring camera settings and preferences
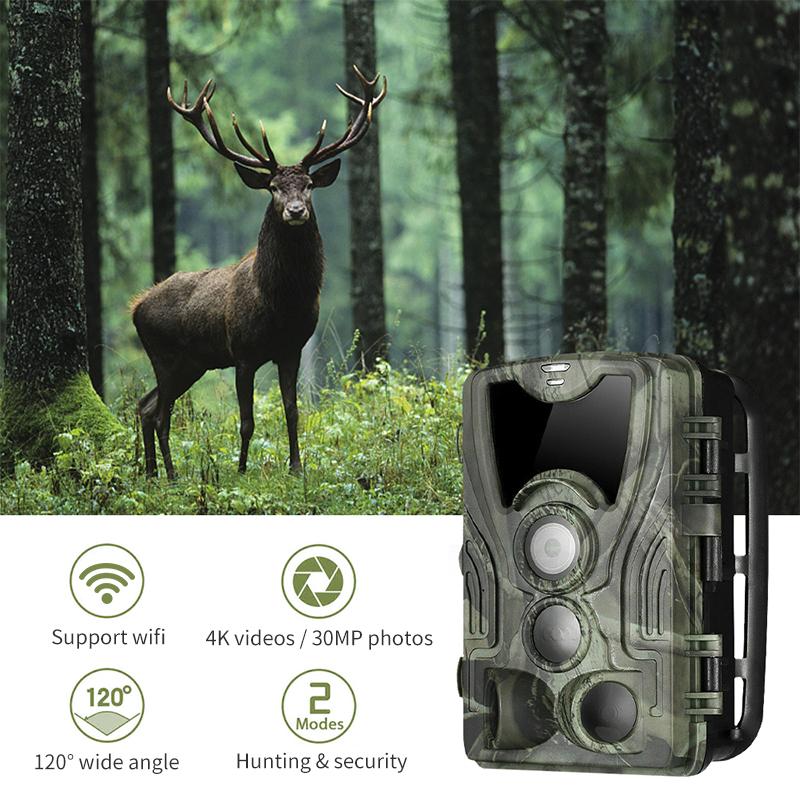
How to connect a wifi smart net camera:
1. First, download the camera's app on your smartphone or tablet. The app will guide you through the setup process.
2. Connect the camera to a power source and turn it on. Wait for the camera to boot up.
3. Open the app and follow the instructions to connect the camera to your wifi network. Make sure you enter the correct wifi password.
4. Once the camera is connected to your wifi network, you can access it from anywhere using the app. You can view live footage, record videos, and take snapshots.
5. You can also configure the camera settings and preferences to suit your needs. For example, you can set up motion detection alerts, adjust the camera's resolution and frame rate, and enable night vision mode.
Configuring camera settings and preferences:
1. To access the camera settings, open the app and select the camera you want to configure.
2. From there, you can adjust various settings such as motion detection, video quality, and night vision mode.
3. Motion detection alerts can be set up to notify you when the camera detects movement. You can adjust the sensitivity of the motion detection to avoid false alarms.
4. Video quality can be adjusted to suit your needs. Higher quality video will take up more storage space, so you may want to adjust this setting based on your available storage.
5. Night vision mode can be enabled to allow the camera to capture footage in low light conditions. This is especially useful for outdoor cameras.
6. It's important to regularly check and adjust your camera settings to ensure that you are getting the best possible footage and alerts.
4、 Accessing the camera remotely via a mobile app or web browser
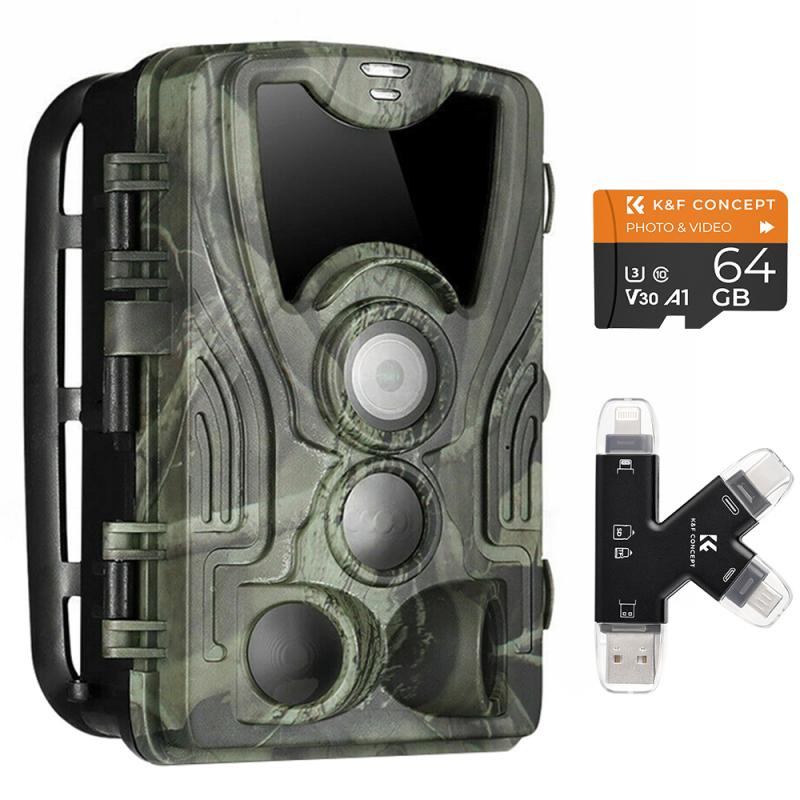
How to connect a wifi smart net camera:
1. First, plug in the camera and connect it to your home wifi network. Follow the manufacturer's instructions for this step.
2. Download the mobile app for your camera. Most cameras come with a mobile app that allows you to access the camera remotely.
3. Open the app and follow the instructions to connect the camera to the app. This usually involves scanning a QR code on the camera or entering the camera's serial number.
4. Once the camera is connected to the app, you can view the camera's live feed, adjust settings, and receive alerts when motion is detected.
Accessing the camera remotely via a mobile app or web browser:
Once your camera is connected to your home wifi network and the mobile app, you can access the camera remotely from anywhere with an internet connection. Simply open the app and select the camera you want to view. You can view the live feed, adjust settings, and receive alerts from anywhere.
Some cameras also allow you to access the camera via a web browser. This is useful if you don't have access to the mobile app or if you want to view the camera on a larger screen. To access the camera via a web browser, simply enter the camera's IP address into the browser's address bar. You may need to enter a username and password to access the camera.
It's important to note that remote access to your camera can pose a security risk. Make sure to use a strong password and keep your camera's firmware up to date to minimize the risk of unauthorized access.


