How To Connect External Camcorder Using Usb?
Connecting an external camcorder using USB depends on the type of camcorder you have. Some camcorders have a USB port that can be used to connect to a computer or other device, while others may require a special adapter or cable.
To connect a camcorder with a USB port, simply plug the USB cable into the camcorder and the other end into a USB port on your computer or other device. Your computer should recognize the camcorder and allow you to transfer files or use the camcorder as a webcam.
If your camcorder does not have a USB port, you may need to purchase a special adapter or cable that allows you to connect the camcorder to a USB port. These adapters and cables are often specific to the make and model of your camcorder, so be sure to check the manufacturer's website or user manual for compatibility information.
1、 USB Video Class (UVC)
To connect an external camcorder using USB, you need to make sure that your camcorder supports USB Video Class (UVC). UVC is a standard protocol that allows video devices to communicate with a computer without the need for additional drivers or software. Most modern camcorders support UVC, but it's always a good idea to check the specifications of your device before attempting to connect it.
Once you've confirmed that your camcorder supports UVC, you can connect it to your computer using a USB cable. Make sure that your computer recognizes the device by checking the device manager or system preferences. If your computer doesn't recognize the camcorder, try using a different USB cable or port.
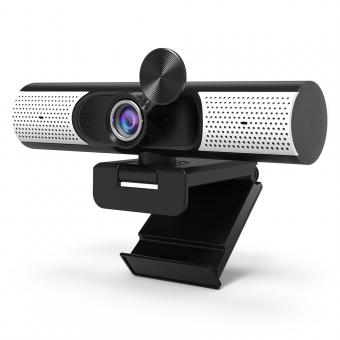
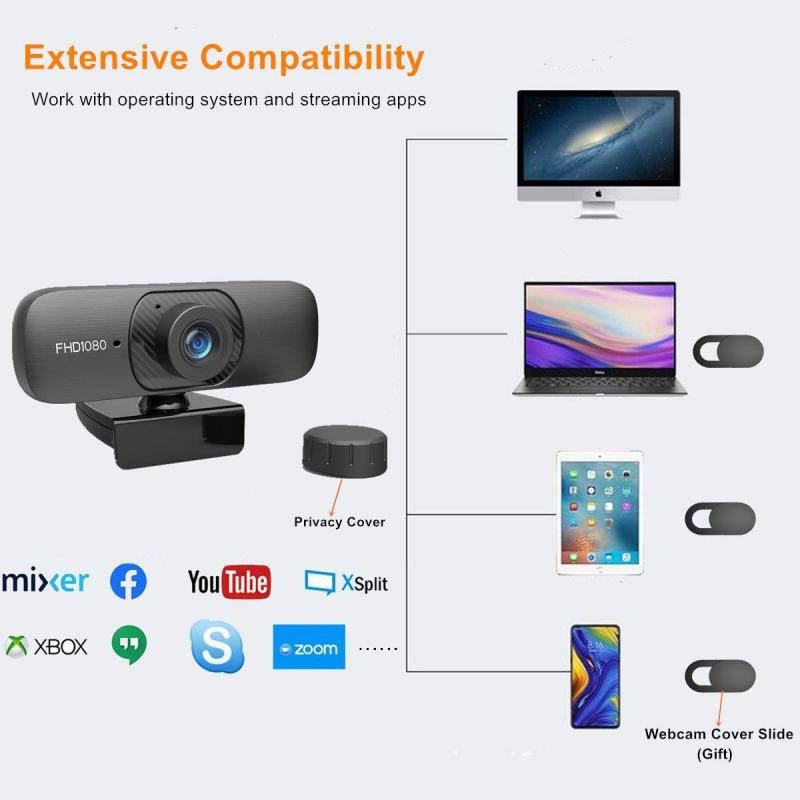
Once your camcorder is connected, you can use it as a webcam for video conferencing, live streaming, or recording. Many video conferencing and streaming applications, such as Zoom and OBS, allow you to select your camcorder as a video source. You may need to adjust the settings on your camcorder to optimize the video quality for your specific use case.
It's worth noting that while UVC is a convenient and widely supported protocol, it does have some limitations. For example, UVC devices may not support all of the features and settings that are available when using the device with proprietary software. Additionally, UVC devices may not be able to achieve the same level of performance as dedicated video capture devices. However, for most casual users, UVC is a simple and effective way to connect an external camcorder to a computer.
2、 Plug-and-Play
To connect an external camcorder using USB, you can follow these steps:
1. Check if your camcorder has a USB port. Most modern camcorders have a USB port that can be used to transfer data to a computer.
2. Connect the USB cable to the camcorder. Plug one end of the USB cable into the camcorder and the other end into your computer's USB port.
3. Turn on the camcorder. Make sure the camcorder is turned on and set to the correct mode for transferring data.
4. Check if your computer recognizes the camcorder. Your computer should automatically detect the camcorder and install any necessary drivers.
5. Open your video editing software. Once your computer recognizes the camcorder, you can open your video editing software and import the video files from the camcorder.
6. Edit your video. You can now edit your video using your video editing software.
Plug-and-Play technology has made it easier to connect external devices to computers. Most modern camcorders are designed to be plug-and-play, which means that they can be connected to a computer without the need for additional drivers or software. This makes it easier for users to transfer data from their camcorders to their computers and edit their videos. However, it is important to ensure that your computer is compatible with your camcorder and that you have the necessary software installed to edit your videos.
3、 Video Capture Software
To connect an external camcorder using USB, you will need a video capture software. This software will allow you to transfer the video footage from your camcorder to your computer. Here are the steps to connect your camcorder using USB:
1. Install the video capture software on your computer. There are many options available, such as OBS Studio, Filmora, and Adobe Premiere Pro.
2. Connect your camcorder to your computer using a USB cable. Make sure your camcorder is turned on and set to the correct mode for transferring video footage.
3. Open the video capture software and select the option to capture video from an external device.
4. Follow the prompts to set up the video capture settings, such as the resolution and frame rate.
5. Start the video capture process and begin playing the video footage on your camcorder.
6. Once the video capture is complete, save the video file to your computer.
It is important to note that some camcorders may require additional drivers or software to be installed on your computer before they can be connected using USB. Additionally, some newer camcorders may not have a USB port and instead use HDMI or other connections for transferring video footage. Always refer to your camcorder's user manual for specific instructions on how to connect it to your computer.
4、 USB 3.0 vs USB 2.0
How to connect external camcorder using USB:
Connecting an external camcorder to your computer using USB is a simple process. Here are the steps to follow:
1. Turn off your camcorder and connect it to your computer using a USB cable.
2. Turn on your camcorder and set it to "PC" or "USB" mode.
3. Your computer should automatically recognize the camcorder and install any necessary drivers.
4. Once the drivers are installed, you can access your camcorder's files through your computer's file explorer.
5. You can then transfer the files to your computer or edit them directly on your camcorder.
USB 3.0 vs USB 2.0:
USB 3.0 is the latest version of the USB standard and offers faster data transfer speeds than USB 2.0. USB 3.0 can transfer data at up to 5 Gbps, while USB 2.0 can only transfer data at up to 480 Mbps.
In addition to faster data transfer speeds, USB 3.0 also offers improved power management and better support for multiple devices. USB 3.0 devices are also backwards compatible with USB 2.0 ports, so you can still use your older devices with newer computers.
Overall, USB 3.0 is a significant improvement over USB 2.0 and is becoming increasingly common in newer computers and devices. If you need to transfer large amounts of data quickly, or if you use multiple USB devices at once, USB 3.0 is definitely worth considering.


![J12 Mini-projector Outdoor-filmprojector met 100 inch-projectorscherm, 1080P, compatibel met tv-stick, videogames, HDMI, USB, TF, VGA, AUX, AV [Amerikaanse regelgeving] J12 Mini-projector Outdoor-filmprojector met 100 inch-projectorscherm, 1080P, compatibel met tv-stick, videogames, HDMI, USB, TF, VGA, AUX, AV [Amerikaanse regelgeving]](https://img.kentfaith.de/cache/catalog/products/de/GW01.0172/GW01.0172-1-340x340.jpg)
