How To Connect Ip Camera To Wifi ?
To connect an IP camera to WiFi, follow these steps:
1. Connect the camera to a power source and turn it on.
2. Use an Ethernet cable to connect the camera to your router or modem.
3. Log in to your router's admin panel and find the IP address of the camera.
4. Open a web browser and enter the IP address of the camera to access its settings.
5. Look for the WiFi settings and enter the name and password of your WiFi network.
6. Save the settings and disconnect the Ethernet cable from the camera.
7. Wait for the camera to reboot and connect to your WiFi network.
Once the camera is connected to your WiFi network, you can access it from anywhere using a smartphone or computer. Make sure to choose a strong password for your camera to prevent unauthorized access.
1、 Camera compatibility with Wi-Fi networks
How to connect IP camera to WiFi:
Connecting an IP camera to a WiFi network is a simple process that can be done in a few steps. Here are the steps to follow:
1. Connect the camera to a power source and turn it on.
2. Connect the camera to your router using an Ethernet cable.
3. Log in to your router's admin panel and find the IP address of the camera.
4. Open a web browser and enter the IP address of the camera.
5. Enter the username and password for the camera.
6. Go to the wireless settings and enter the SSID and password for your WiFi network.
7. Save the settings and disconnect the Ethernet cable.
8. Wait for the camera to connect to the WiFi network.
9. Check the camera's IP address to ensure it is connected to the network.
Camera compatibility with Wi-Fi networks:
When choosing an IP camera, it is important to ensure that it is compatible with your WiFi network. Most modern IP cameras are compatible with WiFi networks, but it is important to check the specifications of the camera before purchasing it.
The latest point of view is that newer cameras are more likely to be compatible with WiFi networks than older cameras. This is because newer cameras are designed to work with the latest WiFi standards, such as 802.11ac, which offer faster speeds and better range than older standards.
It is also important to ensure that your WiFi network is compatible with the camera. This means checking that your router supports the same WiFi standard as the camera and that it is configured correctly. If your router is not compatible with the camera, you may need to upgrade it or use a different type of camera that is compatible with your network.
2、 Wi-Fi network setup and configuration
How to connect IP camera to Wi-Fi:
1. First, make sure your IP camera is powered on and connected to your router via an Ethernet cable.
2. Download the camera's mobile app or software on your computer and follow the instructions to connect the camera to your Wi-Fi network.
3. Open the app or software and navigate to the camera's settings menu.
4. Select "Wi-Fi network setup" or "Wi-Fi configuration" and follow the prompts to connect the camera to your Wi-Fi network.
5. Enter your Wi-Fi network name and password when prompted.
6. Wait for the camera to connect to your Wi-Fi network. This may take a few minutes.
7. Once the camera is connected to your Wi-Fi network, unplug the Ethernet cable and place the camera in its desired location.
8. Test the camera's connection by viewing the live feed on your mobile device or computer.
Wi-Fi network setup and configuration:
When setting up your IP camera on a Wi-Fi network, it's important to ensure that your network is secure and that your camera is using the latest security protocols. This includes using a strong Wi-Fi password, enabling WPA2 encryption, and keeping your router's firmware up to date.
Additionally, it's important to choose a strong and unique password for your camera's login credentials to prevent unauthorized access. Many cameras also offer two-factor authentication for added security.
Finally, consider using a virtual private network (VPN) to access your camera's feed remotely. This adds an extra layer of security by encrypting your connection and masking your IP address.
3、 IP camera network settings and configuration
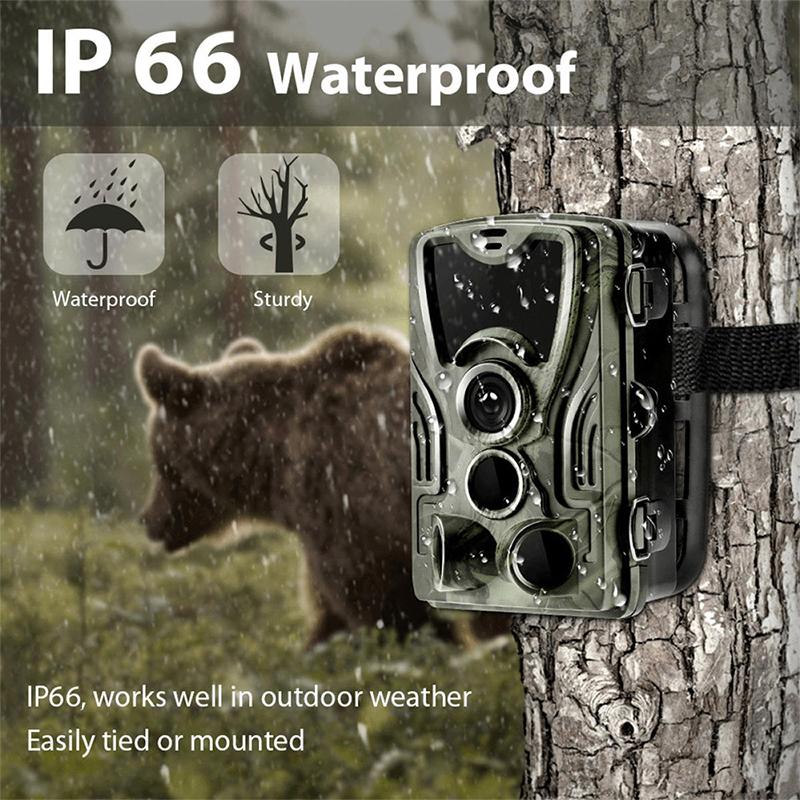
How to connect IP camera to WiFi:
1. First, connect the IP camera to a power source and ensure that it is turned on.
2. Use an Ethernet cable to connect the IP camera to your router or modem.
3. Access the IP camera's network settings through a web browser on a computer or mobile device. The IP address of the camera can usually be found in the user manual or on the camera itself.
4. In the network settings, select the option to connect to a WiFi network.
5. Enter the WiFi network name (SSID) and password.
6. Save the settings and disconnect the Ethernet cable from the camera.
7. Wait for the camera to reboot and connect to the WiFi network.
8. Access the camera's live feed through a web browser or mobile app.
IP camera network settings and configuration:
In addition to connecting the IP camera to WiFi, there are other network settings and configurations that can be adjusted to optimize performance and security. These include:
1. Setting up port forwarding to allow remote access to the camera from outside the local network.
2. Configuring the camera's IP address and subnet mask to ensure it is on the same network as other devices.
3. Enabling encryption and authentication protocols to secure the camera's data transmission.
4. Adjusting video quality and frame rate settings to optimize bandwidth usage.
5. Setting up motion detection and alerts to receive notifications when the camera detects movement.
It is important to regularly update the firmware of the IP camera to ensure it has the latest security patches and features. Additionally, it is recommended to change the default login credentials to prevent unauthorized access to the camera.
4、 Connecting the IP camera to the Wi-Fi network

Connecting the IP camera to the Wi-Fi network is a simple process that can be done in a few easy steps. Here's how to connect an IP camera to Wi-Fi:
Step 1: Connect the camera to a power source and turn it on.
Step 2: Connect the camera to your router using an Ethernet cable.
Step 3: Open a web browser and enter the camera's IP address to access the camera's settings.
Step 4: Navigate to the Wi-Fi settings and select your Wi-Fi network.
Step 5: Enter your Wi-Fi network password and save the settings.
Step 6: Disconnect the Ethernet cable and wait for the camera to connect to the Wi-Fi network.
Step 7: Once the camera is connected to the Wi-Fi network, you can access it remotely using a smartphone or computer.
It's important to note that some IP cameras may have slightly different steps for connecting to Wi-Fi, so it's always best to refer to the manufacturer's instructions. Additionally, it's recommended to use a strong Wi-Fi signal and to change the default login credentials to ensure the security of your camera.


