How To Create Wifi Camera With Dashcam ?
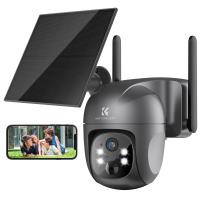
To create a WiFi camera with dashcam, you will need a dashcam with WiFi capabilities and a smartphone or tablet with a compatible app. First, install the dashcam in your vehicle and connect it to a power source. Then, download the app for your dashcam onto your smartphone or tablet. Follow the instructions to connect your device to the dashcam's WiFi network. Once connected, you should be able to view live footage from the dashcam on your device. You may also be able to adjust settings and download footage from the dashcam to your device. Keep in mind that the specific steps may vary depending on the make and model of your dashcam and the app you are using.
1、 Hardware Requirements
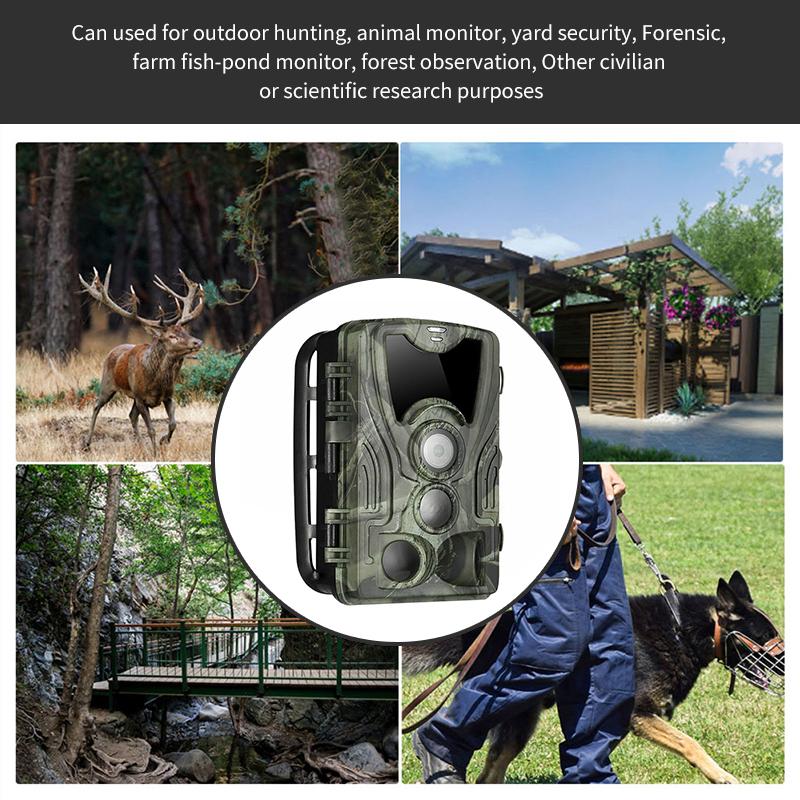
To create a WiFi camera with dashcam, you will need the following hardware:
1. Dashcam: A dashcam is a small camera that is mounted on the dashboard of a car. It is used to record video footage of the road ahead while driving.
2. WiFi module: A WiFi module is a small device that allows you to connect your dashcam to a wireless network. This will enable you to access the video footage from your dashcam remotely.
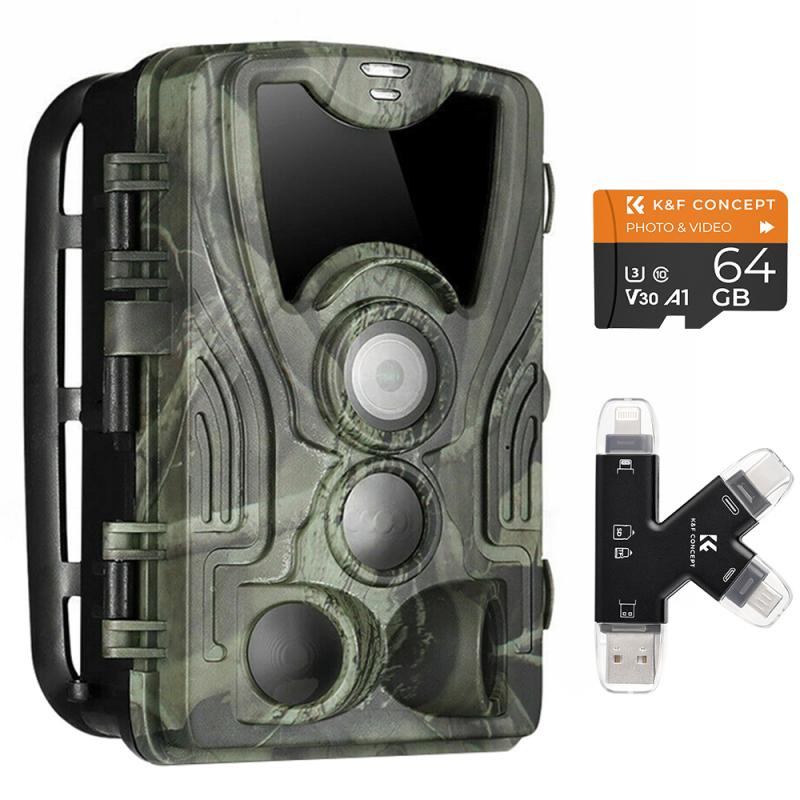
3. MicroSD card: A microSD card is used to store the video footage recorded by your dashcam.
4. Power source: You will need a power source to power your dashcam and WiFi module. This can be a car charger or a portable battery pack.
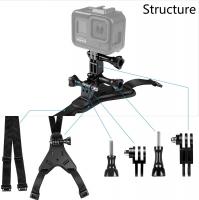
5. Mounting hardware: You will need mounting hardware to mount your dashcam and WiFi module in your car.
6. Smartphone or tablet: You will need a smartphone or tablet to access the video footage from your dashcam remotely.
The latest point of view is that there are now many dashcams available in the market that come with built-in WiFi modules. These dashcams are designed to connect to your smartphone or tablet via a dedicated app, allowing you to access the video footage from your dashcam remotely. Some of these dashcams also come with advanced features such as GPS tracking, motion detection, and night vision. Additionally, some dashcams also come with cloud storage options, allowing you to store your video footage online for easy access and sharing.
2、 Software Setup
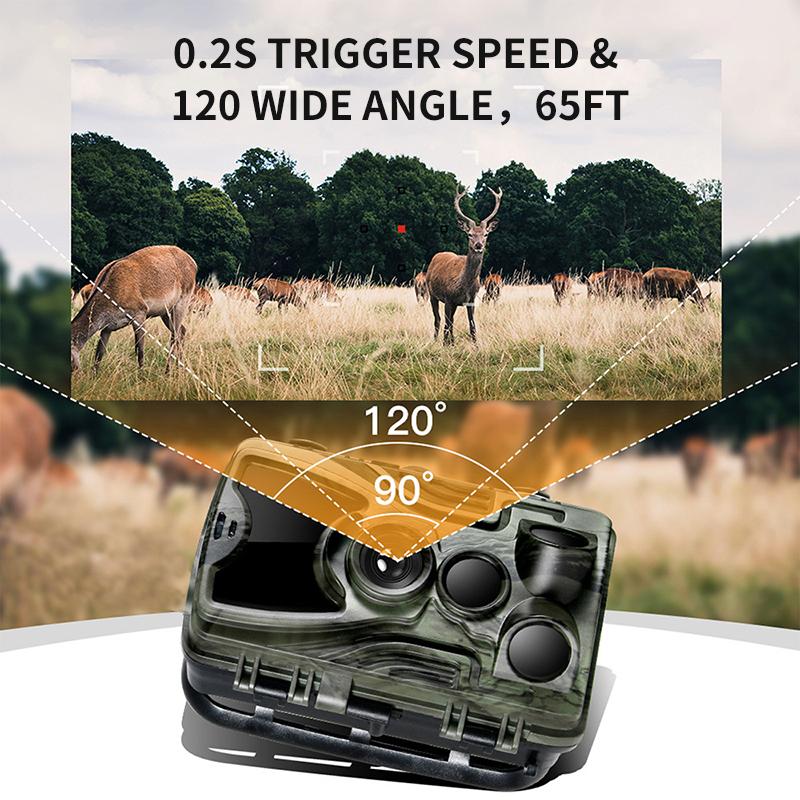
To create a WiFi camera with a dashcam, you will need to install software that allows you to connect the camera to your smartphone or computer. Here are the steps to set up the software:
1. Download the app: Most dashcams come with an app that you can download from the App Store or Google Play. Make sure to download the app that is compatible with your dashcam.
2. Connect the camera to your phone: Turn on the WiFi on your phone and connect to the camera's WiFi network. Open the app and follow the instructions to connect the camera to your phone.
3. Configure the settings: Once the camera is connected to your phone, you can configure the settings to your liking. You can adjust the video quality, set up motion detection, and enable other features.
4. View the footage: With the camera connected to your phone, you can view the footage in real-time or access the recordings stored on the camera's memory card.
5. Connect to your computer: If you want to view the footage on your computer, you can connect the camera to your computer using a USB cable. Once connected, you can transfer the footage to your computer and view it using a media player.
The latest point of view is that many dashcams now come with built-in WiFi, making it easier than ever to connect the camera to your smartphone or computer. This allows you to view the footage in real-time and access the recordings from anywhere, making it a great option for those who want to keep an eye on their car or home while they are away.
3、 Network Configuration
How to create wifi camera with dashcam:
To create a wifi camera with dashcam, you will need a dashcam with wifi capabilities and a network configuration that allows for remote access to the camera. Here are the steps to follow:
1. Choose a dashcam with wifi capabilities: There are many dashcams on the market that come with wifi capabilities. Choose one that suits your needs and budget.
2. Install the dashcam: Follow the manufacturer's instructions to install the dashcam in your car.
3. Connect the dashcam to your wifi network: Use the dashcam's wifi settings to connect it to your home or office wifi network. This will allow you to access the camera remotely.
4. Configure the network settings: To access the camera remotely, you will need to configure your network settings to allow for remote access. This may involve setting up port forwarding or using a VPN.
5. Install the camera app: Download and install the camera app on your smartphone or tablet. This will allow you to view the camera feed remotely.
6. Test the camera: Once everything is set up, test the camera to make sure it is working properly. You should be able to view the camera feed remotely using the app.
In conclusion, creating a wifi camera with dashcam is a relatively simple process that requires a dashcam with wifi capabilities and a network configuration that allows for remote access. With the latest advancements in technology, it is now easier than ever to create a wifi camera with dashcam and enjoy the benefits of remote access to your camera feed.
4、 Camera Integration

How to create wifi camera with dashcam:
Camera integration has become increasingly popular in recent years, and creating a wifi camera with dashcam functionality is a great way to take advantage of this trend. Here are the steps to create a wifi camera with dashcam:
1. Choose a camera: The first step is to choose a camera that has wifi capabilities and can be integrated with a dashcam. There are many options available on the market, so it's important to do your research and choose a camera that meets your needs.
2. Install the camera: Once you have chosen a camera, the next step is to install it in your vehicle. This may involve mounting the camera on the dashboard or windshield, running wires to connect it to your vehicle's power source, and configuring the camera's settings.
3. Connect to wifi: Once the camera is installed, you will need to connect it to your vehicle's wifi network. This will allow you to access the camera's footage remotely and view it on your smartphone or other device.
4. Configure dashcam settings: To use the camera as a dashcam, you will need to configure its settings to record footage while you are driving. This may involve setting the camera to record continuously or only when it detects motion or an impact.
5. Test and adjust: Once everything is set up, it's important to test the camera and make any necessary adjustments to ensure that it is working properly. This may involve adjusting the camera's position or settings to get the best possible footage.
Overall, creating a wifi camera with dashcam functionality is a great way to enhance your vehicle's security and capture footage of your travels. With the right camera and a little bit of know-how, you can easily create a powerful and versatile camera system that will serve you well for years to come.


