How To Install Ctronics Camera ?
To install a Ctronics camera, follow these steps:
1. Unbox the camera and all its components.
2. Connect the camera to a power source using the provided power adapter.
3. Connect the camera to your router using an Ethernet cable or Wi-Fi.
4. Download and install the Ctronics app on your smartphone or tablet.
5. Open the app and follow the on-screen instructions to add the camera to your account.
6. Once the camera is added, you can customize its settings and view live footage from the app.
Note: The specific steps may vary depending on the model of your Ctronics camera. It's recommended to refer to the user manual for detailed instructions.
1、 Camera preparation and placement
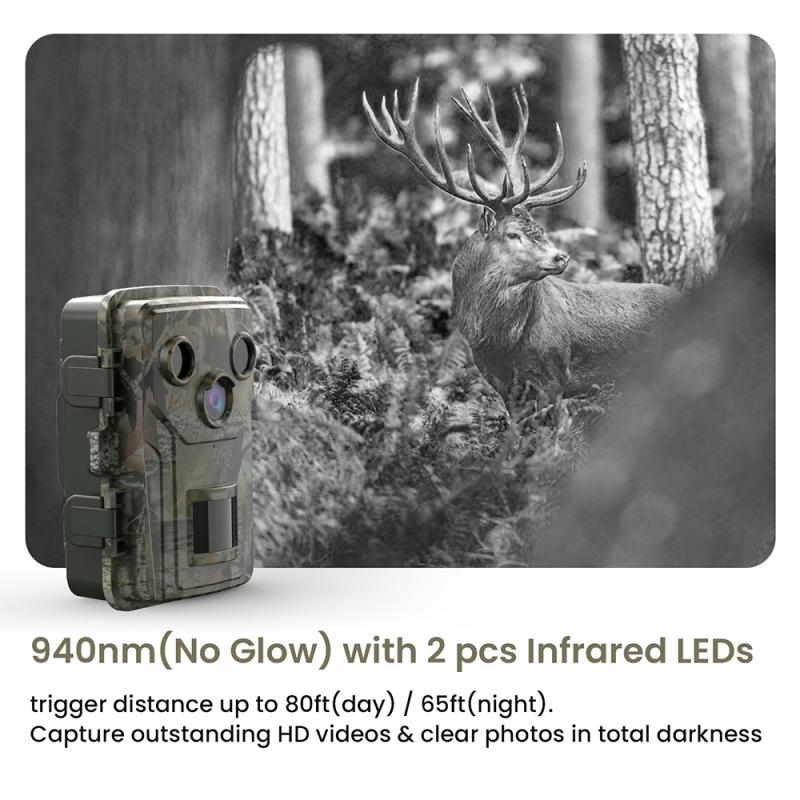
Camera preparation and placement is an essential step in installing a Ctronics camera. Before starting the installation process, it is important to ensure that the camera is compatible with your network and that you have all the necessary equipment. Here are the steps to follow:
1. Check the compatibility of the camera with your network. Ctronics cameras are compatible with most networks, but it is important to check the specifications before purchasing.
2. Choose the location for the camera. The camera should be placed in an area that provides a clear view of the area you want to monitor. It should also be placed in a location that is not easily accessible to intruders.
3. Mount the camera. Ctronics cameras come with mounting brackets that can be attached to walls or ceilings. Make sure the camera is securely mounted and that the angle is adjusted to provide the best view.
4. Connect the camera to the network. Ctronics cameras can be connected to the network using either a wired or wireless connection. Follow the instructions provided with the camera to connect it to your network.
5. Configure the camera settings. Once the camera is connected to the network, you can configure the settings to suit your needs. This includes setting up motion detection, adjusting the resolution, and setting up alerts.
6. Test the camera. Once the camera is installed and configured, test it to ensure that it is working properly. This includes checking the video feed, testing the motion detection, and verifying that alerts are being sent.
In conclusion, preparing and placing your Ctronics camera is an important step in ensuring that your property is secure. By following these steps, you can install your camera with confidence and enjoy the peace of mind that comes with knowing your property is being monitored.
2、 Power and network connection
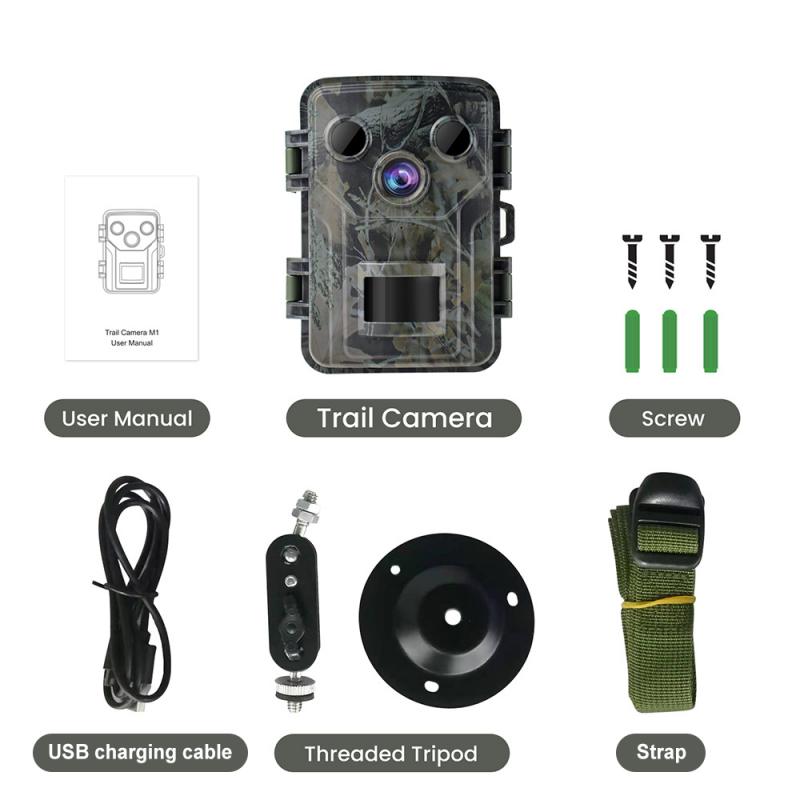
How to install Ctronics camera? The installation process of Ctronics camera is quite simple and straightforward. The first step is to ensure that you have all the necessary components, including the camera, power adapter, Ethernet cable, and mounting hardware.
Power and network connection are the two most important aspects of installing a Ctronics camera. To begin with, connect the power adapter to the camera and plug it into a power outlet. Once the camera is powered on, connect the Ethernet cable to the camera and your router or switch. This will establish a network connection and allow you to access the camera remotely.
The latest point of view is that Ctronics cameras now come with Wi-Fi connectivity, which eliminates the need for an Ethernet cable. You can simply connect the camera to your Wi-Fi network and access it remotely using your smartphone or computer.
Once the camera is connected to the network, you can access it using the Ctronics app or any web browser. The app allows you to view live footage, adjust camera settings, and receive alerts when motion is detected.
Finally, mount the camera in the desired location using the included mounting hardware. Make sure the camera is positioned correctly and has a clear view of the area you want to monitor.
In conclusion, installing a Ctronics camera is a simple process that requires power and network connection. With the latest Wi-Fi connectivity, the installation process has become even easier. By following the above steps, you can easily install and set up your Ctronics camera for remote monitoring.
3、 Camera configuration and setup
How to install Ctronics camera:
1. First, unbox the camera and check if all the components are present. The package should include the camera, power adapter, Ethernet cable, and mounting screws.
2. Connect the camera to the power adapter and plug it into an electrical outlet.
3. Connect the camera to your router using the Ethernet cable. Make sure the router is turned on and connected to the internet.
4. Download the Ctronics app on your smartphone or tablet. The app is available for both iOS and Android devices.
5. Open the app and create an account. Once you have created an account, log in to the app.
6. Click on the “Add Device” button and select “IP Camera” from the list of devices.
7. Follow the on-screen instructions to connect the camera to the app. You will need to scan the QR code on the camera or enter the camera’s serial number manually.
8. Once the camera is connected to the app, you can configure the camera settings. You can adjust the camera’s resolution, frame rate, and other settings.
9. Mount the camera in the desired location using the mounting screws provided.
10. Finally, test the camera to make sure it is working properly. You can view the camera’s live feed on the app and adjust the camera’s settings as needed.
Camera configuration and setup:
Once you have installed the Ctronics camera, you can configure the camera settings to suit your needs. The camera’s settings can be accessed through the Ctronics app. Here are some of the settings you can adjust:
1. Resolution: You can adjust the camera’s resolution to improve the image quality. Higher resolutions will result in clearer images, but will also require more bandwidth.
2. Frame rate: You can adjust the camera’s frame rate to control how many frames per second are captured. Higher frame rates will result in smoother video, but will also require more bandwidth.
3. Motion detection: You can enable motion detection to receive alerts when the camera detects motion. You can also adjust the sensitivity of the motion detection to reduce false alarms.
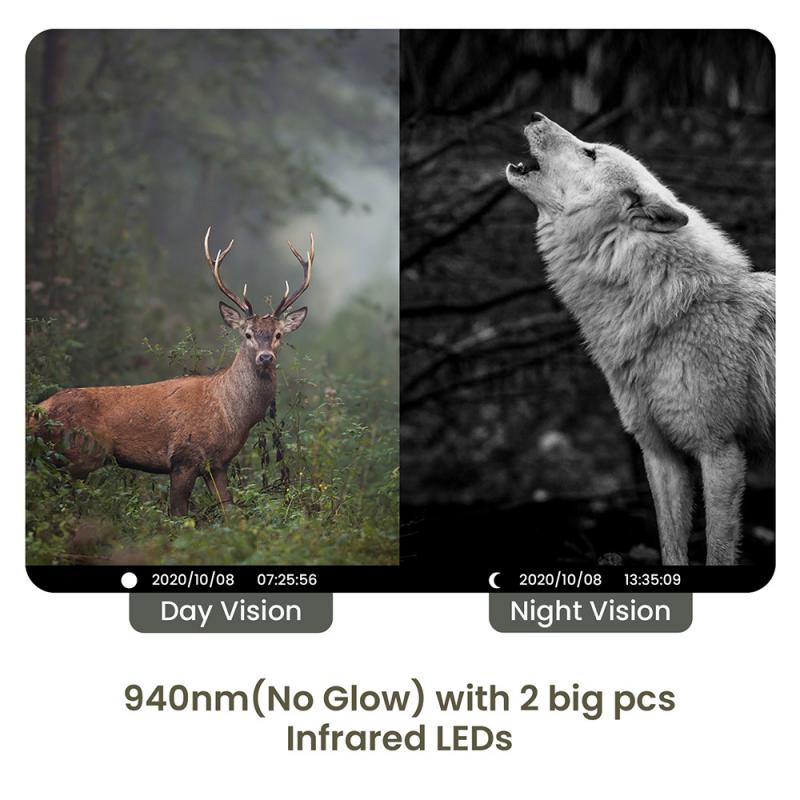
4. Night vision: You can enable night vision to capture images in low-light conditions. You can also adjust the sensitivity of the night vision to improve image quality.
5. Recording: You can configure the camera to record video to a microSD card or to a cloud storage service. You can also set up a recording schedule to capture video at specific times.
By adjusting these settings, you can customize the camera to suit your specific needs.
4、 Mobile app installation and pairing
Mobile app installation and pairing is an essential step in setting up your Ctronics camera. The latest point of view is that the process has become more streamlined and user-friendly, making it easier for even non-technical users to complete the installation.
To begin, download the Ctronics app from the App Store or Google Play Store. Once downloaded, open the app and create an account. Next, select "Add Device" and follow the on-screen instructions to connect your camera to the app. This typically involves scanning a QR code on the camera or entering the camera's serial number.
Once the camera is connected to the app, you can customize settings such as motion detection, alerts, and recording schedules. You can also view live footage from the camera and access recorded footage from the app.
It's important to note that the specific steps for mobile app installation and pairing may vary depending on the model of your Ctronics camera. Be sure to consult the user manual or online resources for your specific camera model for detailed instructions.
Overall, the process of installing and pairing a Ctronics camera with a mobile app has become more user-friendly and streamlined in recent years, making it easier for users to set up and customize their cameras.

