How To Install Front Door Camera ?
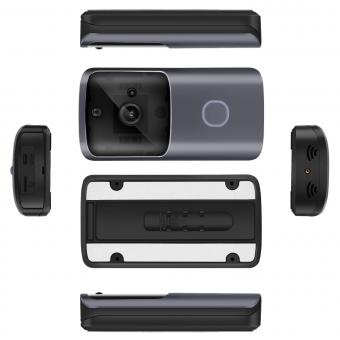
To install a front door camera, first choose a suitable location for the camera that provides a clear view of the area you want to monitor. Then, follow the manufacturer's instructions to mount the camera securely using the provided hardware. Next, connect the camera to a power source, which may involve wiring it to your home's electrical system or using a battery or solar power, depending on the camera type. Finally, set up the camera's connectivity, whether it's through Wi-Fi, Bluetooth, or a wired connection, and configure any accompanying mobile app or software to access the camera's feed and settings. Be sure to test the camera to ensure it's functioning properly before relying on it for security purposes.
1、 Camera Selection
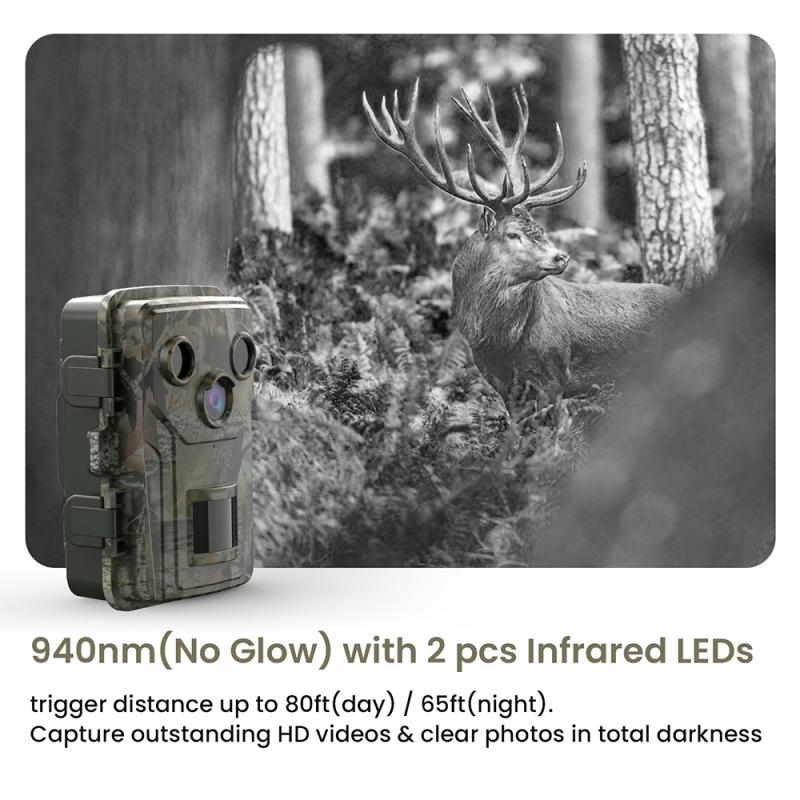
When it comes to installing a front door camera, there are a few key steps to consider. First, you'll want to select a camera that meets your specific needs. Look for a camera with high-resolution video, night vision capabilities, and a wide field of view to capture as much of the area as possible. Additionally, consider whether you want a wired or wireless camera, as well as any additional features such as two-way audio or motion detection.
Once you've selected the right camera, the installation process will vary depending on the type of camera you've chosen. For a wired camera, you'll need to run cables from the camera to your recording device or monitor. For a wireless camera, you'll need to ensure that it's within range of your Wi-Fi network and has a strong signal.
In terms of the latest point of view, there has been a growing trend towards smart home integration, so you may want to consider a camera that is compatible with popular smart home platforms such as Amazon Alexa or Google Assistant. This allows for seamless integration with other smart devices in your home and provides added convenience and control.
Overall, the installation process for a front door camera involves careful consideration of the camera's features and a thorough understanding of the specific requirements for your home. With the right camera and proper installation, you can enhance the security and convenience of your home.
2、 Mounting Location

Mounting Location: When installing a front door camera, the mounting location is crucial for ensuring optimal coverage and security. The ideal location for mounting a front door camera is at eye level, approximately 5-7 feet above the ground. This placement allows for a clear view of visitors' faces and minimizes the risk of tampering or vandalism. Additionally, the camera should be positioned to capture a wide-angle view of the front door and surrounding area, providing comprehensive surveillance.
To install a front door camera, follow these steps:
1. Choose the right camera: Select a high-quality front door camera with features such as motion detection, night vision, and two-way audio for enhanced security and convenience.
2. Determine the mounting location: Identify the optimal position for the camera, ensuring it has a clear view of the front door and surrounding area.
3. Install the mounting bracket: Use a drill and screws to securely attach the mounting bracket to the chosen location.
4. Mount the camera: Attach the camera to the mounting bracket, ensuring it is positioned at the desired angle and height.
5. Connect the camera: Follow the manufacturer's instructions to connect the camera to a power source and configure any necessary settings, such as Wi-Fi connectivity and motion detection sensitivity.
6. Test the camera: Verify that the camera provides a clear view of the front door and functions properly before finalizing the installation.
Latest Point of View: With advancements in smart home technology, many front door cameras now offer integration with mobile apps, allowing homeowners to monitor their front door remotely and receive real-time alerts. Additionally, some cameras feature AI-powered capabilities, such as facial recognition and package detection, further enhancing security and convenience. When installing a front door camera, consider these latest features to maximize the effectiveness of your home surveillance system.
3、 Power Source
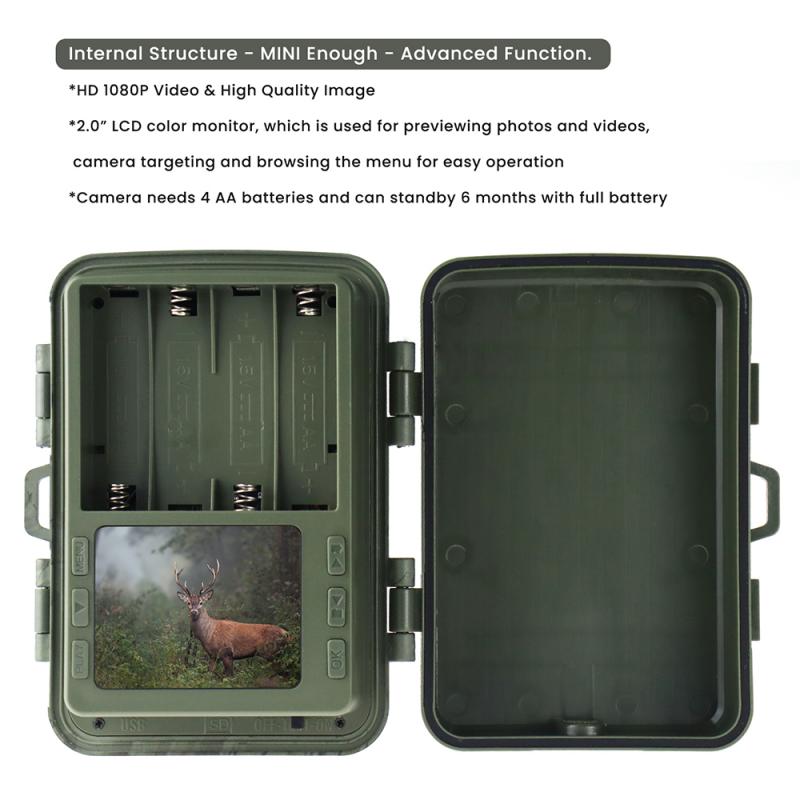
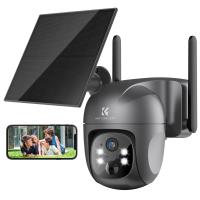
To install a front door camera, the first step is to determine the power source for the camera. There are several options for powering a front door camera, including hardwiring it into the electrical system of the house, using a battery-powered camera, or utilizing a solar-powered camera.
If you choose to hardwire the camera, you will need to locate a nearby power outlet or have an electrician install one. This method provides a reliable power source and eliminates the need to regularly replace batteries. However, it may require professional installation and can be more expensive upfront.
Alternatively, a battery-powered camera offers flexibility in terms of placement and installation, as it does not require a nearby power source. This can be a convenient option for renters or those who do not want to deal with wiring. However, it does require regular battery replacement or recharging.
Another option is a solar-powered front door camera, which harnesses energy from the sun to power the device. This is an environmentally friendly and cost-effective solution, as it eliminates the need for batteries or a hardwired power source. However, it does require adequate sunlight exposure to function effectively.
In the latest point of view, there is a growing trend towards wireless and battery-powered front door cameras due to their ease of installation and flexibility. Additionally, advancements in solar technology have made solar-powered cameras more reliable and efficient, making them an increasingly popular choice for homeowners looking for a sustainable and low-maintenance security solution.
4、 Connectivity
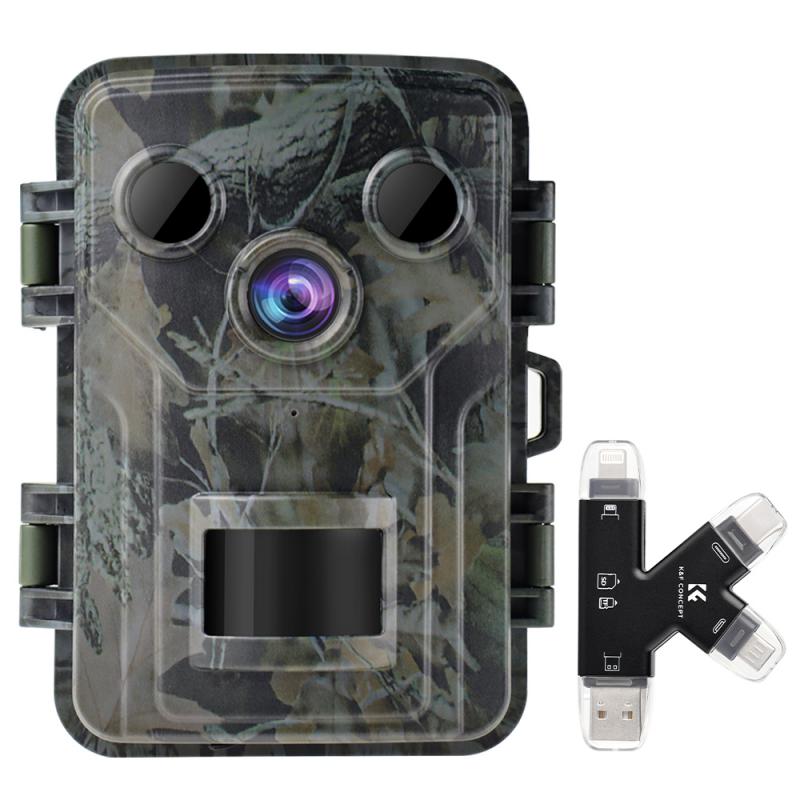
"Connectivity" is a crucial aspect of front door camera installation, as it determines how the camera will communicate with other devices and the internet. To install a front door camera with a focus on connectivity, follow these steps:
1. Choose a camera with strong connectivity options: Look for a front door camera that offers multiple connectivity options such as Wi-Fi, Ethernet, or even cellular connectivity. This ensures that the camera can stay connected to your home network and the internet, providing real-time access to the camera feed.
2. Position the camera within range of your Wi-Fi network: When installing the camera, ensure that it is within the range of your home Wi-Fi network to ensure a stable and strong connection. Consider using Wi-Fi extenders or mesh networks to improve connectivity if needed.
3. Secure the camera's connection: Once the camera is installed, make sure to secure its connection by setting up strong passwords and enabling encryption to prevent unauthorized access.
4. Test the connectivity: After installation, thoroughly test the camera's connectivity by accessing the live feed from different devices and locations to ensure a seamless connection.
5. Stay updated with the latest connectivity technologies: Keep an eye on the latest advancements in connectivity technologies such as 5G or Wi-Fi 6, and consider upgrading your front door camera to take advantage of these developments for faster and more reliable connections.
In today's rapidly evolving technological landscape, the latest point of view on front door camera connectivity emphasizes the importance of robust and secure connections. With the increasing prevalence of smart home devices and the growing demand for remote access to camera feeds, ensuring strong connectivity has become more critical than ever. Additionally, the integration of advanced connectivity technologies such as 5G and Wi-Fi 6 is poised to revolutionize the way front door cameras communicate, offering faster speeds and lower latency for a more seamless user experience. As such, staying informed about the latest connectivity trends and incorporating them into front door camera installations can significantly enhance the overall effectiveness and reliability of the system.

