How To Level A Tripod ?
To level a tripod, start by extending the tripod legs to your desired height. Then, adjust the length of each leg to ensure they are all even. Next, locate the bubble level on the tripod head or base. Use the adjustable knobs or levers to make small adjustments until the bubble is centered within the level. Finally, double-check the levelness by rotating the tripod and ensuring the bubble remains centered in all directions.
1、 Adjusting the tripod legs for proper height and stability
Adjusting the tripod legs for proper height and stability is essential to ensure steady and level shots. Here's a step-by-step guide on how to level a tripod:
1. Set up the tripod: Find a suitable location for your tripod and extend the legs to a comfortable height. Make sure the ground is stable and even.
2. Extend the legs: Start by loosening the leg locks and extending the legs to your desired height. Most tripods have multiple leg sections that can be adjusted independently. Ensure that all the legs are extended equally to maintain stability.
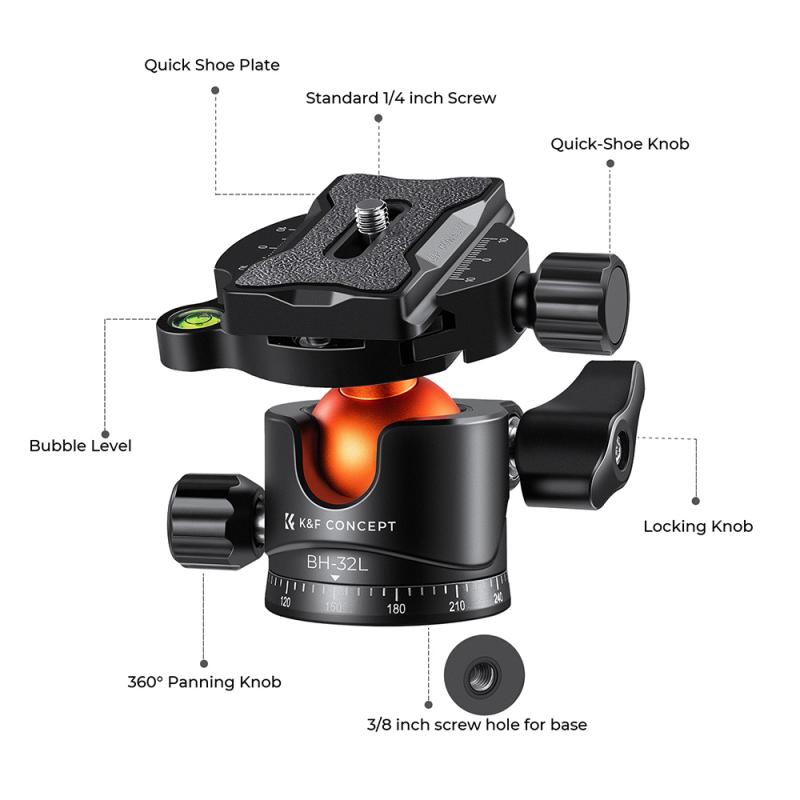
3. Use the built-in level: Many tripods come with a built-in bubble level. Check the level indicator to see if the tripod is balanced. If the bubble is off-center, adjust the legs accordingly.
4. Adjust the leg angles: Most tripods have adjustable leg angles to accommodate uneven terrain. If you're shooting on an incline or rough surface, adjust the leg angles to ensure stability. Some tripods have a center column that can be tilted to compensate for uneven ground.
5. Fine-tune the leveling: If the built-in level isn't accurate or your tripod doesn't have one, you can use a separate bubble level. Place the level on top of the tripod head or camera base and adjust the legs until the bubble is centered.
6. Lock the legs: Once you have achieved a level position, tighten the leg locks to secure the tripod in place. Give each leg a gentle shake to ensure it's stable and won't move during your shoot.
7. Check the stability: After leveling the tripod, it's important to check its stability. Apply slight pressure to the tripod in different directions to ensure it doesn't wobble or shift. If needed, make further adjustments to the leg angles or height.
In recent years, some tripods have introduced advanced features like electronic leveling systems or automatic leg adjustments. These innovations can simplify the leveling process and provide more precise results. However, the basic principles of adjusting the tripod legs for proper height and stability remain the same.
2、 Using a built-in bubble level for accurate leveling
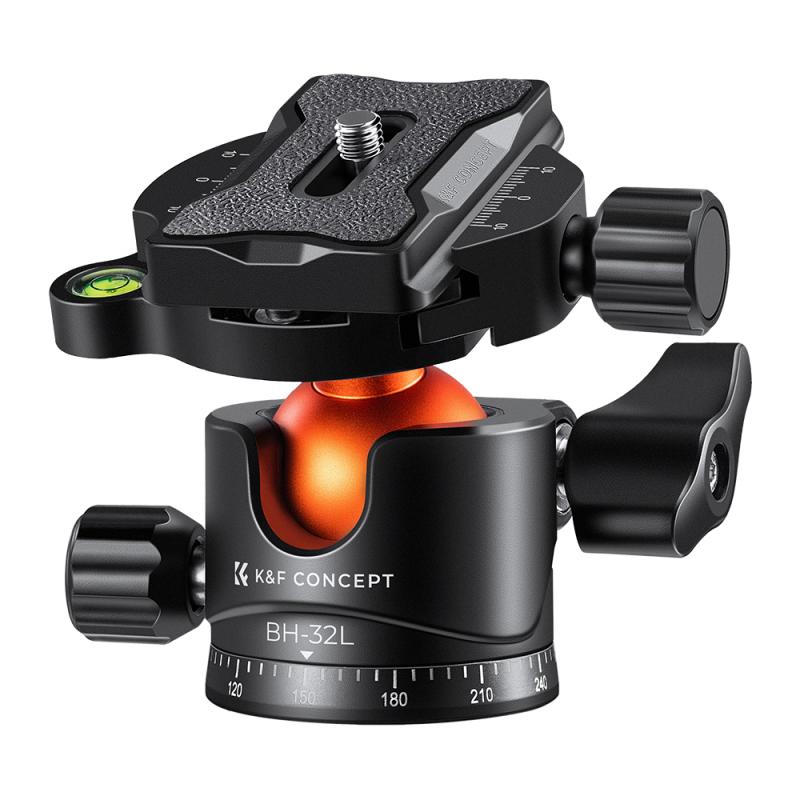
To level a tripod, one can use a built-in bubble level for accurate leveling. Most tripods come equipped with a bubble level, which is a small, circular glass tube filled with liquid and a bubble. The goal is to position the tripod in such a way that the bubble is centered within the tube, indicating that the tripod is level.
To level a tripod using the built-in bubble level, follow these steps:
1. Set up the tripod on a flat surface. Ensure that all three legs are fully extended and locked in place.
2. Adjust the tripod legs to roughly level the tripod. This can be done by extending or retracting the individual leg sections.
3. Look for the bubble level on the tripod head or the top of one of the legs. It is usually a small circular bubble within a marked circle.
4. Adjust the tripod legs further until the bubble is centered within the circle. This indicates that the tripod is level.
5. Double-check the levelness by rotating the tripod 180 degrees and checking the bubble level again. If the bubble remains centered, the tripod is properly leveled.
Using the built-in bubble level ensures that the tripod is level, which is crucial for capturing stable and straight images or videos. It helps prevent any unwanted tilting or distortion in the final footage.
In recent years, some tripods have incorporated digital leveling systems that use sensors and displays to indicate the levelness of the tripod. These systems provide a more precise leveling experience and are especially useful in low-light conditions where the bubble level might be difficult to see. However, the traditional built-in bubble level remains a reliable and widely used method for leveling tripods.
3、 Using a tripod head with a leveling mechanism
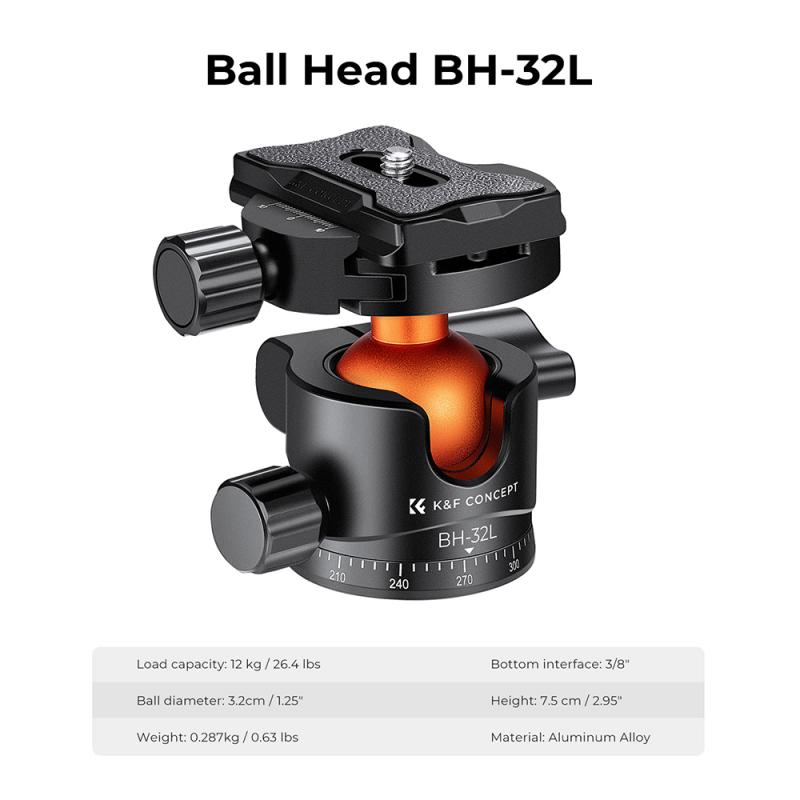
To level a tripod, one of the most effective methods is to use a tripod head with a leveling mechanism. This type of tripod head allows for precise adjustments to ensure that the camera is perfectly level.
Using a tripod head with a leveling mechanism is relatively straightforward. First, attach the tripod head to the tripod legs securely. Then, loosen the leveling mechanism on the tripod head, which typically consists of a bubble level or a ball head with a leveling base.
Next, adjust the tripod legs to the desired height and spread them out evenly. Once the legs are set, use the leveling mechanism to make fine adjustments. If the tripod head has a bubble level, ensure that the bubble is centered between the two lines. If the tripod head has a ball head with a leveling base, adjust the base until the camera is level.
It is important to note that the latest point of view on leveling tripods involves the use of electronic leveling systems. These systems utilize built-in sensors and digital displays to provide real-time feedback on the levelness of the camera. Some tripods even have smartphone apps that connect to the leveling system, allowing for even more precise adjustments.
In conclusion, leveling a tripod can be easily achieved by using a tripod head with a leveling mechanism. This method ensures that the camera is perfectly level, resulting in straight and balanced photographs. The latest advancements in electronic leveling systems further enhance the accuracy and convenience of leveling tripods.
4、 Using a leveling base or platform attachment for uneven surfaces
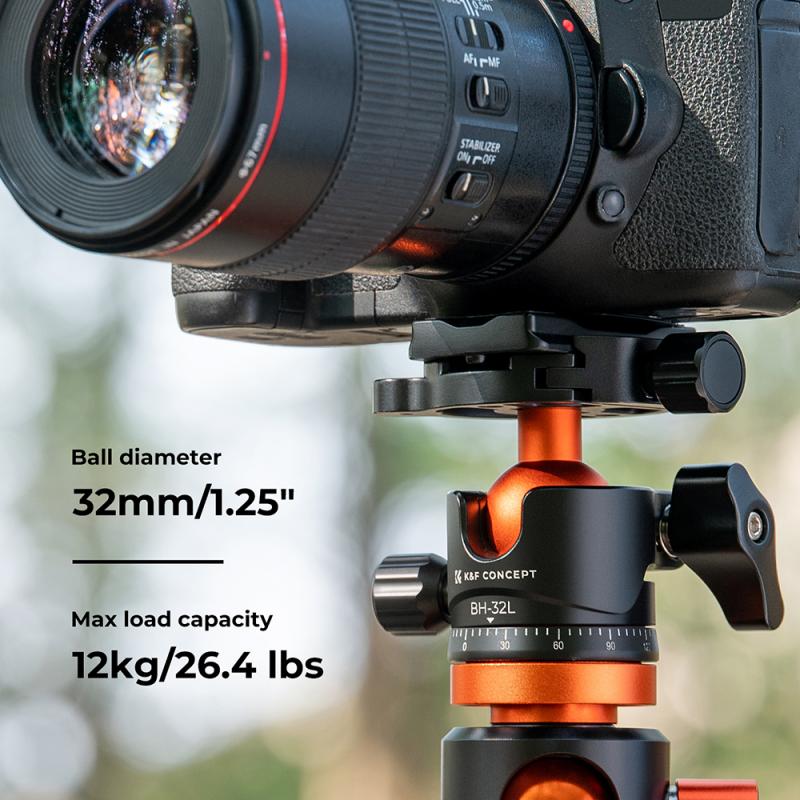
To level a tripod, one can use a leveling base or platform attachment specifically designed for uneven surfaces. These accessories provide a stable and adjustable platform for the tripod, allowing photographers to capture steady shots even on challenging terrain.
A leveling base typically consists of a circular plate with a built-in bubble level. It attaches between the tripod legs and the tripod head, providing a smooth and adjustable platform. By loosening the locking mechanism, the base can be adjusted to level the tripod on uneven ground. Once the desired level is achieved, the locking mechanism is tightened to secure the position.
Using a leveling base or platform attachment offers several advantages. Firstly, it ensures that the tripod is stable and secure, minimizing the risk of accidental falls or damage to the camera equipment. Secondly, it allows photographers to capture level and straight images, avoiding the need for post-processing adjustments. Additionally, it saves time and effort by eliminating the need to search for a level surface or use makeshift solutions to stabilize the tripod.
In recent years, advancements in technology have led to the development of innovative leveling systems. Some tripods now come with built-in leveling mechanisms, eliminating the need for additional attachments. These systems often utilize electronic sensors and motors to automatically level the tripod, making the process even more convenient for photographers.
Overall, using a leveling base or platform attachment is an effective and practical solution for leveling a tripod on uneven surfaces. It ensures stability, improves image quality, and saves time, allowing photographers to focus on capturing their desired shots with confidence.
