How To Make A Camera Filter ?
To make a camera filter, you can start by selecting the type of filter you want to create. This could be a color filter, polarizing filter, neutral density filter, or any other type of filter that suits your needs. Once you have decided on the type of filter, you can gather the necessary materials such as filter material, scissors, tape, and a filter holder.
Next, you can cut the filter material to the appropriate size and shape for your filter holder. You can then attach the filter material to the holder using tape or other adhesive. It is important to ensure that the filter is securely attached to the holder to prevent any light leaks or other issues.
Finally, you can attach the filter holder to your camera lens and start experimenting with different settings and compositions. With some practice and experimentation, you can create unique and creative images using your homemade camera filter.
1、 Types of camera filters
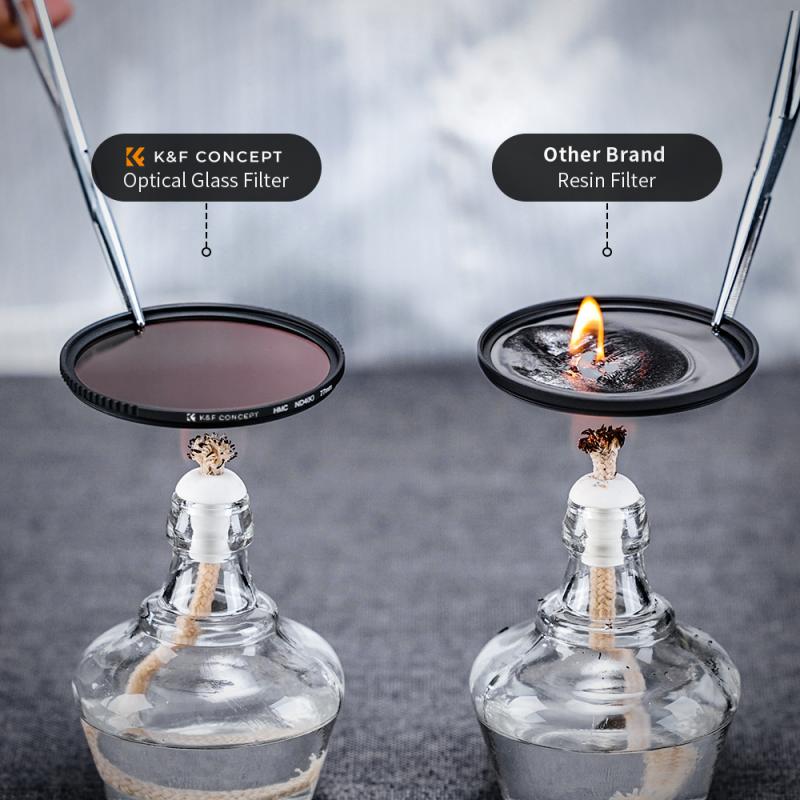
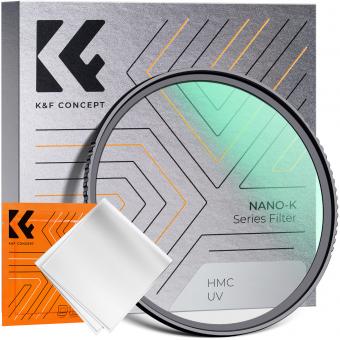
1. UV Filters: These filters are used to reduce the amount of ultraviolet light that enters the camera lens. They are also useful for protecting the lens from scratches and dust.
2. Polarizing Filters: These filters are used to reduce glare and reflections from surfaces such as water, glass, and metal. They also enhance the colors in the image.
3. Neutral Density Filters: These filters reduce the amount of light that enters the camera lens without affecting the color balance. They are useful for creating long exposure shots or for shooting in bright sunlight.
4. Graduated Neutral Density Filters: These filters are similar to neutral density filters, but they have a gradient effect that allows for more control over the exposure in different parts of the image.
5. Color Filters: These filters are used to add or enhance certain colors in the image. For example, a red filter can make the sky appear more dramatic.
How to make a camera filter:
Making a camera filter can be a fun and creative project. One way to make a filter is to use colored cellophane or transparent plastic sheets. Cut the material to fit the size of your lens and attach it with tape or a rubber band. Another option is to use a piece of glass or acrylic and apply a colored film or spray paint to it. Be sure to test the filter before using it on important shots to ensure that it doesn't affect the image quality. It's also important to note that homemade filters may not be as durable or effective as professionally made filters.
2、 Materials needed for making a camera filter
How to make a camera filter:
Making a camera filter is a simple process that can be done at home with a few materials. Here are the steps to follow:
1. Choose the material: The first step is to choose the material for the filter. You can use a piece of colored cellophane or a piece of polarizing film.
2. Cut the material: Cut the material to the size of your camera lens. Make sure to leave some extra material around the edges to attach it to the lens.
3. Attach the material: Use tape or rubber bands to attach the material to the lens. Make sure it is secure and does not move around.
4. Test the filter: Take a few test shots with the filter on to see how it affects the image. Adjust the filter as needed.
5. Use the filter: Once you are happy with the results, use the filter to take your photos.
Materials needed for making a camera filter:
To make a camera filter, you will need the following materials:
1. Colored cellophane or polarizing film
2. Scissors
3. Tape or rubber bands
4. Camera lens
5. A clean workspace
It is important to note that while making a camera filter at home can be a fun and creative project, it may not produce the same quality results as a professional filter. Additionally, some cameras may not be compatible with homemade filters, so it is important to check your camera's manual before attempting to make a filter.
3、 Step-by-step guide to making a camera filter
Step-by-step guide to making a camera filter:
1. Choose the type of filter you want to make: There are various types of camera filters, including polarizing filters, neutral density filters, color filters, and graduated filters. Decide which type of filter you want to make based on your photography needs.
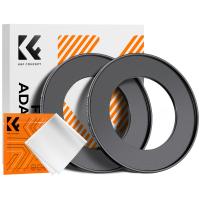
2. Gather the materials: You will need a filter ring, filter material (such as polarizing film or colored gel), scissors, and glue.
3. Cut the filter material to size: Measure the filter ring and cut the filter material to fit inside it.
4. Glue the filter material to the ring: Apply a small amount of glue to the filter ring and carefully place the filter material on top. Press down firmly to ensure it sticks.
5. Let the glue dry: Allow the glue to dry completely before using the filter.
6. Test the filter: Attach the filter to your camera lens and take some test shots to see how it affects your photos. Adjust the filter as needed.
It's important to note that making your own camera filter may not produce the same quality as a professionally made filter. However, it can be a cost-effective solution for photographers on a budget. Additionally, some photographers enjoy experimenting with DIY filters to create unique and creative effects in their photos.
4、 Tips for using and maintaining camera filters
Tips for using and maintaining camera filters:
Camera filters are essential accessories for photographers who want to enhance their images and achieve specific effects. Here are some tips for using and maintaining camera filters:
1. Choose the right filter for the job: There are many types of filters available, each with its own purpose. For example, polarizing filters reduce glare and reflections, while neutral density filters reduce the amount of light entering the lens. Make sure you choose the right filter for the job you want to do.
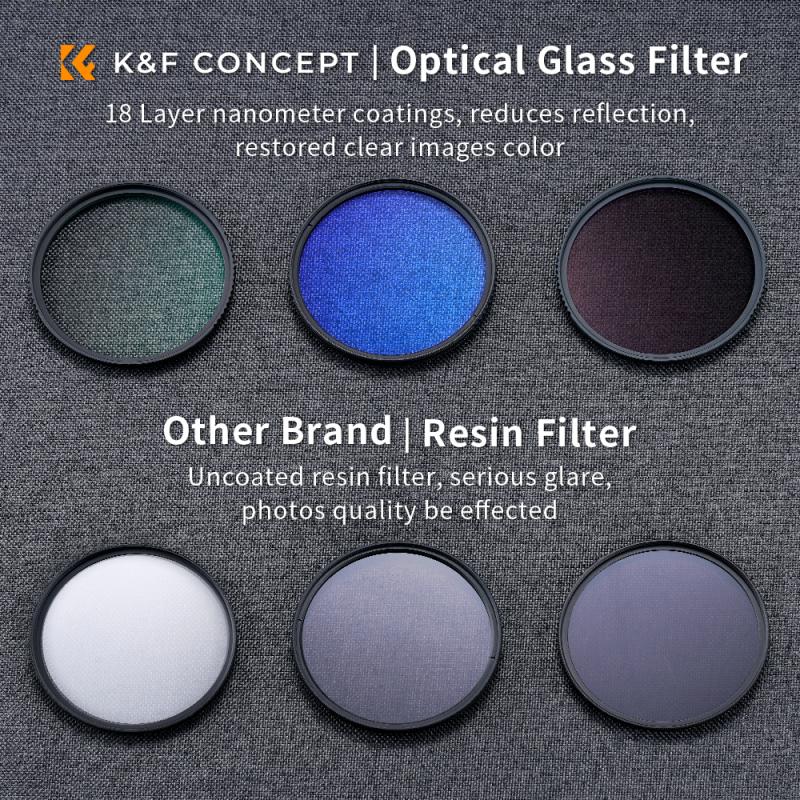
2. Use high-quality filters: Cheap filters can degrade image quality and introduce unwanted artifacts. Invest in high-quality filters from reputable brands to ensure the best results.
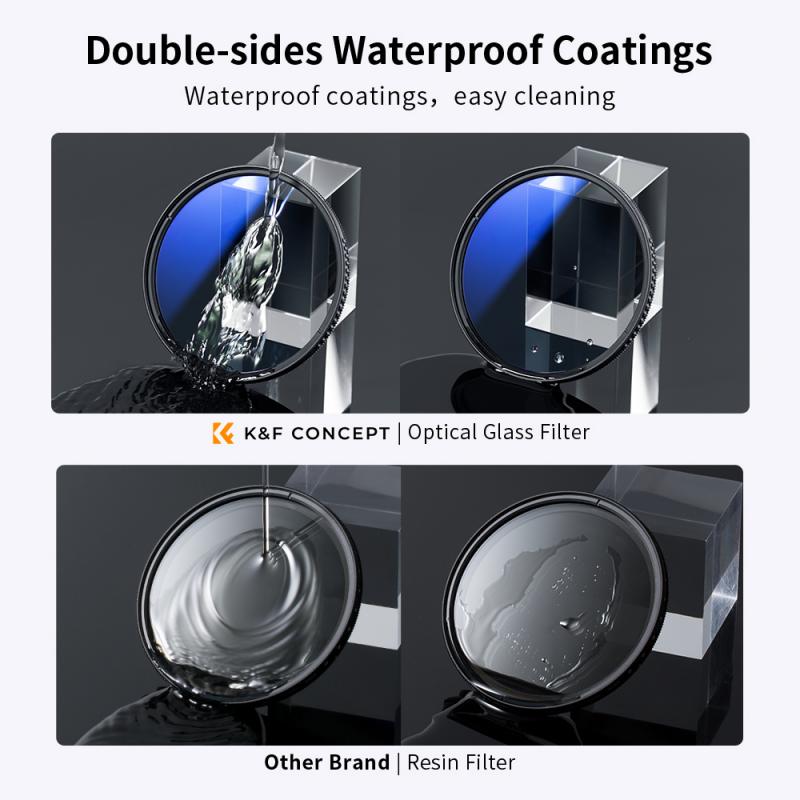
3. Keep your filters clean: Dirty filters can affect image quality, so make sure you keep them clean. Use a microfiber cloth or lens cleaning solution to remove any dirt or smudges.
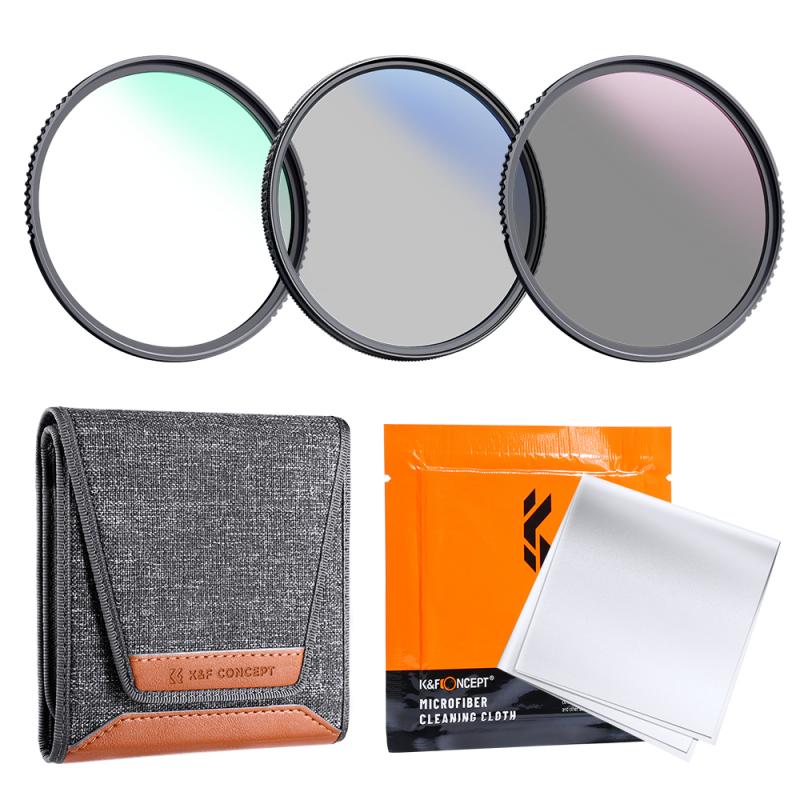
4. Store your filters properly: Keep your filters in a protective case or pouch to prevent scratches and damage.
5. Experiment with different filters: Don't be afraid to experiment with different filters to achieve different effects. Try using a graduated neutral density filter to balance the exposure of a landscape shot, or a color filter to add a warm or cool tone to your images.
6. Remove filters when not needed: Don't leave filters on your lens when they're not needed. This can cause vignetting and affect image quality.
7. Check for compatibility: Make sure your filters are compatible with your lens before using them. Some filters may cause vignetting or other issues on certain lenses.
Overall, camera filters are a great way to enhance your images and achieve specific effects. By following these tips, you can ensure that your filters are used and maintained properly for the best results.











There are no comments for this blog.