How To Make A Camera Tripod ?
To make a camera tripod, you will need a few materials such as PVC pipes, connectors, and a tripod head. Start by cutting the PVC pipes into three equal lengths to serve as the tripod legs. Attach the connectors to the ends of each pipe to join them together, forming a tripod base. Make sure the connectors are secure and stable. Next, attach a tripod head to the top of the tripod legs. The tripod head should have a mounting plate where you can attach your camera securely. Ensure that the tripod head allows for smooth movement and adjustments. Finally, test the stability and adjustability of your homemade camera tripod before using it for photography or videography purposes.
1、 Choosing the right tripod for your camera setup
Choosing the right tripod for your camera setup is crucial for achieving stable and professional-looking photographs. A tripod provides stability, reduces camera shake, and allows for precise composition. While there are various tripods available in the market, it is also possible to make your own camera tripod if you are on a budget or prefer a DIY approach.
To make a camera tripod, you will need a few basic materials such as PVC pipes, connectors, and a tripod head. Start by cutting the PVC pipes to your desired length, keeping in mind the height you want your tripod to reach. Connect the pipes using the connectors to form the tripod legs. Ensure that the connections are secure and stable. Finally, attach a tripod head to the top of the tripod legs, which will allow you to mount your camera securely.
However, it is important to note that making your own tripod may not provide the same level of stability and durability as a professionally manufactured one. Commercial tripods are designed with specific materials and engineering to ensure stability and support for different camera setups. They often come with features like adjustable legs, quick-release plates, and fluid heads for smooth panning and tilting.
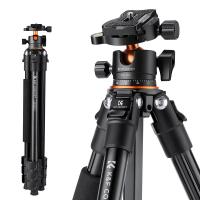
When choosing a tripod, consider factors such as the weight and size of your camera, the maximum load capacity of the tripod, the height range, and the stability of the legs. Additionally, look for features like quick-release plates, adjustable leg angles, and a sturdy tripod head.
In conclusion, while making a camera tripod can be a cost-effective option, it may not provide the same level of stability and features as a commercially available tripod. Therefore, it is recommended to invest in a tripod that suits your camera setup and shooting needs to ensure optimal results.
2、 Assembling and adjusting the tripod legs and center column
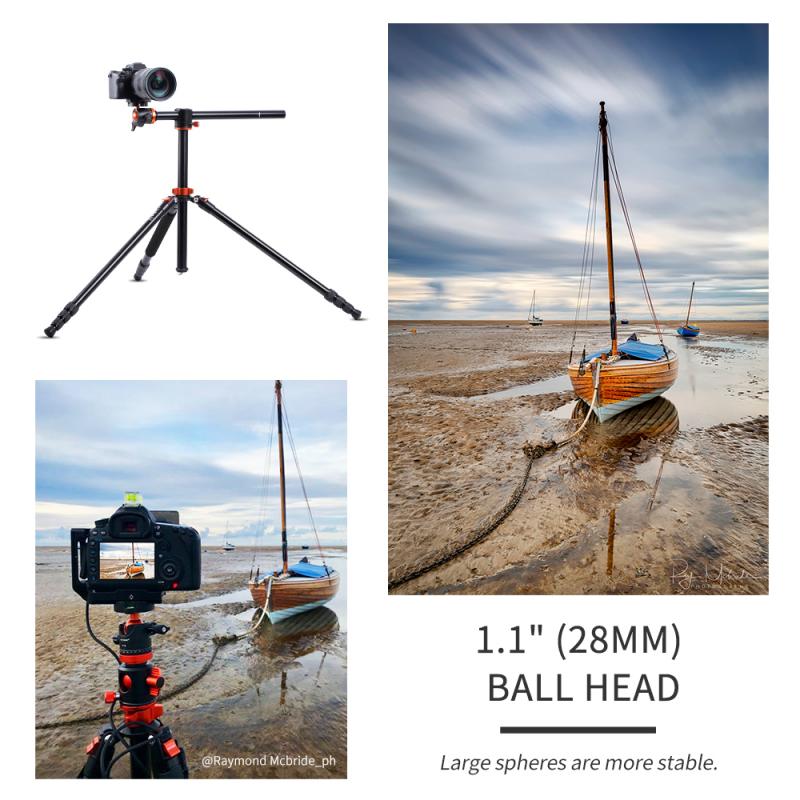
To make a camera tripod, you will need a few materials and tools. Here is a step-by-step guide on assembling and adjusting the tripod legs and center column:
1. Gather the materials: You will need three tripod legs, a center column, a tripod head, screws, and a screwdriver.
2. Start by attaching the tripod legs to the center column. Most tripods have a quick-release mechanism that allows you to easily attach and detach the legs. Align the holes on the legs with the corresponding holes on the center column and insert the screws. Use a screwdriver to tighten the screws securely.
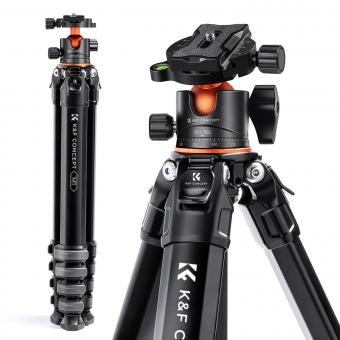
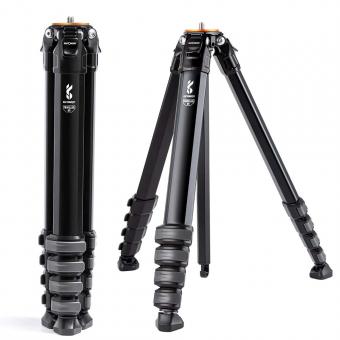
3. Once the legs are attached, extend them to the desired height. Most tripods have adjustable leg sections that can be locked in place using leg locks. Adjust the leg sections by loosening the leg locks, extending the legs to the desired height, and then tightening the leg locks to secure them.
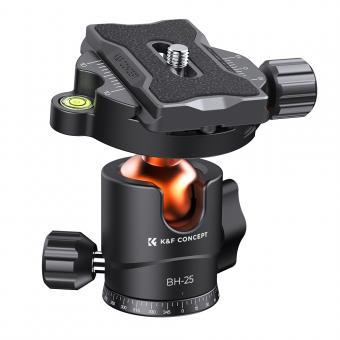
4. Adjust the tripod head. The tripod head is the part that holds the camera and allows for smooth movement and positioning. Attach the tripod head to the top of the center column using the provided screws. Make sure it is securely fastened.
5. Adjust the tripod head to the desired angle and position. Most tripod heads have knobs or levers that allow you to pan, tilt, and rotate the camera. Use these controls to adjust the tripod head to the desired position.
6. Finally, make any necessary adjustments to ensure stability. Check that all screws and leg locks are tightened securely. If the tripod wobbles or feels unstable, adjust the leg angles or use a stabilizing hook or weight to improve stability.
It's important to note that the process of assembling and adjusting a tripod may vary slightly depending on the specific model and brand. Always refer to the manufacturer's instructions for the most accurate and up-to-date information.
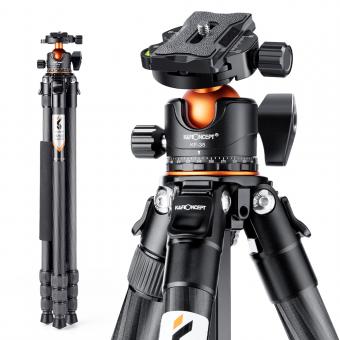
In recent years, there have been advancements in tripod technology, such as lightweight carbon fiber materials and innovative leg-locking mechanisms. These advancements have made tripods more portable and user-friendly. Additionally, some tripods now come with built-in levels and bubble indicators to help ensure that your camera is perfectly level.
3、 Mounting your camera securely onto the tripod head
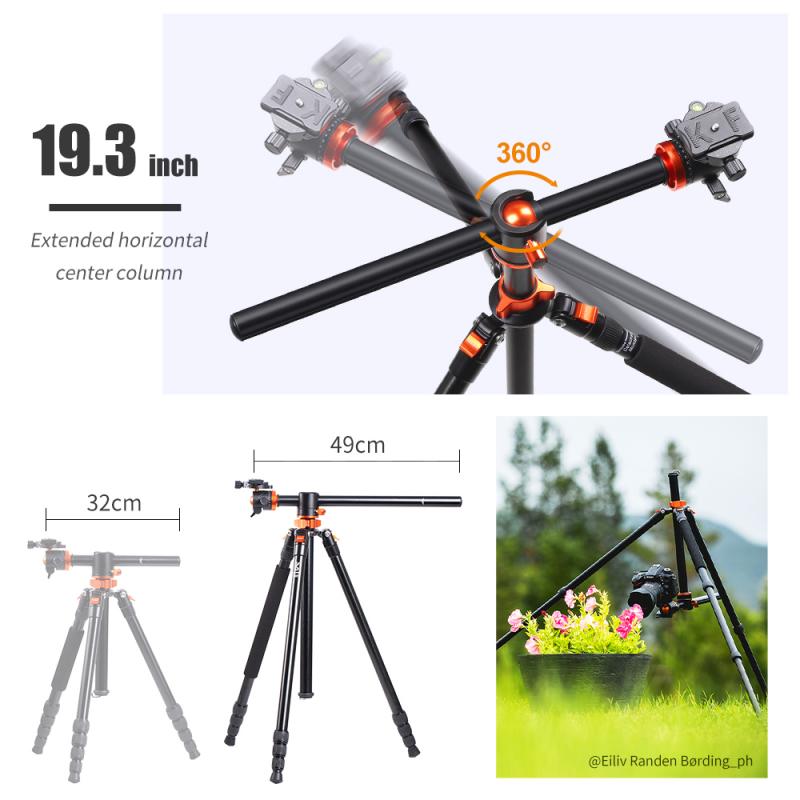
Mounting your camera securely onto the tripod head is an essential step in ensuring stability and capturing sharp, steady images. While there are various types of camera tripods available in the market, making your own camera tripod can be a cost-effective and creative solution. Here's a step-by-step guide on how to make a camera tripod:
1. Gather the materials: You will need three sturdy and equal-length rods, preferably made of aluminum or carbon fiber, a tripod head, a drill, screws, and a tripod plate.
2. Measure and mark the rods: Determine the desired height of your tripod and mark the rods accordingly. Ensure that the marks are at the same height on each rod.
3. Drill holes: Using a drill, create holes at the marked spots on each rod. These holes should be large enough to fit the screws that will attach the tripod head.
4. Attach the tripod head: Place the tripod head on top of the rods and align the holes. Insert screws through the holes and tighten them securely to attach the head to the rods.
5. Add a tripod plate: Attach a tripod plate to the bottom of your camera. This plate will allow you to easily mount and dismount your camera onto the tripod head.
6. Test stability: Once the tripod head and plate are securely attached, test the stability of your homemade tripod by mounting your camera onto it. Adjust the height and position of the legs as needed to achieve the desired stability.
It's important to note that while making your own tripod can be a fun DIY project, it may not provide the same level of stability and features as commercially available tripods. Therefore, it's recommended to consider purchasing a professional tripod if you require advanced features or plan to use heavy camera equipment.
In conclusion, mounting your camera securely onto the tripod head is crucial for capturing steady images. Whether you choose to make your own tripod or purchase one, ensure that it meets your specific needs and provides the stability required for your photography endeavors.
4、 Adjusting the tripod head for optimal framing and stability
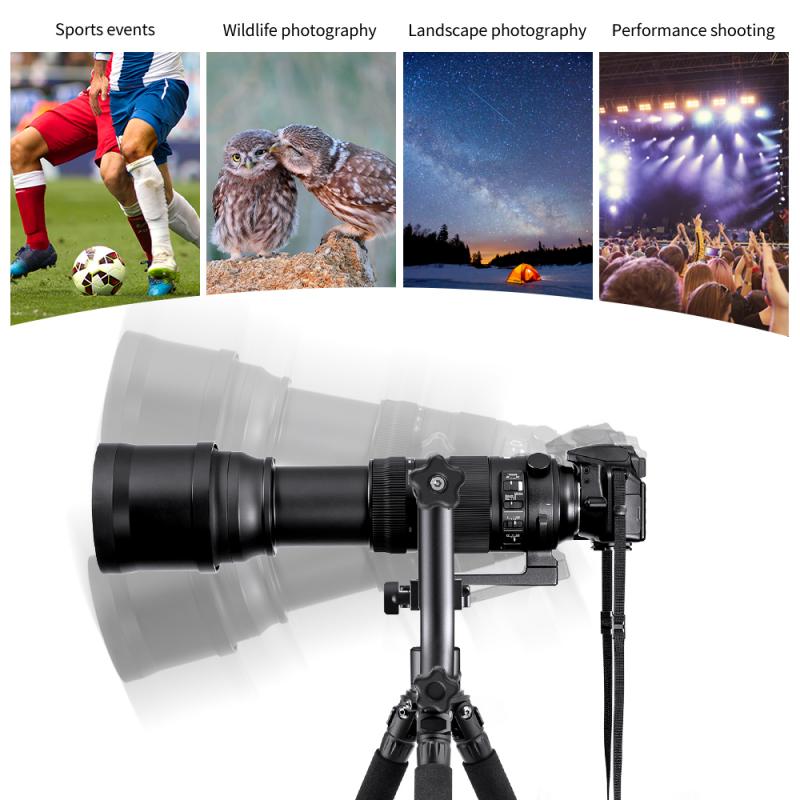
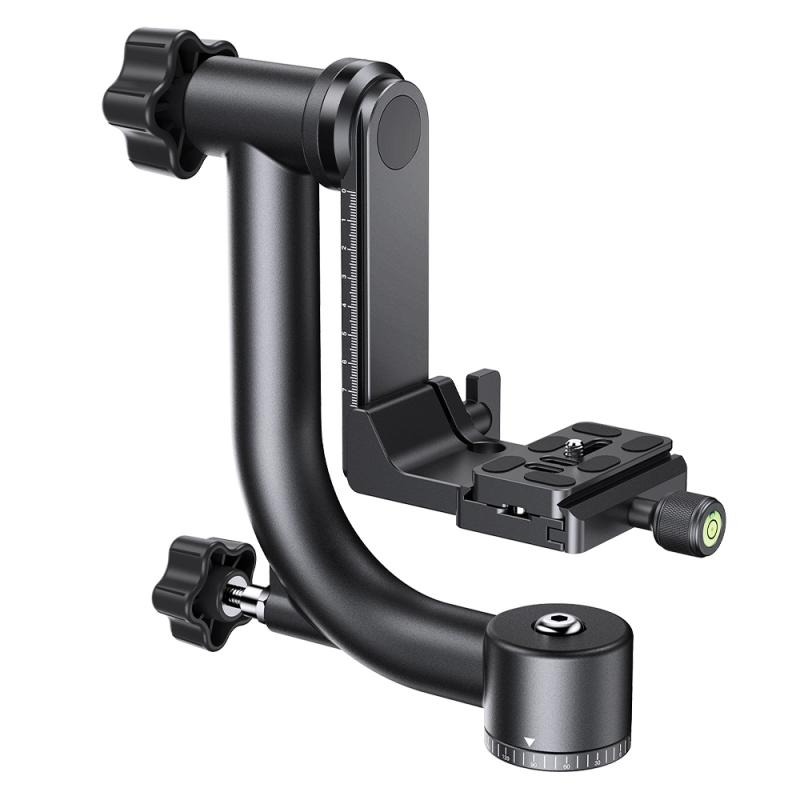
Adjusting the tripod head for optimal framing and stability is an essential step in using a camera tripod effectively. Whether you are a professional photographer or an amateur enthusiast, having a stable and properly positioned camera is crucial for capturing high-quality images. Here's a guide on how to adjust the tripod head for optimal framing and stability.
1. Start by loosening the tripod head's locking mechanism. This will allow you to freely move the head in different directions.
2. Position the camera on the tripod head and ensure it is securely attached. Most tripods have a quick-release plate system that makes it easy to attach and detach the camera.
3. Adjust the tilt angle of the tripod head. This is done by loosening the tilt lock and tilting the head forward or backward to achieve the desired angle. Make sure the camera is level and straight.
4. Next, adjust the pan angle. Loosen the pan lock and rotate the head horizontally to frame your shot. This is particularly useful when capturing panoramic views or following a moving subject.
5. Once you have framed your shot, tighten the tilt and pan locks to secure the tripod head in place. This will ensure stability and prevent any unwanted movement during the exposure.
6. Finally, check the stability of the tripod by gently nudging it. If it wobbles or feels unstable, adjust the tripod legs to ensure they are evenly spread and firmly planted on the ground.
It's worth noting that some tripods come with additional features such as a ball head or a three-way head, which offer more flexibility in adjusting the camera position. These heads allow for smoother movements and precise adjustments, making them ideal for professional photographers.
In recent years, there have been advancements in tripod technology, with the introduction of lightweight and compact tripods that are perfect for travel photography. Additionally, some tripods now come with built-in levels and bubble indicators, making it easier to achieve a perfectly level shot.
Remember, adjusting the tripod head for optimal framing and stability is a crucial step in capturing sharp and well-composed images. Take your time to set up the tripod correctly, and you'll be rewarded with stunning photographs.
