How To Make A Diy Tripod ?
To make a DIY tripod, you can start by gathering materials such as three sturdy sticks or metal rods of equal length, a small piece of wood or metal plate, and some screws or bolts. Next, drill holes in the wood or metal plate to attach the sticks or rods. Place the sticks or rods in a triangular shape and secure them to the plate using screws or bolts. Make sure the sticks or rods are firmly attached to the plate to ensure stability. Finally, attach a camera mount or smartphone holder to the top of the plate, and your DIY tripod is ready to use. Adjust the length of the sticks or rods as needed to achieve the desired height for your tripod.
1、 Materials needed for a DIY tripod
Materials needed for a DIY tripod:
1. PVC pipes: PVC pipes are a versatile and affordable option for constructing the legs of a DIY tripod. They are lightweight and easy to work with. You will need three equal lengths of PVC pipes, preferably around 1 inch in diameter, for the tripod legs.
2. PVC connectors: To join the PVC pipes together and create a stable tripod structure, you will need three T-shaped PVC connectors. These connectors will allow you to attach the legs to a central hub.
3. Central hub: The central hub is where the three legs of the tripod will converge. You can use a PVC cross connector or a custom-made hub using wood or metal. Ensure that the hub is sturdy enough to support the weight of your camera or device.
4. Mounting plate: The mounting plate is where you will attach your camera or device. You can use a standard camera mounting plate or repurpose an existing tripod head. Make sure the mounting plate is compatible with your camera or device.
5. Screws and bolts: To secure the PVC pipes, connectors, and mounting plate together, you will need screws and bolts. Choose ones that are appropriate for the size of the PVC pipes and connectors you are using.
6. Optional: Rubber feet or tripod spikes can be added to the ends of the tripod legs to provide stability and prevent slipping on different surfaces.
When constructing your DIY tripod, it is important to consider the weight and stability of your camera or device. Ensure that the materials used are strong enough to support the weight and that the tripod is well-balanced. Additionally, consider adding adjustable legs or a leveling mechanism to make it easier to set up on uneven surfaces.
Remember, while a DIY tripod can be a cost-effective solution, it may not offer the same level of stability and durability as a commercially available tripod. Use caution and test the stability of your DIY tripod before using it with expensive or fragile equipment.
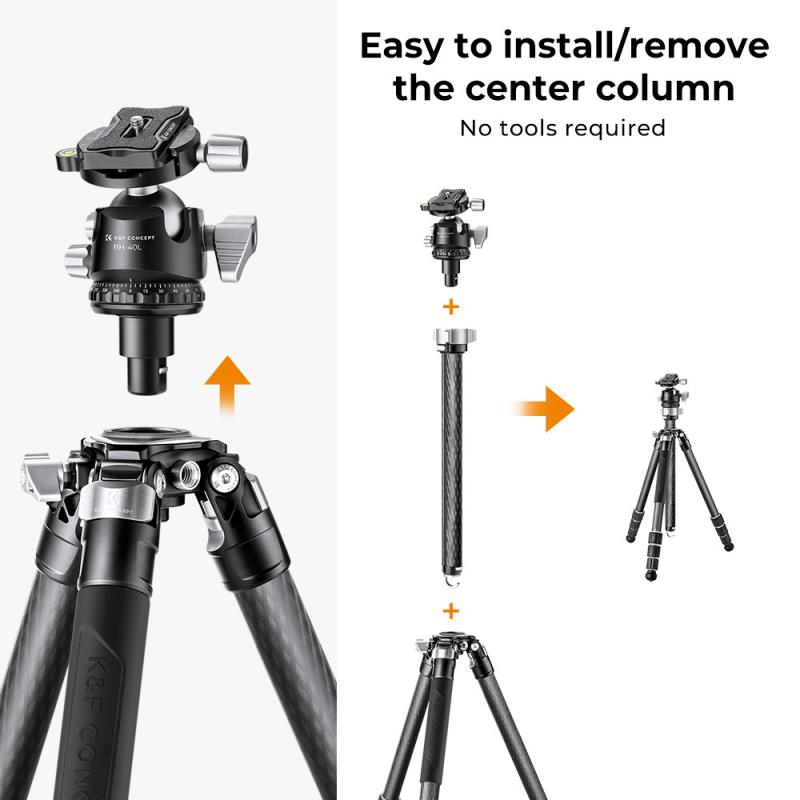
2、 Step-by-step guide to assembling a homemade tripod
Step-by-step guide to assembling a homemade tripod:
1. Gather the materials: To make a DIY tripod, you will need three sturdy and equal-length rods or sticks, a small piece of plywood or a sturdy base, a drill, screws, and a tripod head or mount.
2. Prepare the base: Take the plywood or sturdy base and mark the spots where the rods will be attached. Use a drill to create holes at these marked spots.
3. Attach the rods: Insert the rods into the holes on the base and secure them with screws. Make sure they are tightly fastened to ensure stability.
4. Add a tripod head: If you have a tripod head or mount, attach it to the top of the rods. This will allow you to easily mount your camera or other equipment.
5. Test stability: Once the tripod head is attached, check the stability of your DIY tripod. Adjust the screws if necessary to ensure that the rods are firmly in place.
6. Optional modifications: Depending on your needs, you can add additional features to your DIY tripod. For example, you can attach rubber feet to the bottom of the rods to provide better grip on different surfaces.
It's important to note that while a homemade tripod can be a cost-effective solution, it may not offer the same level of stability and durability as a professional tripod. Additionally, it may not be suitable for heavy equipment or professional photography. However, for casual use or as a temporary solution, a DIY tripod can be a practical option.
3、 Tips for stabilizing and adjusting your DIY tripod
Tips for stabilizing and adjusting your DIY tripod:
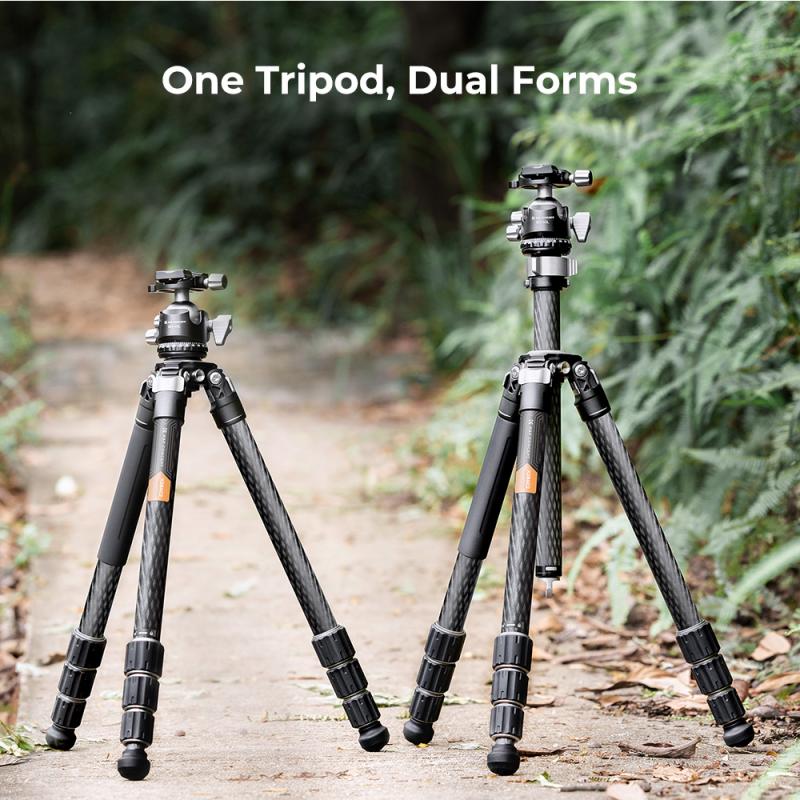
1. Choose the right materials: When making a DIY tripod, it's important to select sturdy and lightweight materials. Aluminum or carbon fiber tubes are commonly used for the legs, while a strong and durable material like steel can be used for the mounting plate.
2. Design for stability: Ensure that your tripod design includes a wide base and sturdy legs to provide stability. Consider adding rubber or silicone feet to prevent slipping on smooth surfaces.
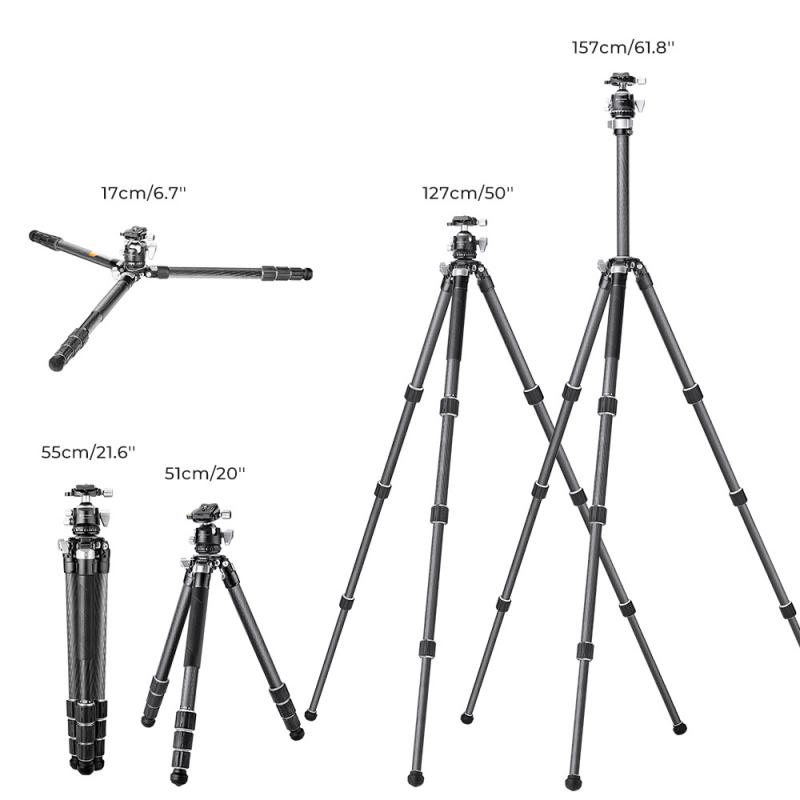
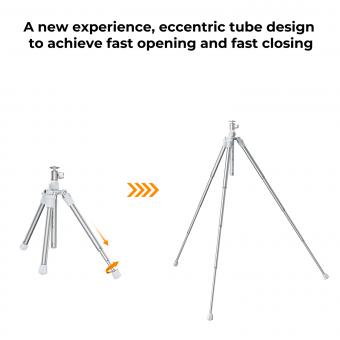
3. Adjustable legs: Incorporate adjustable legs into your DIY tripod design. This will allow you to adapt to uneven terrain and achieve the desired height and stability. You can use telescopic tubes or hinges to create adjustable legs.
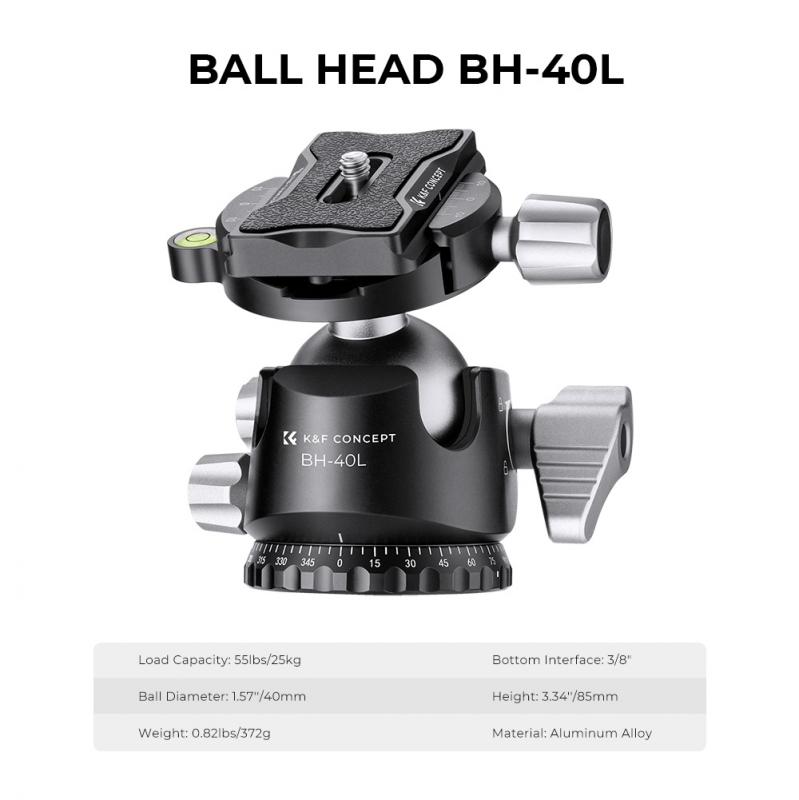
4. Mounting plate: Create a mounting plate that securely holds your camera or smartphone. It should have a standard tripod screw thread (1/4"-20) to ensure compatibility with various devices.
5. Ball head or pan-tilt mechanism: Consider adding a ball head or pan-tilt mechanism to your DIY tripod. These allow for smooth and precise adjustments, enabling you to capture different angles and perspectives.
6. Counterbalance: To enhance stability, you can add a counterbalance system to your DIY tripod. This can be achieved by attaching a weight to the center column or using a tensioning mechanism.
7. Use a level: Incorporate a built-in bubble level or use a separate handheld level to ensure your DIY tripod is perfectly level. This will help prevent tilted or uneven shots.
8. Regular maintenance: Keep your DIY tripod in good condition by regularly checking for loose screws or damaged parts. Lubricate moving parts if necessary to ensure smooth adjustments.
Remember, while a DIY tripod can be a cost-effective solution, it may not offer the same level of stability and durability as commercially available tripods. Always exercise caution and use your DIY tripod in a safe and responsible manner.
4、 Alternative DIY tripod designs and variations
Alternative DIY tripod designs and variations have become increasingly popular among photography enthusiasts and content creators. These DIY options offer a cost-effective and customizable alternative to traditional tripods. Here are a few ideas on how to make a DIY tripod:
1. PVC Pipe Tripod: Using PVC pipes and connectors, you can create a lightweight and adjustable tripod. Cut the pipes to desired lengths and connect them using T or elbow connectors. Attach a camera mount to the top and add adjustable legs with rubber feet for stability.
2. Gorilla Pod: This versatile tripod design utilizes flexible legs that can be wrapped around various objects for stability. To make a DIY Gorilla Pod, use a flexible material like wire or bendable metal rods. Attach a camera mount to the top and shape the legs to fit your desired position.
3. Bean Bag Tripod: A bean bag tripod is a simple and portable option. Fill a small bag with beans or rice and attach a camera mount on top. This design allows you to place your camera on any surface and adjust the angle by manipulating the bean bag.
4. Monopod with a Tripod Base: Combine the stability of a tripod with the flexibility of a monopod by attaching a monopod to a tripod base. This design provides stability while allowing for easy movement and adjustment.
5. Wooden Tripod: If you have woodworking skills, you can create a sturdy and durable tripod using wooden dowels and connectors. Cut the dowels to desired lengths and connect them using metal or wooden connectors. Attach a camera mount on top and add adjustable legs for stability.
It's important to note that while DIY tripods can be cost-effective and fun to create, they may not offer the same level of stability and durability as professional tripods. Consider the weight and size of your camera equipment when choosing a DIY tripod design.








There are no comments for this blog.