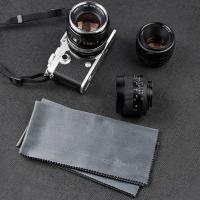
How To Make A Scope Camera ?
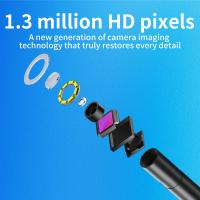
To make a scope camera, you will need a camera module, a scope or telescope, a mounting bracket, and some additional accessories such as cables and adapters. First, attach the camera module to the mounting bracket securely. Then, connect the camera module to the scope or telescope using the appropriate adapters and cables. Ensure that the camera is aligned properly with the scope's eyepiece. Adjust the focus and settings on the camera to capture clear images or videos through the scope. You may also need to use software or apps to control and view the camera feed on a computer or mobile device. Remember to follow any specific instructions provided by the camera module manufacturer and experiment with different settings to achieve the desired results.
1、 Choosing the right camera for scope attachment
Choosing the right camera for scope attachment is crucial for capturing high-quality images and videos. With advancements in technology, there are various options available that can enhance your scope's capabilities. Here are some factors to consider when selecting a camera for scope attachment.
Resolution: Opt for a camera with a high resolution to ensure clear and detailed images. Higher resolutions, such as 4K or even higher, provide better image quality and allow for zooming in without losing clarity.
Sensor Size: A larger sensor size allows for better light sensitivity and improved image quality, especially in low-light conditions. Look for cameras with larger sensors to capture more details and vibrant colors.
Connectivity: Ensure that the camera you choose has the necessary connectivity options to attach it to your scope. Some cameras offer direct attachment options, while others may require additional adapters or mounts.
Image Stabilization: When using a camera attached to a scope, stability is crucial to avoid blurry images. Look for cameras with built-in image stabilization technology to compensate for any movement or vibrations.
Durability: Consider the environment in which you will be using the camera. If you plan to use it in rugged conditions or extreme weather, opt for a camera that is durable and weather-sealed to withstand these conditions.
Battery Life: Scope attachments can drain the camera's battery quickly. Look for cameras with long battery life or consider investing in additional batteries or a power bank to ensure uninterrupted usage.
Additionally, it is worth exploring the latest advancements in camera technology, such as cameras with built-in Wi-Fi or Bluetooth capabilities, which allow for wireless control and easy transfer of images and videos to other devices.
In conclusion, choosing the right camera for scope attachment involves considering factors such as resolution, sensor size, connectivity, image stabilization, durability, and battery life. By carefully evaluating these aspects and staying updated with the latest advancements, you can enhance your scope's capabilities and capture stunning visuals.
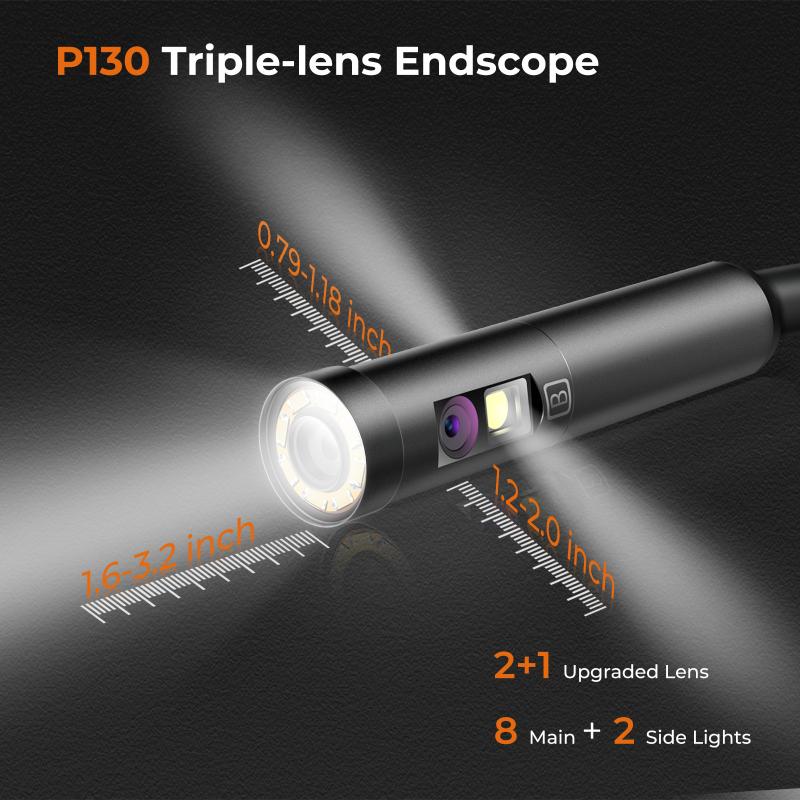
2、 Attaching the camera to the scope securely
Attaching a camera to a scope securely is essential to ensure stability and optimal performance while capturing images or videos. Here's a step-by-step guide on how to make a scope camera:
1. Choose the right camera: Select a camera that suits your needs and budget. Consider factors like resolution, frame rate, and compatibility with your scope.
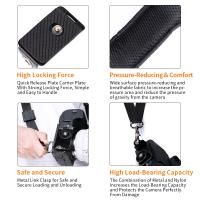
2. Mounting bracket: Purchase or create a mounting bracket that fits your camera and scope. This bracket will securely hold the camera in place.
3. Align the camera: Position the camera on the mounting bracket so that the lens aligns with the scope's eyepiece. Ensure that the camera is centered and level.
4. Secure the camera: Use screws or clamps to firmly attach the camera to the mounting bracket. Double-check that it is tightly secured to prevent any movement or vibrations.
5. Connect the camera to the scope: Depending on the camera and scope models, you may need additional adapters or connectors. Follow the manufacturer's instructions to establish a secure connection.
6. Test and adjust: Before using the scope camera, test it to ensure proper alignment and functionality. Make any necessary adjustments to achieve the desired field of view and focus.
7. Optional accessories: Consider adding accessories like a remote shutter release or a smartphone adapter to enhance your scope camera setup.
It's important to note that the latest point of view in scope camera technology includes the integration of wireless connectivity and advanced image stabilization features. Some cameras now offer Wi-Fi or Bluetooth connectivity, allowing you to remotely control the camera and transfer images or videos to your smartphone or computer. Additionally, image stabilization technology helps reduce motion blur and ensures sharper images, even when capturing fast-moving subjects.
By following these steps and considering the latest advancements, you can securely attach a camera to your scope and enjoy capturing stunning visuals of the world around you.
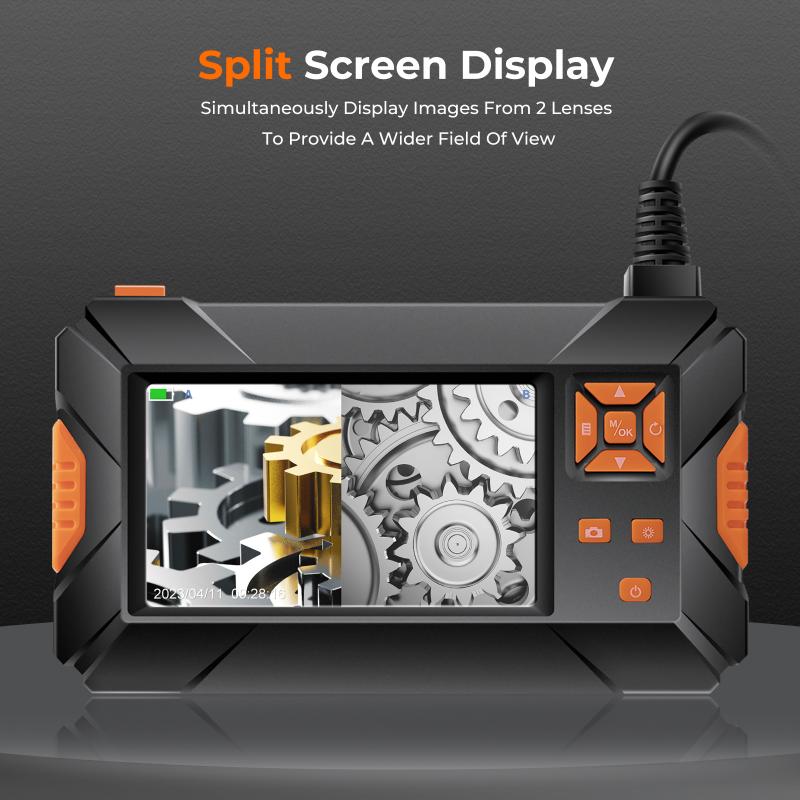
3、 Adjusting camera settings for optimal image quality
Adjusting camera settings for optimal image quality is crucial when using a scope camera. These cameras are commonly used in various fields such as medicine, engineering, and research, where capturing clear and detailed images is essential. To ensure the best image quality, follow these steps:
1. Set the resolution: Higher resolution settings result in sharper images. Adjust the camera's resolution to the highest available option for the best results. This will ensure that even the smallest details are captured accurately.
2. Adjust the focus: Use the camera's focus adjustment feature to achieve a clear and sharp image. Most scope cameras have an autofocus function, but manual focus may be necessary in some cases. Experiment with different focus settings until the image appears crisp and well-defined.
3. Optimize lighting: Proper lighting is crucial for capturing high-quality images. Adjust the camera's exposure settings to ensure that the subject is well-illuminated without being overexposed. Additionally, consider using external lighting sources or attachments to enhance visibility and reduce shadows.
4. White balance: Adjusting the white balance is essential for accurate color reproduction. Different lighting conditions can affect the color temperature, so it's important to set the white balance accordingly. Most scope cameras offer preset white balance options, but manual adjustment may be necessary in certain situations.
5. Use image enhancement features: Many scope cameras come with built-in image enhancement features such as contrast, brightness, and saturation adjustments. Experiment with these settings to enhance the image quality and make it more visually appealing.
6. Regular maintenance: Keep the camera lens clean and free from dust or debris. Regularly inspect and clean the lens to ensure optimal image quality.
It's important to note that the latest point of view in scope camera technology includes advancements in image processing algorithms, which can further enhance image quality. These algorithms can reduce noise, improve sharpness, and enhance color accuracy, resulting in even better image quality. Additionally, some scope cameras now offer wireless connectivity and compatibility with smartphones or tablets, allowing for easier image capture and sharing.
In conclusion, adjusting camera settings for optimal image quality is crucial when using a scope camera. By following the steps mentioned above and considering the latest advancements in scope camera technology, you can capture clear, detailed, and visually appealing images for your specific application.
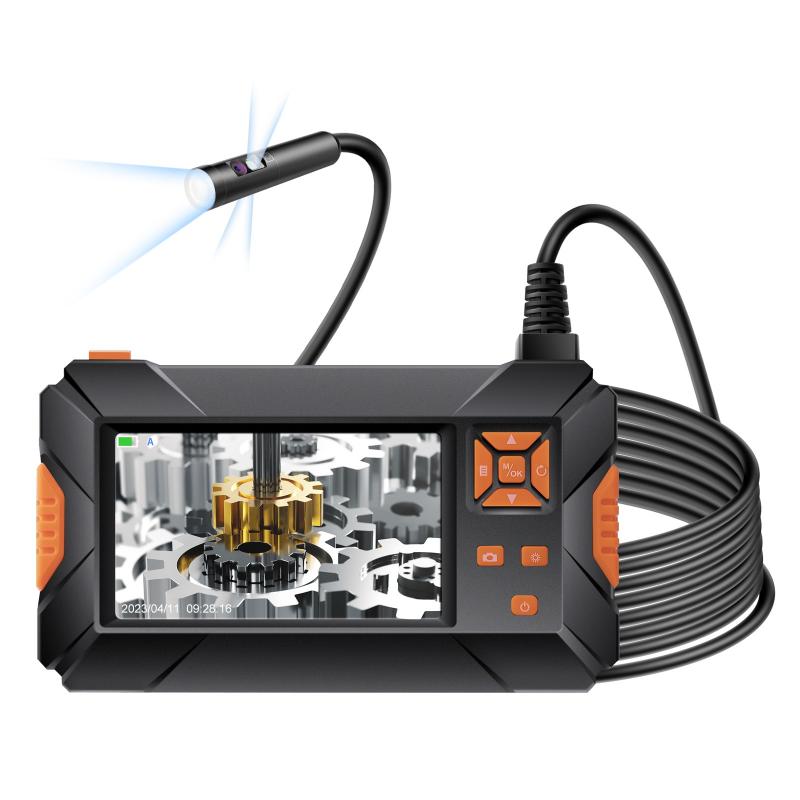
4、 Capturing photos or videos through the scope camera
To make a scope camera, you will need a few essential components and some technical know-how. Here is a step-by-step guide on how to create your own scope camera:
1. Choose a suitable scope: Select a scope that fits your requirements, whether it's for hunting, birdwatching, or any other purpose. Ensure that the scope has a compatible eyepiece for attaching a camera.
2. Select a camera: Depending on your budget and preferences, choose a camera that can capture high-quality photos or videos. DSLR cameras with interchangeable lenses are popular choices, as they offer versatility and excellent image quality. Alternatively, you can use a smartphone with a good camera.
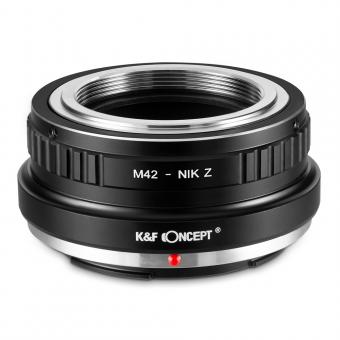
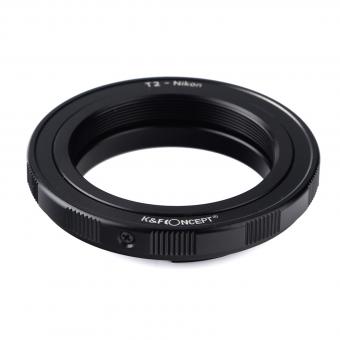
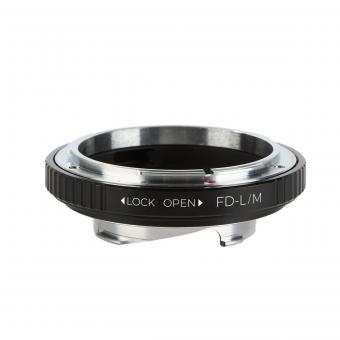
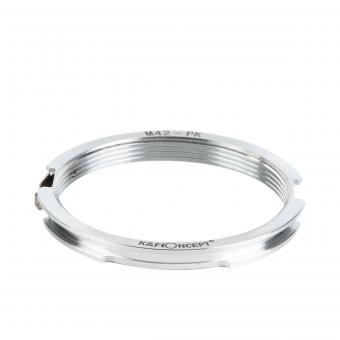
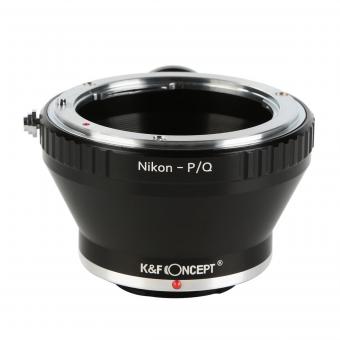
3. Get a scope camera adapter: Purchase a scope camera adapter that connects your camera to the eyepiece of the scope. These adapters come in various designs and sizes, so make sure to choose one that fits your camera and scope model.
4. Attach the adapter: Mount the adapter onto the eyepiece of the scope, ensuring a secure fit. Adjust the adapter to align the camera lens with the eyepiece.
5. Adjust camera settings: Set your camera to manual mode to have full control over exposure, focus, and other settings. Experiment with different settings to achieve the desired results.
6. Capture photos or videos: Once everything is set up, you can start capturing photos or videos through the scope camera. Use a remote shutter release or a timer to minimize camera shake.
7. Post-processing: Transfer the captured media to your computer and use photo or video editing software to enhance the quality and make any necessary adjustments.
It's worth noting that there are also dedicated scope cameras available in the market that are specifically designed for capturing photos or videos through a scope. These cameras often offer advanced features and better compatibility with different scopes.
Remember to always follow local laws and regulations when using a scope camera, especially in sensitive areas or during hunting activities.
