How To Open A Tripod Stand ?
To open a tripod stand, start by unlocking the legs. Most tripod stands have a locking mechanism on each leg that needs to be released. Once the legs are unlocked, spread them apart to create a stable base. Make sure the legs are evenly spaced for balance. Next, extend the center column of the tripod by loosening the locking mechanism and pulling it up. Adjust the height of the center column according to your needs. Finally, tighten all the locking mechanisms to secure the legs and center column in place. Your tripod stand should now be open and ready to use.
1、 Unfolding the tripod legs
To open a tripod stand, the first step is to unfold the tripod legs. Start by loosening the leg locks or clasps located near the top of each leg. These locks are usually twist or flip locks that secure the legs in place when the tripod is folded. Once the locks are loosened, extend each leg outward until they are fully extended. Make sure to extend the legs evenly to maintain stability.
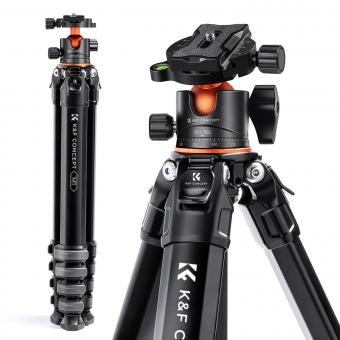
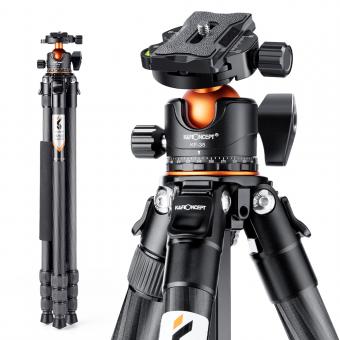
After unfolding the tripod legs, you can adjust the height of the stand by extending or retracting the center column. Most tripods have a center column that can be raised or lowered to achieve the desired height. To adjust the column, locate the column lock, usually located near the top of the tripod, and loosen it. Then, raise or lower the column to the desired height and tighten the lock to secure it in place.
It is important to note that different tripod models may have slight variations in their opening mechanisms. Some tripods may have additional features such as a spreader or a leveling bubble to ensure stability and balance. Therefore, it is always recommended to refer to the manufacturer's instructions for specific details on opening and setting up your tripod.
In conclusion, opening a tripod stand involves unfolding the legs and adjusting the height using the center column. Remember to follow the manufacturer's instructions and ensure that all locks are securely tightened for a stable and safe setup.
2、 Extending the center column
To open a tripod stand, you need to follow a few simple steps. One of the key steps is extending the center column. The center column is the main vertical column that connects the tripod legs and provides additional height adjustment for your camera or equipment. Here's how you can extend the center column:
1. Start by unlocking the center column: Most tripods have a locking mechanism to secure the center column in place. Look for a knob or lever near the top of the center column and loosen it to unlock the column.
2. Extend the center column: Once the locking mechanism is loosened, gently pull up on the center column to extend it. Be careful not to force it or pull too hard, as this could damage the tripod.
3. Adjust the height: As you extend the center column, you can adjust the height according to your needs. Some tripods have markings or measurements on the center column to help you set the desired height accurately.
4. Lock the center column: Once you have extended the center column to the desired height, tighten the locking mechanism to secure it in place. Make sure it is firmly locked to ensure stability and prevent any accidental collapse.
It's important to note that not all tripods have a center column that can be extended. Some tripods have a fixed center column, while others may have a removable or reversible center column. Always refer to the manufacturer's instructions for your specific tripod model to ensure proper usage.
In recent years, there have been advancements in tripod design, including center columns with additional features. Some tripods now offer center columns that can be tilted or rotated, allowing for more versatile shooting angles. Additionally, certain tripods have center columns that can be converted into monopods, providing even more flexibility for photographers and videographers. These advancements have made tripod stands more adaptable to various shooting situations and have enhanced the overall user experience.
3、 Adjusting the tripod head
To open a tripod stand, follow these steps:
1. Start by unlocking the tripod legs. Most tripods have a locking mechanism near the top of each leg. Twist or flip the locks to release them.
2. Extend the legs to your desired height. Pull each leg section outwards until it locks into place. Some tripods have multiple leg sections, so extend them one by one.
3. Once the legs are fully extended, lock them in place by twisting or flipping the locks back into position. Ensure that all locks are securely tightened to prevent any wobbling or instability.
4. Adjust the tripod head to the desired angle. The tripod head is the part that holds your camera or device. Most tripod heads have a handle or knob that allows you to tilt or pan the head. Loosen the knob or handle, adjust the head to the desired angle, and then tighten the knob or handle to secure it.
5. If your tripod has a center column, you can adjust its height as well. The center column is the vertical pole in the center of the tripod. Some tripods allow you to raise or lower the center column by twisting a knob or lever.
Now, your tripod stand is open and ready to use. Make sure to double-check all the locks and adjustments before mounting your camera or device to ensure stability and safety.
From a latest point of view, some tripods now come with quick-release mechanisms that allow for faster setup and adjustment. These mechanisms typically involve a lever or button that releases the tripod legs or head, making it easier to open and adjust the tripod. Additionally, some tripods now have built-in bubble levels or spirit levels to help you ensure that your tripod is perfectly level. These features can be especially useful when shooting in uneven terrain or when capturing panoramic shots.
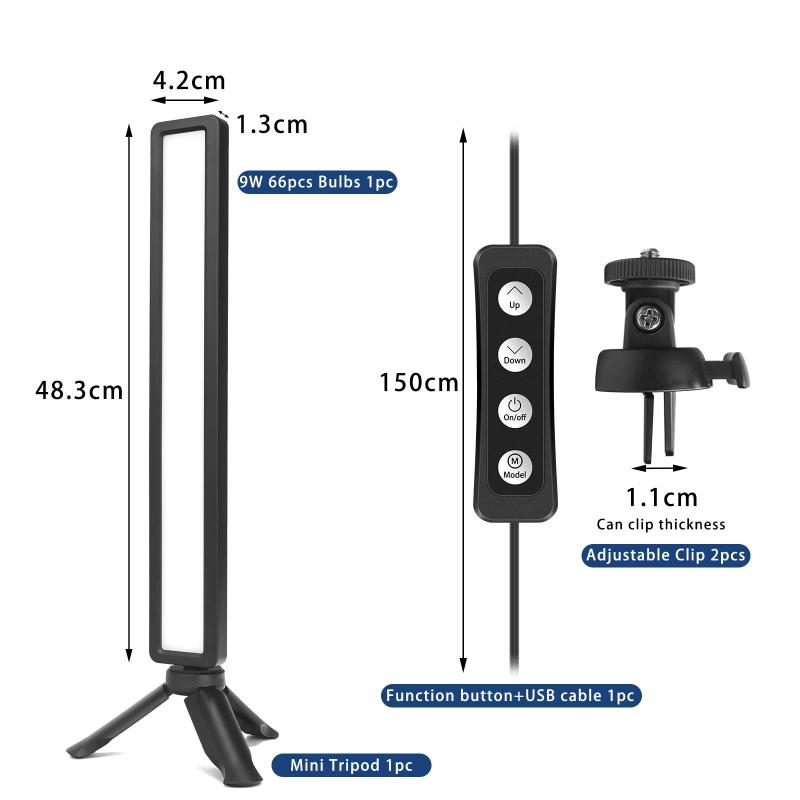
4、 Securing the camera or device
To open a tripod stand, follow these steps:
1. Start by unlocking the tripod legs. Most tripods have a locking mechanism near the top of each leg. Rotate the locks counterclockwise to release them.
2. Extend the legs to your desired height. Pull each leg section outwards until it locks into place. Make sure all three legs are extended evenly to ensure stability.
3. Once the legs are extended, tighten the locks by rotating them clockwise. This will secure the legs in place and prevent them from collapsing.
4. Adjust the center column if necessary. Some tripods have a center column that can be raised or lowered to further adjust the height. Loosen the center column lock, adjust the height, and then tighten the lock to secure it.
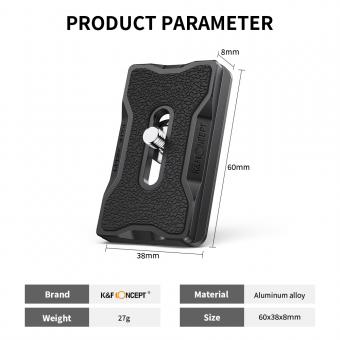
5. Attach the camera or device to the tripod head. Most tripods have a detachable head that allows you to mount your camera or device. Align the mounting plate with the camera's tripod socket and tighten the screw to secure it in place.
Securing the camera or device is crucial to ensure stability and prevent any accidental falls. Make sure the mounting plate is securely attached to the camera or device, and double-check that all screws are tightened properly.
Additionally, it's important to consider the latest point of view when using a tripod stand. With the advancements in technology, tripods now come with features like smartphone mounts and Bluetooth connectivity. These features allow for easier integration with smartphones and other devices, making it more convenient to capture photos or videos. Some tripods even have built-in level indicators and remote controls, providing greater precision and control over your shots.
Remember to always handle your tripod stand with care and follow the manufacturer's instructions for proper usage.











There are no comments for this blog.