How To Operate Digital Camera ?
To operate a digital camera, first, ensure that the camera is charged or has fresh batteries. Turn on the camera by pressing the power button. Use the mode dial or menu options to select the desired shooting mode (such as auto, manual, or scene modes). Frame your shot by looking through the viewfinder or using the LCD screen. Press the shutter button halfway to focus, and fully press it to take the photo. Review the image on the LCD screen and use the playback buttons to navigate through the photos. To adjust settings like exposure, ISO, or white balance, refer to the camera's menu or dedicated buttons. To transfer photos to a computer or other device, connect the camera using a USB cable or remove the memory card and insert it into a card reader.
1、 Powering on and off the digital camera
Powering on and off a digital camera is one of the fundamental operations that every photographer should know. While the basic process remains the same across different camera models, advancements in technology have introduced some variations in recent years.
To power on a digital camera, locate the power button, usually marked with a symbol resembling a circle with a line through it. Press and hold this button for a few seconds until the camera's display screen or viewfinder lights up. Some cameras may have a separate switch for turning on the camera, so refer to the user manual for specific instructions.
When powering off the camera, locate the power button again and press it briefly. The camera will display a message asking for confirmation to turn off. Confirm by selecting "Yes" or a similar option on the screen. Alternatively, some cameras may have a dedicated power-off button or a switch that needs to be toggled.
It's worth noting that some modern cameras have a sleep mode or auto power-off feature to conserve battery life. In such cases, the camera may automatically power off after a certain period of inactivity. To wake the camera from sleep mode, simply press the shutter button or any other button designated for this purpose.
Additionally, some cameras offer a quick start-up feature, allowing you to power on the camera and start shooting almost instantly. This feature is particularly useful when you need to capture spontaneous moments quickly.
Remember to consult your camera's user manual for specific instructions, as different camera models may have slight variations in their power on/off procedures.

2、 Adjusting camera settings and modes
To operate a digital camera effectively, it is crucial to understand how to adjust camera settings and modes. This knowledge allows photographers to capture the best possible images in various situations. Here is a comprehensive guide on how to operate a digital camera by adjusting its settings and modes.
1. Familiarize yourself with the camera's manual: Every camera model has unique features and settings. Reading the manual thoroughly will help you understand the specific functions and capabilities of your camera.
2. Master the exposure triangle: The exposure triangle consists of three elements - aperture, shutter speed, and ISO. Understanding how these settings work together will enable you to control the amount of light entering the camera, resulting in well-exposed images.
3. Experiment with shooting modes: Most digital cameras offer a range of shooting modes, such as auto, manual, aperture priority, shutter priority, and scene modes. Each mode is designed to optimize settings for specific shooting conditions. Experimenting with these modes will help you understand their effects and choose the most suitable one for your needs.
4. Adjust white balance: White balance ensures accurate color reproduction in different lighting conditions. Use the camera's white balance settings to match the lighting situation, whether it's daylight, cloudy, fluorescent, or incandescent.
5. Utilize autofocus and manual focus: Digital cameras offer autofocus and manual focus options. Autofocus is convenient for quick shots, while manual focus allows for precise control over the focus point. Experiment with both to determine which works best for your subject and shooting style.
6. Explore shooting in RAW format: RAW files retain more image data compared to JPEG files, allowing for greater flexibility in post-processing. Shooting in RAW format gives you more control over exposure, white balance, and other settings during editing.
7. Stay updated with firmware upgrades: Camera manufacturers often release firmware upgrades that enhance camera performance and add new features. Regularly check for firmware updates and install them to ensure your camera operates at its best.
In conclusion, adjusting camera settings and modes is essential for operating a digital camera effectively. By understanding and experimenting with these settings, photographers can capture stunning images in various shooting conditions. Stay curious, keep practicing, and embrace the latest advancements in camera technology to continually improve your photography skills.

3、 Understanding and using the camera's autofocus system
Understanding and using the camera's autofocus system is an essential skill for any photographer, whether you are a beginner or an experienced professional. With the advancements in technology, digital cameras now offer a wide range of autofocus options that can greatly enhance your photography.
To operate a digital camera's autofocus system, follow these steps:
1. Familiarize yourself with the autofocus modes: Most cameras offer multiple autofocus modes, such as single-shot autofocus (AF-S), continuous autofocus (AF-C), and automatic autofocus (AF-A). Each mode serves a specific purpose, so understanding when to use each one is crucial.
2. Select the appropriate autofocus point: Modern cameras have multiple autofocus points that allow you to choose where the camera focuses. By default, the camera may select the autofocus point automatically, but you can manually select a specific point for more control over your composition.
3. Understand autofocus area modes: Cameras also offer different autofocus area modes, such as single-point, zone, or wide-area autofocus. These modes determine the size and shape of the area in which the camera focuses. Experiment with different modes to see which one works best for your subject.
4. Utilize autofocus tracking: Many cameras now have advanced autofocus tracking capabilities, which can be particularly useful for capturing moving subjects. This feature allows the camera to continuously adjust focus as the subject moves, ensuring sharp and clear images.
5. Consider using manual focus: While autofocus is incredibly convenient, there may be situations where manual focus is more appropriate. For example, in low-light conditions or when shooting subjects with low contrast, manual focus can be more accurate and reliable.
It's important to note that the latest advancements in autofocus technology have made it faster, more accurate, and more intelligent. Some cameras now incorporate artificial intelligence and machine learning algorithms to recognize and track subjects more effectively. Stay updated with the latest firmware updates and camera models to take advantage of these advancements.
In conclusion, understanding and using the autofocus system of a digital camera is crucial for capturing sharp and well-focused images. By familiarizing yourself with the autofocus modes, selecting the appropriate autofocus point, utilizing autofocus area modes, and considering manual focus when necessary, you can make the most of your camera's autofocus capabilities. Stay informed about the latest advancements in autofocus technology to continually improve your photography skills.
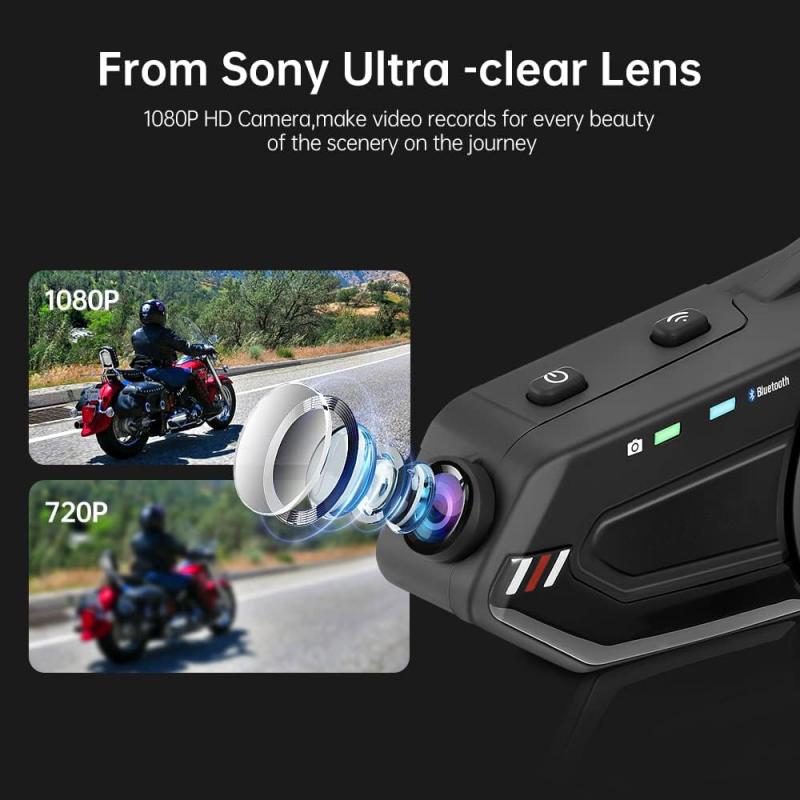
4、 Capturing photos and videos with the digital camera
Capturing photos and videos with a digital camera has become easier than ever before, thanks to advancements in technology. Here is a step-by-step guide on how to operate a digital camera effectively:
1. Familiarize yourself with the camera: Read the user manual thoroughly to understand the various buttons, settings, and features of your specific camera model. This will help you make the most of its capabilities.
2. Power on the camera: Press the power button to turn on the camera. Ensure that the battery is fully charged or has enough power to last through your shooting session.
3. Adjust the settings: Use the camera's menu system to adjust settings such as ISO, white balance, exposure, and shooting mode. These settings can greatly impact the quality of your photos and videos, so it's important to experiment and find the right balance for each situation.
4. Focus and compose your shot: Use the autofocus feature to ensure your subject is sharp and in focus. Compose your shot by considering elements such as framing, perspective, and lighting. Take your time to find the best angle and position for your subject.
5. Capture the photo or video: Press the shutter button halfway to focus, and then fully press it to capture the photo or start recording the video. Keep the camera steady to avoid blurry shots, and use a tripod if necessary.
6. Review and edit: After capturing your photos and videos, review them on the camera's LCD screen. Delete any unwanted shots and make note of any adjustments you may need to make for future shots. If desired, you can also edit your photos using software programs like Adobe Photoshop or Lightroom.
7. Transfer and share: Transfer your photos and videos to a computer or other storage device for safekeeping. You can also share them on social media platforms or print them to showcase your work.
Remember, the best way to become proficient in operating a digital camera is through practice. Experiment with different settings and techniques to develop your own unique style and capture stunning photos and videos.





(1)-200x200.jpg)
