How To Photograph Waterfalls With Nd Filters ?
To photograph waterfalls with ND filters, you will need to follow these steps:
1. Choose the right ND filter: Select an ND filter with a high density, such as ND1000 or ND2000, to reduce the amount of light entering the camera.
2. Use a tripod: To avoid camera shake, use a sturdy tripod to keep your camera steady.
3. Set the camera to manual mode: Set the camera to manual mode to have full control over the exposure settings.
4. Set a slow shutter speed: Set a slow shutter speed to capture the motion of the water. Start with a shutter speed of 1-2 seconds and adjust accordingly.
5. Adjust the aperture: Adjust the aperture to control the depth of field. A smaller aperture (higher f-stop number) will result in a larger depth of field.
6. Use a remote shutter release: Use a remote shutter release or the camera's self-timer to avoid camera shake when pressing the shutter button.
7. Experiment with different angles: Try different angles and compositions to capture the waterfall in a unique way.
By following these steps, you can capture stunning photos of waterfalls with ND filters.
1、 Understanding ND filters and their effects on photography

How to photograph waterfalls with ND filters:
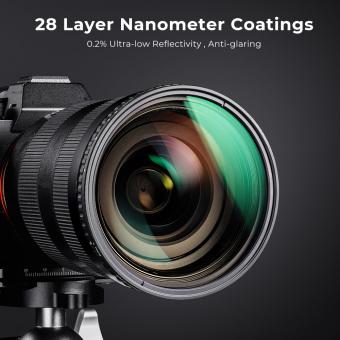
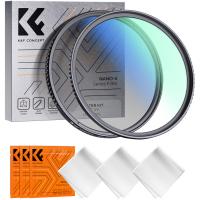
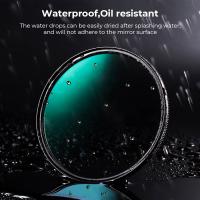
ND filters, or neutral density filters, are essential tools for capturing stunning waterfall photos. These filters reduce the amount of light entering the camera, allowing for longer exposure times without overexposing the image. Here are some tips for using ND filters to photograph waterfalls:
1. Choose the right filter: ND filters come in different strengths, measured in stops. For waterfall photography, a 6-stop or 10-stop filter is recommended to achieve the desired effect.
2. Use a tripod: Longer exposure times require a stable camera, so a tripod is essential. Make sure the tripod is set up on a stable surface and use a remote shutter release or self-timer to avoid camera shake.
3. Adjust your settings: With an ND filter, you'll need to adjust your camera settings to compensate for the reduced light. Start with a low ISO and a small aperture (high f-stop number) to achieve a longer exposure time.
4. Experiment with shutter speed: The longer the exposure time, the more motion blur you'll capture in the waterfall. Experiment with different shutter speeds to find the right balance between motion blur and sharpness.
Understanding ND filters and their effects on photography:
ND filters are a valuable tool for photographers, allowing for creative control over exposure and depth of field. They come in different strengths, measured in stops, and can be used to achieve a variety of effects, from blurring motion to creating shallow depth of field in bright light.
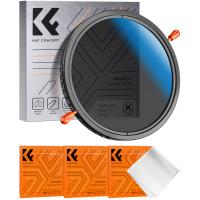
One of the latest developments in ND filters is the use of variable ND filters, which allow for adjustable strength by rotating the filter. These filters are convenient for outdoor photography, where lighting conditions can change quickly.
It's important to note that ND filters can also affect color balance, so it's important to adjust white balance settings accordingly. Additionally, some ND filters can introduce vignetting or color cast, so it's important to choose high-quality filters from reputable brands.
Overall, ND filters are a valuable tool for photographers looking to expand their creative options and achieve stunning results in challenging lighting conditions.
2、 Choosing the right ND filter for waterfall photography

Choosing the right ND filter for waterfall photography is crucial to achieving the desired effect. ND filters, or neutral density filters, are designed to reduce the amount of light entering the camera lens without affecting the color balance. This allows for longer exposure times, which can create a smooth, silky effect on moving water.
When selecting an ND filter for waterfall photography, consider the strength of the filter. ND filters come in different strengths, ranging from 1-stop to 10-stops. The strength of the filter will determine the amount of light that is blocked, and therefore the length of the exposure time. A 3-stop or 6-stop ND filter is typically sufficient for waterfall photography.
Once you have selected the appropriate ND filter, it's time to set up your shot. When photographing waterfalls, it's important to use a tripod to keep the camera steady during the longer exposure times. You may also want to use a remote shutter release to further reduce camera shake.
When composing your shot, consider the angle and perspective of the waterfall. Experiment with different shutter speeds to achieve the desired effect on the water. A longer exposure time will create a smoother, more ethereal effect, while a shorter exposure time will capture more detail in the water.
In addition to using an ND filter, you may also want to consider using a polarizing filter to reduce glare and enhance the colors in your shot. With the right equipment and technique, photographing waterfalls with ND filters can result in stunning, otherworldly images.
3、 Setting up your camera for long exposure photography

How to photograph waterfalls with ND filters:
1. Choose the right ND filter: ND filters come in different strengths, ranging from 1-stop to 10-stops. For waterfall photography, a 6-stop or 10-stop ND filter is recommended to achieve a longer exposure time.
2. Use a tripod: A sturdy tripod is essential for long exposure photography. It will keep your camera steady and prevent any camera shake.
3. Set your camera to manual mode: This will give you full control over your camera settings.
4. Set your ISO to the lowest possible setting: This will reduce the amount of noise in your image.
5. Set your aperture to a small f-stop: This will increase your depth of field and ensure that your entire image is in focus.
6. Set your shutter speed to a few seconds or more: This will allow you to capture the motion of the water and create a silky smooth effect.
7. Use a remote shutter release: This will prevent any camera shake when you press the shutter button.
Setting up your camera for long exposure photography:
1. Choose the right location: Look for a location with interesting subjects and good lighting.
2. Use a tripod: A sturdy tripod is essential for long exposure photography. It will keep your camera steady and prevent any camera shake.
3. Set your camera to manual mode: This will give you full control over your camera settings.
4. Set your ISO to the lowest possible setting: This will reduce the amount of noise in your image.
5. Set your aperture to a small f-stop: This will increase your depth of field and ensure that your entire image is in focus.
6. Set your shutter speed to a few seconds or more: This will allow you to capture the motion of the subject and create a sense of movement in your image.
7. Use a remote shutter release: This will prevent any camera shake when you press the shutter button.
8. Experiment with different shutter speeds: Try different shutter speeds to see what effect they have on your image. A longer shutter speed will create a more dramatic effect, while a shorter shutter speed will freeze the motion of your subject.
9. Be patient: Long exposure photography takes time and patience. Take your time and experiment with different settings until you get the desired effect.
4、 Composing your waterfall shot for maximum impact
How to photograph waterfalls with ND filters:
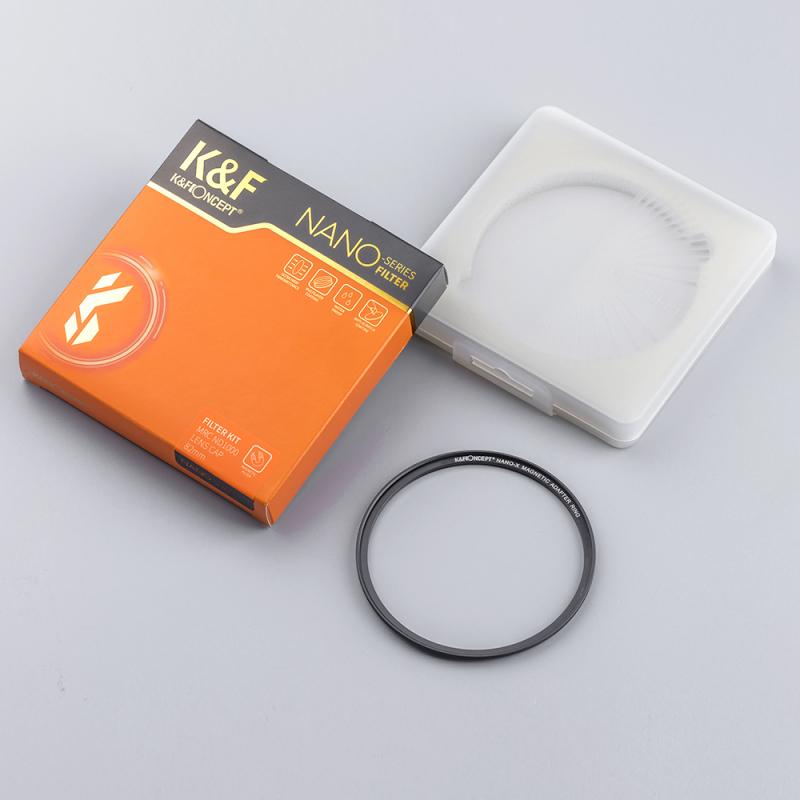
1. Choose the right ND filter: ND filters come in different strengths, ranging from 1-stop to 10-stops. For waterfall photography, a 6-stop or 10-stop ND filter is recommended to achieve the desired effect of a silky smooth waterfall.
2. Use a tripod: A sturdy tripod is essential for long exposure photography. It will keep your camera steady and prevent any unwanted camera shake.
3. Set your camera to manual mode: This will give you full control over your camera settings, allowing you to adjust the shutter speed, aperture, and ISO to achieve the desired exposure.
4. Use a remote shutter release: This will prevent any camera shake caused by pressing the shutter button.
5. Experiment with shutter speed: The longer the shutter speed, the smoother the waterfall will appear. Start with a shutter speed of around 1-2 seconds and adjust accordingly.
Composing your waterfall shot for maximum impact:
1. Look for interesting angles: Try shooting from different angles to find the most interesting composition. Get low to the ground or shoot from a higher vantage point to add depth and interest to your shot.
2. Use leading lines: Use the natural lines of the waterfall and surrounding landscape to lead the viewer's eye through the image.
3. Include foreground interest: Adding foreground interest, such as rocks or foliage, can add depth and interest to your shot.
4. Pay attention to the light: The best time to shoot waterfalls is during the golden hour, when the light is soft and warm. Avoid shooting in harsh midday light, which can create harsh shadows and blown-out highlights.
5. Experiment with different lenses: Try using a wide-angle lens to capture the entire scene, or a telephoto lens to zoom in on specific details.


