How To Point The Wildlife Camera For Badgers ?
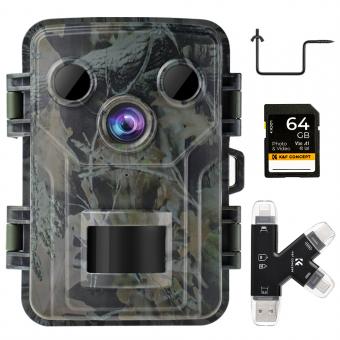
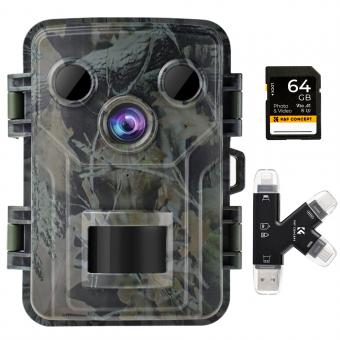
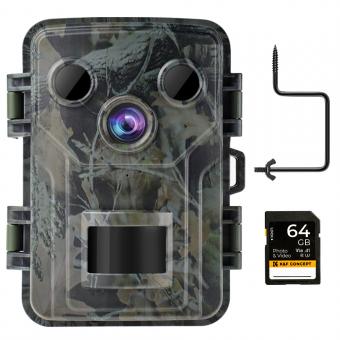
To point a wildlife camera for badgers, position it near a known badger sett or a location where badger activity has been observed. Aim the camera towards the sett entrance or along a frequently used badger trail. Ensure that the camera is securely mounted and at an appropriate height to capture the badgers' movements. Adjust the camera settings, such as sensitivity and trigger speed, to optimize the chances of capturing badger activity. Regularly check and review the camera footage to monitor badger behavior and activity patterns.
1、 Camera Placement: Optimal positioning for capturing badger activity
Camera Placement: Optimal positioning for capturing badger activity
When it comes to setting up a wildlife camera to capture badger activity, proper camera placement is crucial. Here are some tips to help you position your camera optimally:
1. Identify active badger areas: Before setting up your camera, it's important to locate areas where badgers are known to frequent. Look for signs such as well-worn paths, burrows, or scratch marks on trees. This will increase your chances of capturing their activity.
2. Choose a suitable camera location: Once you've identified an active area, find a suitable location to mount your camera. Look for a spot that offers a clear view of the badger's path or burrow entrance. Make sure the camera is securely mounted to avoid any movement or disturbance.
3. Angle and height: Position the camera at a slight downward angle to capture the badgers as they move along their path. This will provide a better view of their movements and behaviors. The height of the camera should be adjusted to ensure it is at the badger's eye level.
4. Test the camera's field of view: Before leaving the camera unattended, test its field of view to ensure it covers the desired area. Walk along the badger's path or simulate their movements to check if the camera captures the entire activity.
5. Consider lighting conditions: Badgers are primarily nocturnal animals, so it's important to consider lighting conditions. Position the camera in a way that takes advantage of natural or artificial light sources to capture clear footage during nighttime.
6. Regularly check and adjust: Badgers can be unpredictable, so it's important to regularly check the camera and adjust its position if necessary. This will help ensure you capture the best possible footage of their activity.
Remember, each badger habitat may have unique characteristics, so it's important to adapt these guidelines to suit your specific location. Additionally, staying up to date with the latest research and technology advancements in wildlife camera placement can provide valuable insights for capturing the best footage of badger activity.
2、 Field of View: Ensuring the camera covers the desired area
To point the wildlife camera for badgers, it is important to consider the field of view and ensure that the camera covers the desired area effectively. Here are some steps to help you achieve this:
1. Determine the badger activity area: Before setting up the camera, identify the specific area where badgers are known to frequent. Look for signs such as burrows, tracks, or feeding areas. This will help you choose the best location for the camera.
2. Position the camera strategically: Once you have identified the badger activity area, find a suitable spot to mount the camera. Look for a sturdy tree or post that provides a clear view of the area. Make sure the camera is at a height that captures the badgers' movements without obstructing the view.
3. Adjust the camera angle: Set the camera at an angle that covers the desired area effectively. It should be positioned in a way that captures the badgers' movements as they enter and exit their burrows or forage for food. Experiment with different angles to find the best position.
4. Test the camera's field of view: Before leaving the camera unattended, test its field of view by walking through the area yourself. This will help you ensure that the camera captures the desired area and that there are no blind spots.
5. Consider the latest point of view: Stay updated with the latest research or information on badger behavior and activity patterns. This will help you make informed decisions about camera placement and ensure that you are capturing the most relevant footage.
Remember to check the camera regularly to change batteries or memory cards and review the footage to monitor badger activity. By following these steps and considering the latest information, you can effectively point the wildlife camera for badgers and capture their behavior in their natural habitat.
3、 Height and Angle: Determining the best elevation and tilt for visibility
To effectively point a wildlife camera for badgers, it is crucial to consider both the height and angle of the camera. By determining the best elevation and tilt, you can ensure optimal visibility and capture high-quality footage of these elusive creatures.
Height plays a significant role in capturing clear images of badgers. Placing the camera at a suitable height allows for a wider field of view and reduces the risk of obstructed shots. Ideally, the camera should be positioned at a height that aligns with the badgers' typical movements and activity areas. This can vary depending on the terrain and vegetation in the specific location. It is recommended to mount the camera at a height of around 2-3 feet above the ground, ensuring it is securely fixed to avoid any movement or disturbance.
Angle is another crucial factor to consider. The camera should be tilted at an angle that captures the badgers' movements without obstructing the view. A slight downward tilt is generally preferred to capture the badgers as they move along the ground. However, it is essential to avoid excessive tilting, as it may result in capturing only the lower parts of the badgers or obstructing the view with vegetation or other objects.
It is important to note that the latest point of view for positioning wildlife cameras for badgers may vary depending on the specific location and the behavior of the badgers in that area. Therefore, it is recommended to conduct thorough research or consult with local wildlife experts to determine the best height and angle for your wildlife camera. Additionally, regularly reviewing and adjusting the camera's position based on the captured footage can help optimize the visibility and quality of the recordings.
4、 Distance and Focus: Adjusting camera settings for clear badger footage
To point the wildlife camera for badgers, there are a few key considerations to keep in mind. The first is the distance at which you place the camera. Badgers are known to have a wide-ranging territory, so it's important to position the camera at a distance that allows for a clear view of their activity. Placing the camera too close may result in blurry or obstructed footage. It's recommended to position the camera at least 10-15 feet away from the badger's main activity area.
Another important aspect is focusing the camera. Most wildlife cameras have an autofocus feature, but it's still crucial to ensure that the camera is focused properly. Before setting up the camera, test the autofocus function to make sure it's working correctly. If the camera doesn't have autofocus, manually adjust the focus until the image appears sharp and clear.
Additionally, consider the latest point of view when positioning the camera. Badgers are primarily nocturnal animals, so it's best to place the camera in an area where they are likely to be active during the night. Look for signs of badger activity such as burrows, footprints, or disturbed vegetation. Placing the camera near these areas will increase the chances of capturing clear footage of badgers.
Lastly, it's important to be patient and allow the badgers to become accustomed to the presence of the camera. Setting up the camera and leaving it undisturbed for an extended period will increase the likelihood of capturing natural behavior and clear footage of badgers.
