How To Put The Camera On The Tripod ?
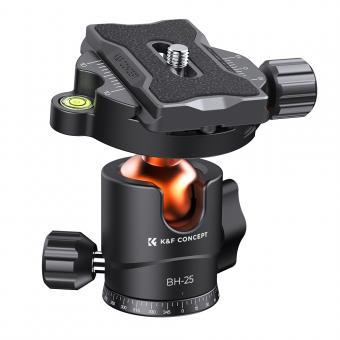
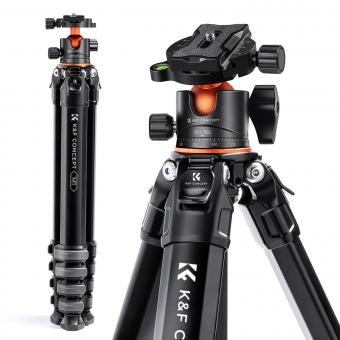
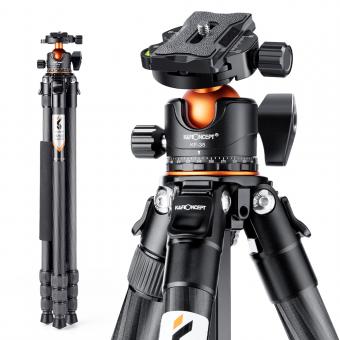
To put the camera on a tripod, first, ensure that the tripod is set up and stable on a flat surface. Then, locate the mounting plate on the tripod head. Attach the mounting plate securely to the bottom of the camera by aligning the screw hole on the plate with the camera's tripod socket. Use the provided screw to tighten the plate onto the camera. Once the plate is securely attached, locate the tripod head's quick release mechanism. Slide the mounting plate into the quick release mechanism until it clicks into place. Ensure that the camera is securely attached by giving it a gentle tug. Adjust the tripod head as needed to position the camera in the desired direction and angle. Finally, tighten any knobs or locks on the tripod head to secure the camera in place.
1、 Adjusting the tripod legs for stability
To put the camera on a tripod, you first need to ensure that the tripod legs are adjusted for stability. This is crucial to prevent any wobbling or shaking of the camera during use. Here's a step-by-step guide on how to adjust the tripod legs for stability:
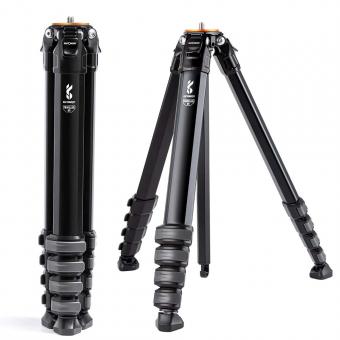
1. Start by extending the tripod legs fully. Most tripods have adjustable leg sections that can be loosened and tightened to achieve the desired height. Make sure all the leg sections are securely locked in place.
2. Once the legs are extended, spread them out evenly to form a stable base. The tripod should be able to stand on its own without tipping over. Adjust the leg angles if necessary to achieve better stability. Some tripods have a center column that can be raised or lowered to further adjust the height and stability.
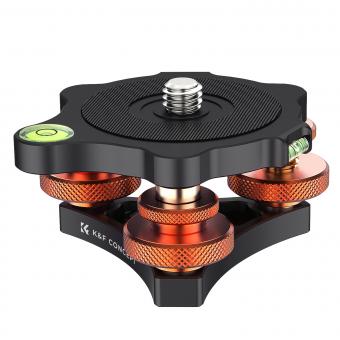
3. Check the tripod's bubble level. Many tripods come with a built-in bubble level that helps you ensure that the camera is perfectly level. Adjust the legs accordingly until the bubble is centered.
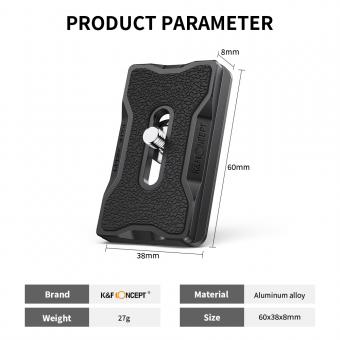
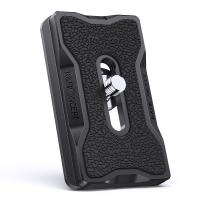
4. Attach the camera mounting plate to the tripod head. The mounting plate is usually a quick-release plate that attaches to the bottom of the camera and allows you to easily attach and detach the camera from the tripod. Make sure it is securely fastened.
5. Carefully place the camera on the mounting plate and tighten the screw to secure it in place. Ensure that the camera is balanced and not tilted to one side.
6. Once the camera is securely attached, adjust the tripod head to position the camera at the desired angle and composition. Most tripod heads have pan and tilt controls that allow you to smoothly adjust the camera's position.
Remember to always double-check the stability of the tripod and ensure that all the locks and screws are tightened properly before using the camera. Additionally, it's important to follow the manufacturer's instructions for your specific tripod model, as the adjustment mechanisms may vary.
2、 Mounting the camera onto the tripod head
Mounting the camera onto a tripod head is a fundamental step in achieving stable and professional-looking photographs or videos. Here's a step-by-step guide on how to put the camera on the tripod:
1. Start by extending the tripod legs to a comfortable height. Ensure that the tripod is stable and level on the ground.
2. Locate the mounting plate on the tripod head. This plate usually has a screw or quick-release mechanism to secure the camera.
3. Align the camera's tripod mount with the mounting plate. The mount is typically located at the bottom of the camera.
4. If your tripod has a quick-release mechanism, slide the mounting plate into the corresponding slot on the tripod head. Make sure it locks securely.
5. If your tripod uses a screw mechanism, align the camera's mount with the screw on the tripod head. Rotate the screw clockwise to tighten it securely.
6. Once the camera is attached, check that it is properly balanced and secure. Adjust the tripod head if necessary to achieve the desired framing.
It's worth noting that some tripods have additional features like a bubble level or a spirit level. These can help ensure that the camera is perfectly level, especially when shooting landscapes or architectural subjects.
Remember to always double-check the stability of the tripod and the security of the camera before starting your shoot. This will prevent any accidents or damage to your equipment.
Overall, mounting the camera onto a tripod is a straightforward process that provides stability and allows for precise composition. It is an essential technique for photographers and videographers looking to capture sharp and professional images.
3、 Securing the camera to prevent movement
Securing the camera to prevent movement is an essential step when using a tripod to ensure stable and sharp images. Here's a step-by-step guide on how to put the camera on the tripod:
1. Start by extending the tripod legs to a comfortable height. Make sure the tripod is on a stable surface and the legs are securely locked in place.
2. Locate the mounting plate on the tripod head. This plate is usually a quick-release plate that attaches to the camera's base. Some tripods may have a built-in mounting plate.
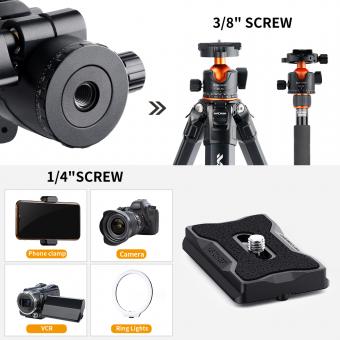
3. Align the mounting plate with the camera's base, ensuring that the plate's screw aligns with the camera's tripod socket. The tripod socket is usually located on the bottom of the camera.
4. Once aligned, tighten the screw on the mounting plate to securely attach it to the camera. Use a coin or a screwdriver if necessary, but be careful not to overtighten.
5. With the mounting plate attached, locate the tripod head and loosen the locking mechanism. This allows the head to move freely.
6. Carefully place the camera with the attached mounting plate onto the tripod head. Ensure that the mounting plate slides into the head's quick-release mechanism.
7. Once the camera is in place, tighten the locking mechanism on the tripod head to secure the camera. This prevents any movement or wobbling.
8. Finally, check the stability of the camera by gently nudging it. If it moves or feels loose, double-check the mounting plate and tripod head to ensure they are securely tightened.
It's worth noting that some tripods may have additional features like a bubble level or a spirit level. These can help you ensure that the camera is perfectly level, which is especially useful for landscape or architectural photography.
In conclusion, properly securing the camera to the tripod is crucial for achieving sharp and stable images. By following these steps, you can confidently attach your camera to the tripod and prevent any unwanted movement.
4、 Adjusting the tripod height for desired framing
To put the camera on a tripod, follow these steps:
1. Start by extending the tripod legs fully. Most tripods have adjustable leg sections that can be loosened and tightened to achieve the desired height. Make sure the legs are securely locked in place.
2. Once the legs are extended, spread them out to create a stable base. Adjust the leg angles if necessary to ensure stability on uneven surfaces.
3. Locate the tripod head, which is the part that holds the camera. It is usually attached to the top of the tripod legs and can be adjusted in various ways.
4. Loosen the tripod head's locking mechanism to allow movement. This can be a lever, knob, or screw, depending on the tripod model.
5. Place the camera on the tripod head, ensuring that it is securely attached. Most tripods have a quick-release plate system that allows you to easily attach and detach the camera.
6. Once the camera is attached, tighten the locking mechanism on the tripod head to secure it in place. Make sure the camera is level and properly aligned with the tripod.
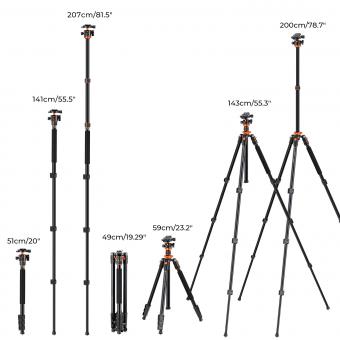
Now that the camera is on the tripod, you can adjust the tripod height for the desired framing. This is an important step to ensure that your subject is properly framed and in focus. Adjusting the tripod height can be done by loosening the leg sections and extending or retracting them as needed. Some tripods also have a center column that can be raised or lowered for additional height adjustment.
When adjusting the tripod height, consider the composition and perspective you want to achieve. Experiment with different heights to find the best framing for your shot. Keep in mind that a lower tripod height can create a more intimate and grounded perspective, while a higher height can provide a broader view.
In conclusion, putting the camera on a tripod is a simple process of extending the legs, attaching the camera to the tripod head, and securing it in place. Adjusting the tripod height is crucial for achieving the desired framing and perspective in your photographs.
