How To Remove A Camera Filter ?
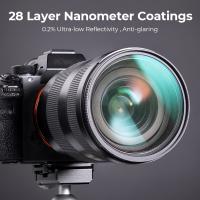
To remove a camera filter, first, turn off the camera and remove the lens cap. Then, gently grip the filter with your fingers or a filter wrench and turn it counterclockwise until it comes loose. Be careful not to apply too much force or twist the lens too hard, as this can damage the filter or the lens. Once the filter is removed, clean the lens surface with a microfiber cloth to remove any dust or debris. If the filter is stuck or difficult to remove, try using a rubber jar opener or a piece of rubber to provide a better grip. If the filter is still stuck, do not force it, as this can cause permanent damage to the lens. Instead, seek professional help from a camera repair shop or a photography store.
1、 Unscrewing the filter
To remove a camera filter, the most common method is to unscrew it from the lens. First, make sure the camera is turned off and remove the lens cap. Then, gently grip the filter with your fingers and turn it counterclockwise until it comes loose. If the filter is stuck, try using a filter wrench or a rubber jar opener to get a better grip.
It's important to be careful when removing a filter, as it can be easy to accidentally scratch the lens or damage the filter threads. If the filter is particularly stubborn, it may be best to take the camera to a professional for removal.
It's worth noting that some newer cameras may not have a filter thread at all, instead using a built-in filter system. In this case, removing the filter may not be possible or advisable, as it could damage the camera.
Overall, removing a camera filter is a simple process that can be done with a little care and attention. Just be sure to take your time and use the right tools if necessary, and you should be able to remove the filter without any issues.
2、 Using a filter wrench
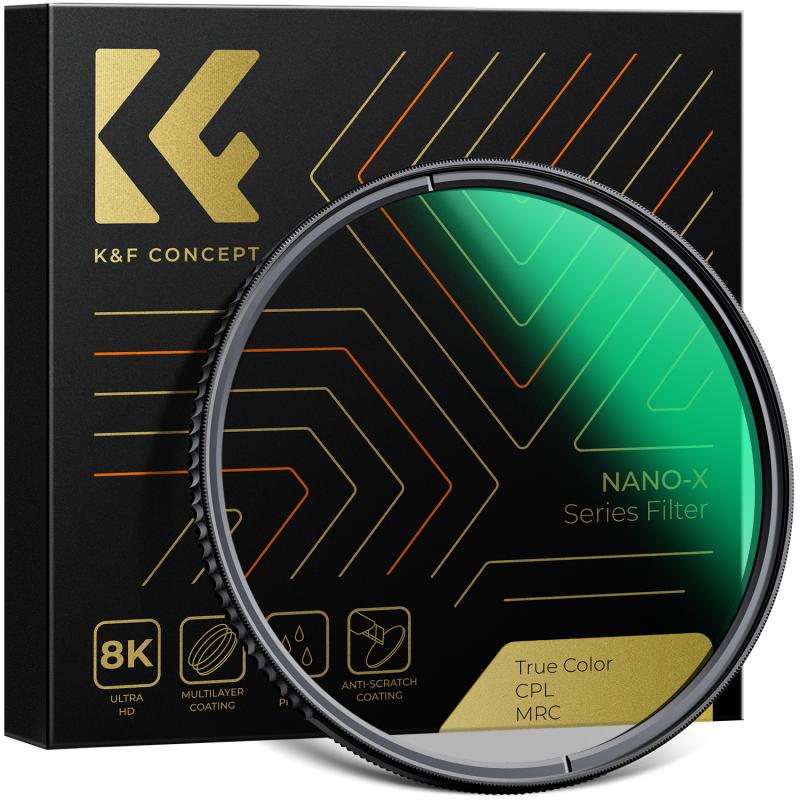
How to remove a camera filter? One effective way is by using a filter wrench. A filter wrench is a tool designed to grip and unscrew filters that are stuck or difficult to remove by hand. It is a simple and affordable tool that can save you from damaging your camera or filter.
To use a filter wrench, first, select the appropriate size of the wrench that matches the diameter of your filter. Then, place the wrench on the filter and turn it counterclockwise to loosen the filter. Be careful not to apply too much force as it may damage the filter or lens.
It is important to note that not all filters require a filter wrench to remove. Some filters can be easily removed by hand. However, if you encounter a filter that is stuck or difficult to remove, a filter wrench can be a useful tool to have.
In recent years, there has been a growing trend towards using digital filters in post-processing rather than physical filters on the camera lens. This has reduced the need for physical filters and, in turn, the need for filter wrenches. However, for those who still prefer to use physical filters, a filter wrench can be a valuable tool to have in your camera bag.

3、 Applying heat to loosen the filter
How to remove a camera filter? There are several ways to do it, but one of the most effective methods is to apply heat to loosen the filter. This technique is particularly useful when the filter is stuck or jammed, and other methods such as using a filter wrench or rubber band have failed.
To apply heat, you can use a hairdryer or a heat gun to warm up the filter. Hold the heat source a few inches away from the filter and move it around in a circular motion to distribute the heat evenly. Be careful not to overheat the filter or the lens, as this can cause damage.
Once the filter is warm, use a filter wrench or a rubber band to grip the filter and turn it counterclockwise to loosen it. If the filter still won't budge, repeat the process of applying heat and try again.
It's important to note that not all camera filters can withstand heat, so it's best to check the manufacturer's instructions before attempting this method. Additionally, if you're not comfortable using heat or if the filter is particularly stubborn, it's best to seek the help of a professional camera technician.
In conclusion, applying heat to loosen a camera filter can be an effective method for removing a stuck or jammed filter. However, it's important to use caution and follow the manufacturer's instructions to avoid damaging the filter or lens.
4、 Using a rubber band for grip
How to remove a camera filter? This is a common question among photographers, especially those who are new to using filters. The process of removing a camera filter can be tricky, but with the right tools and techniques, it can be done easily and safely.
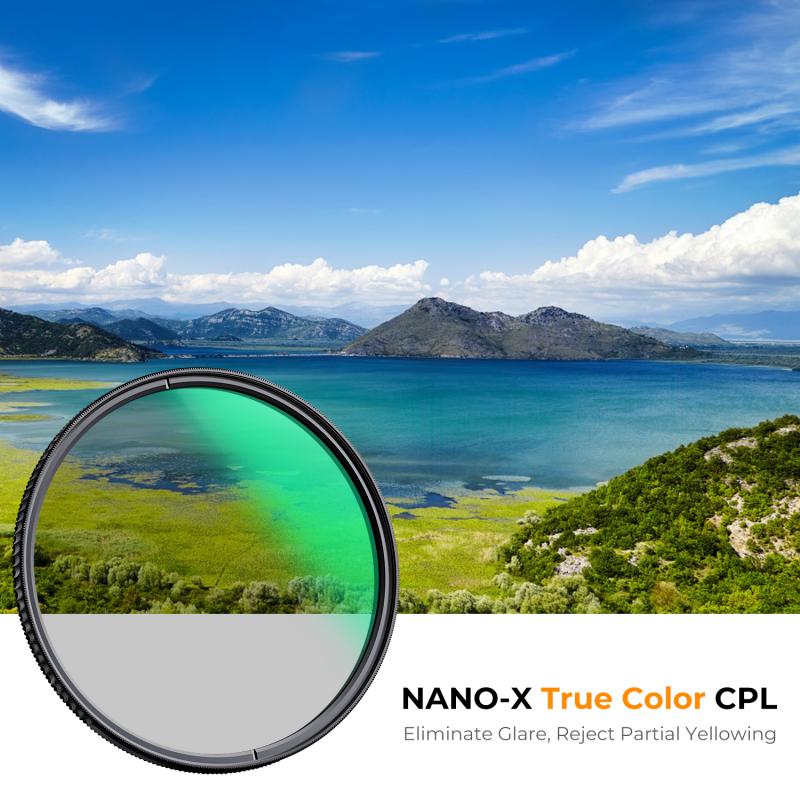
One effective way to remove a camera filter is by using a rubber band for grip. This method is particularly useful when the filter is stuck or difficult to remove. Simply wrap the rubber band around the filter, making sure it is tight enough to provide a good grip. Then, use the rubber band to twist the filter in a counterclockwise direction. The rubber band will provide extra traction, making it easier to remove the filter without damaging it.
It is important to note that when removing a camera filter, it is essential to be gentle and avoid using excessive force. Applying too much pressure can cause the filter to crack or break, which can be costly to replace. Additionally, it is important to ensure that the camera is turned off and the lens cap is on to prevent any damage to the lens.
In conclusion, removing a camera filter can be a daunting task, but with the right tools and techniques, it can be done easily and safely. Using a rubber band for grip is a simple and effective way to remove a stuck filter without causing any damage. Remember to be gentle and avoid using excessive force, and always ensure that the camera is turned off and the lens cap is on.
