How To Remove A Damaged Lens Filter ?
To remove a damaged lens filter, you can try using a rubber band or a filter wrench to grip the filter and twist it off. If the filter is still stuck, you can try using a pair of pliers or a flathead screwdriver to gently pry it off. Be careful not to apply too much force or you may damage the lens. If all else fails, you may need to take your camera to a professional to have the filter removed.
1、 Use a rubber band or filter wrench to unscrew it.
How to remove a damaged lens filter? If you have a damaged lens filter that needs to be removed, there are a few methods you can try. The first and most common method is to use a rubber band or filter wrench to unscrew it. This method is effective because it provides a good grip on the filter, allowing you to apply enough force to unscrew it without damaging the lens.
To use a rubber band, simply wrap it around the filter and twist it in the direction you need to turn the filter to remove it. This will provide extra grip and make it easier to unscrew the filter. If you don't have a rubber band, you can also use a filter wrench, which is a tool designed specifically for removing filters. Simply place the wrench around the filter and turn it in the direction you need to remove the filter.
It's important to be gentle when removing a damaged lens filter, as applying too much force can damage the lens itself. If the filter is stuck and won't come off, try using a little bit of heat to loosen it up. You can use a hair dryer or heat gun to warm up the filter, which will expand it slightly and make it easier to remove.
In conclusion, removing a damaged lens filter can be a tricky process, but with the right tools and techniques, it can be done safely and effectively. Always be gentle when removing a filter, and if you're unsure about how to proceed, seek the advice of a professional.
2、 Apply heat to the filter with a hair dryer.
How to remove a damaged lens filter? Applying heat to the filter with a hair dryer is one of the most effective methods. This technique works by expanding the metal ring of the filter, which makes it easier to unscrew. However, it is important to exercise caution when using this method, as excessive heat can damage the lens or the filter.
To remove a damaged lens filter using a hair dryer, first, set the hair dryer to its lowest heat setting. Hold the hair dryer about 6 inches away from the filter and apply heat to the metal ring for about 30 seconds. Then, try to unscrew the filter using a filter wrench or a rubber band wrapped around the filter. If the filter still won't budge, repeat the process, gradually increasing the heat until the filter loosens.
It is important to note that this method may not work for all types of filters, especially those made of plastic or other materials that can melt or deform under heat. In such cases, it is best to seek professional help or use other methods, such as using a filter wrench or pliers.
In conclusion, applying heat to a damaged lens filter with a hair dryer can be an effective way to remove it, but it should be done with caution and only as a last resort. If in doubt, seek professional help to avoid damaging your lens or filter.
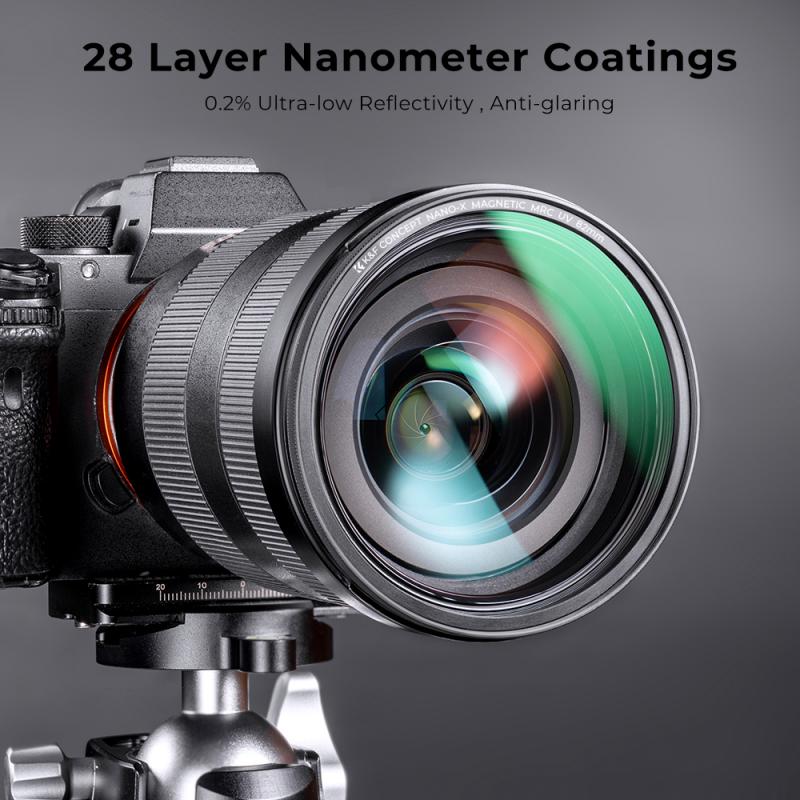
3、 Use a pair of pliers to grip and twist the filter.
If you have a damaged lens filter that needs to be removed, there are a few steps you can take to safely remove it without damaging your lens. The first step is to assess the damage to the filter and determine the best approach for removal.
If the filter is cracked or shattered, it may be easier to remove it in pieces. Use a pair of needle-nose pliers to carefully grip and twist the filter in a counterclockwise direction. Be sure to apply gentle pressure and avoid using too much force, as this can damage the lens or cause the filter to become stuck.
If the filter is only slightly damaged or stuck, you may be able to remove it using a rubber jar opener or a rubber band. Place the rubber over the filter and grip it firmly, then twist the filter in a counterclockwise direction.
If the filter is extremely stuck or damaged, it may be best to seek professional help from a camera repair shop. Attempting to remove a stubborn filter on your own can cause further damage to your lens or camera.
In any case, it's important to take your time and be patient when removing a damaged lens filter. Rushing the process or using too much force can cause more harm than good.
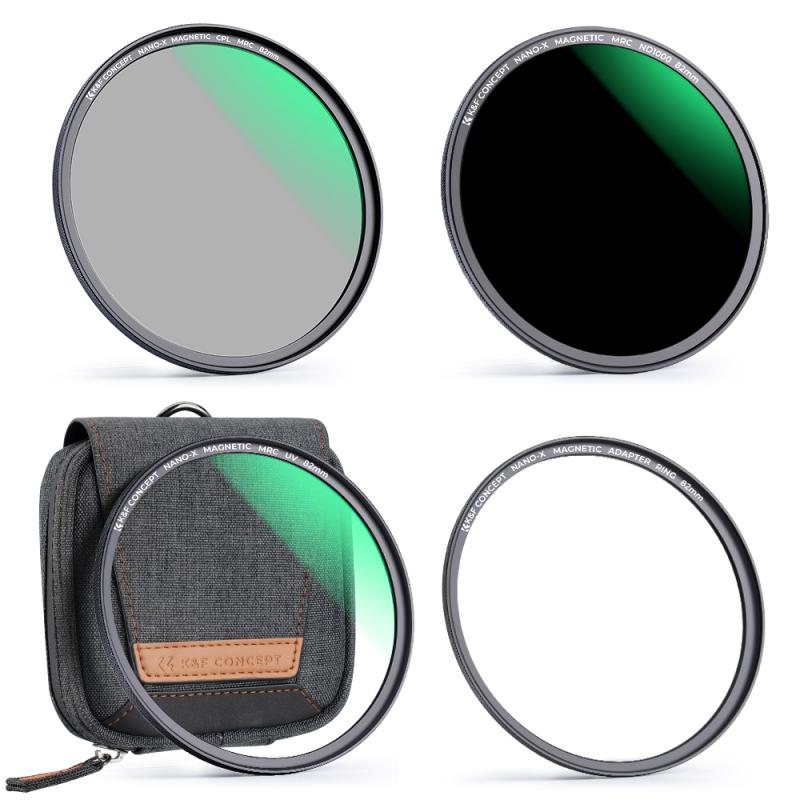
4、 Tap the edge of the filter with a blunt object.
If you have a damaged lens filter that needs to be removed, there are a few steps you can take to safely remove it without causing any further damage to your camera lens. The first step is to assess the damage and determine the best approach for removal.
If the filter is cracked or shattered, it's important to be very careful when removing it. You don't want any small pieces of glass to get stuck in your lens or camera body. One approach is to use a piece of duct tape to gently lift the filter off the lens. Simply place the tape over the filter and press down firmly, then slowly peel the tape off, taking the filter with it.
Another approach is to use a rubber band to grip the filter and twist it off. This can be a bit trickier, as you need to be careful not to apply too much pressure and risk damaging the lens. If the filter is stuck, you can try tapping the edge of the filter with a blunt object, such as a pencil eraser or the handle of a screwdriver. This can help loosen the filter and make it easier to remove.
It's important to take your time and be patient when removing a damaged lens filter. Rushing the process or using too much force can cause further damage to your camera equipment. If you're unsure about how to proceed, it's always a good idea to seek the advice of a professional camera repair technician.
