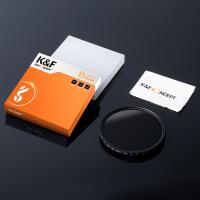
How To Reverse Mount Lens ?
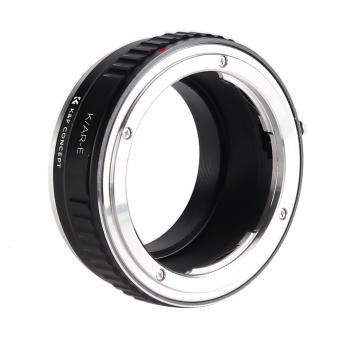
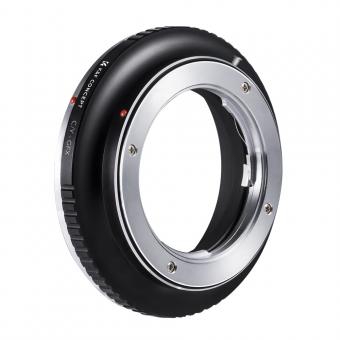
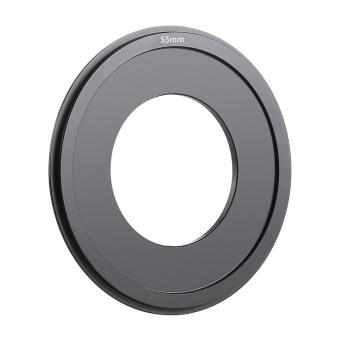
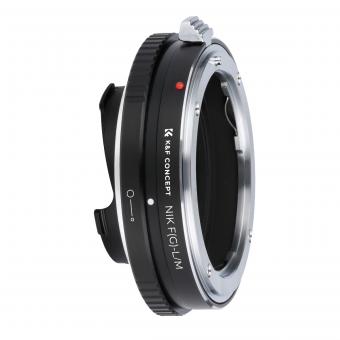
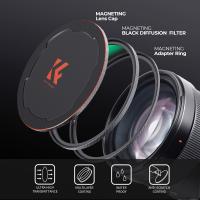
To reverse mount a lens, you will need a lens reversal ring or adapter that matches the filter thread size of your lens. First, remove the lens from your camera body. Then, attach the reversal ring to the front of the lens by screwing it onto the filter thread. Make sure it is securely attached. Next, carefully align the lens with the camera body and mount it in reverse. This means that the front element of the lens will face the camera sensor. You may need to hold the lens in place or use a lens reversal ring with a built-in lock to secure it. Once the lens is mounted, you can use manual focus and adjust the aperture settings manually if your lens allows it. Keep in mind that reversing a lens may affect the functionality and image quality, so it is important to experiment and test different settings to achieve the desired results.
1、 Lens Reversal Technique: Step-by-Step Guide for Reverse Mounting
The lens reversal technique, also known as reverse mounting, is a popular method among photographers to achieve macro photography without investing in expensive macro lenses. This technique involves attaching a lens to the camera body in a reversed position, allowing for extreme close-up shots. Here is a step-by-step guide on how to reverse mount a lens:
1. Remove the lens from your camera body: Start by detaching the lens from your camera body. Ensure that the camera is turned off and the lens release button is pressed to safely remove it.
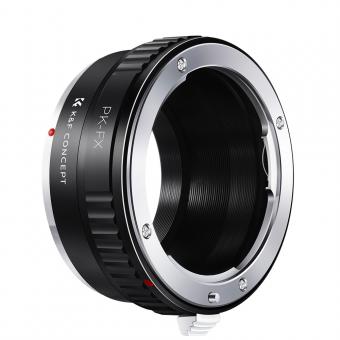
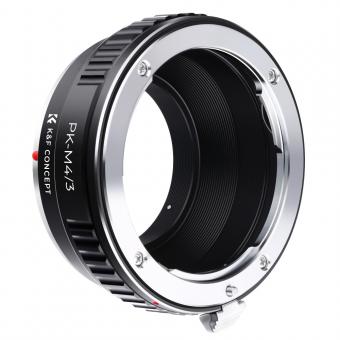
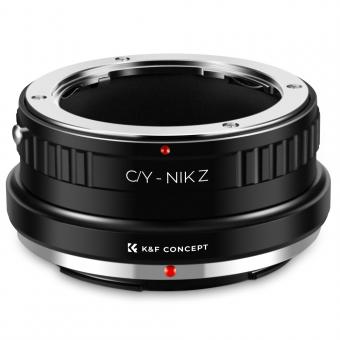
2. Obtain a reverse mount adapter: To reverse mount the lens, you will need a reverse mount adapter. This adapter has a female thread on one side to attach the lens and a male thread on the other side to connect to the camera body.
3. Attach the reverse mount adapter to the lens: Screw the reverse mount adapter onto the front filter thread of the lens. Make sure it is securely attached to avoid any accidental detachment during shooting.
4. Connect the reverse mount adapter to the camera body: Once the adapter is attached to the lens, carefully connect the male thread of the adapter to the camera body. Ensure a snug fit to prevent any wobbling or movement.
5. Set the camera to manual mode: Since the lens is now reversed, the camera's automatic functions will not work. Switch the camera to manual mode to have full control over the settings.
6. Adjust the aperture and focus: With the lens reversed, the aperture control will also be disabled. Set the aperture to its widest opening before attaching the lens. To focus, you will need to physically move the camera closer or further away from the subject.
7. Start shooting: Once everything is set up, you can start capturing stunning macro shots using the lens reversal technique. Experiment with different subjects and distances to achieve the desired magnification and depth of field.
It's worth noting that while the lens reversal technique can produce impressive macro images, it does have some limitations. The lack of automatic functions and aperture control can make it more challenging to use in certain situations. Additionally, reversing the lens exposes the rear element, making it vulnerable to dust and damage. Therefore, it's essential to exercise caution and protect the lens when using this technique.
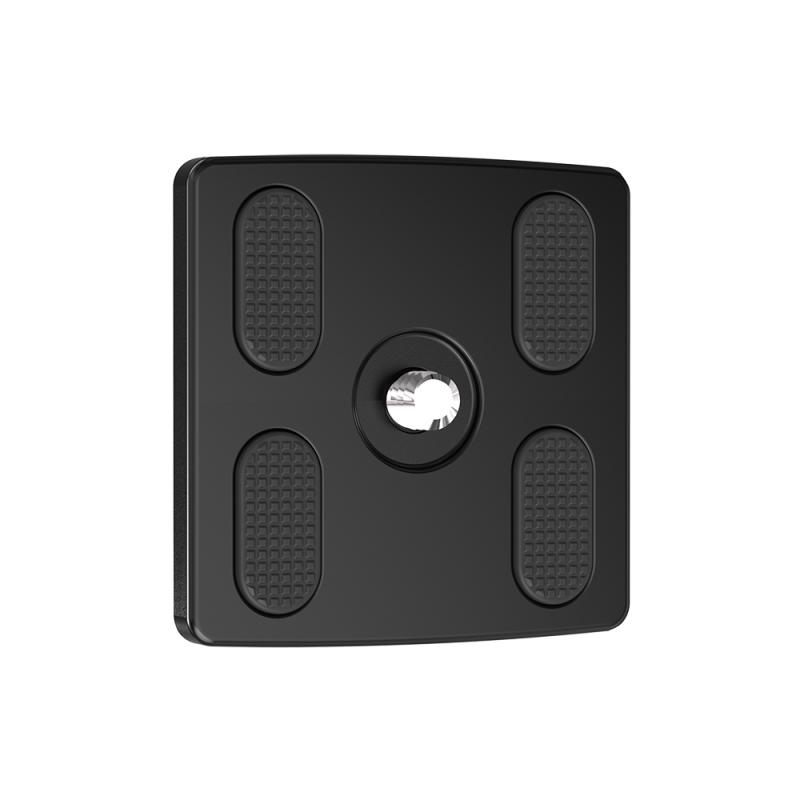
2、 Reverse Lens Adapter: Using an Adapter for Reverse Mounting
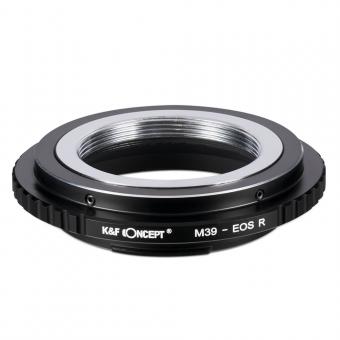
To reverse mount a lens, you will need a reverse lens adapter. This adapter allows you to attach the lens to your camera body in reverse, essentially turning it into a macro lens. Reverse mounting a lens can provide unique and creative perspectives, especially for close-up photography.
Here is a step-by-step guide on how to reverse mount a lens using an adapter:
1. Choose the right adapter: Reverse lens adapters are specific to the camera brand and lens mount type. Make sure to select the correct adapter for your camera and lens combination.
2. Remove the lens from your camera body: Detach the lens from your camera by pressing the lens release button and twisting it counterclockwise.
3. Attach the reverse lens adapter: Screw the reverse lens adapter onto the front filter thread of your lens. Ensure it is securely tightened.
4. Mount the lens in reverse: Align the lens with the camera body mount and carefully attach it in reverse. The lens will now be facing towards the camera sensor.
5. Set the camera to manual mode: Since the lens is no longer communicating with the camera, you will need to manually adjust the aperture, focus, and exposure settings.
6. Adjust the aperture: Most reverse lens adapters do not have electronic contacts, so you will need to set the aperture manually on the lens itself.
7. Focus manually: With the lens mounted in reverse, you will need to manually focus by moving the camera closer or further away from the subject.
8. Experiment and shoot: Start experimenting with different subjects and distances to achieve the desired macro effect. Be patient and take your time to get the focus and composition right.
It's worth noting that reverse mounting a lens can result in a shallow depth of field and may require additional lighting or a tripod to stabilize the camera. Additionally, some lenses may not be suitable for reverse mounting due to their design or size.
In conclusion, reverse mounting a lens using a reverse lens adapter can open up new possibilities for macro photography. It allows you to capture intricate details and unique perspectives that may not be possible with a regular lens.
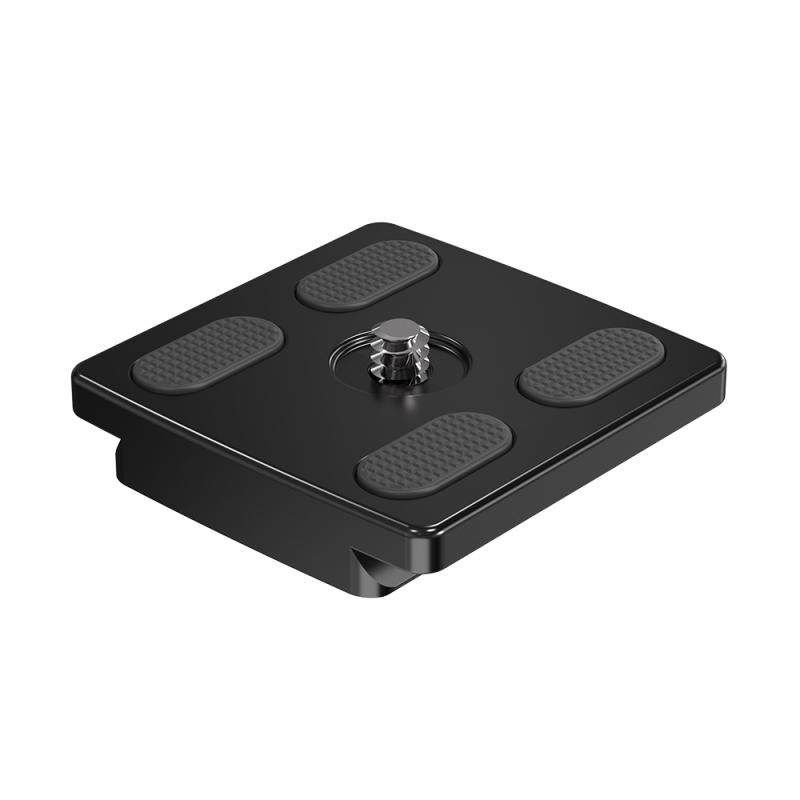
3、 Macro Photography: Achieving Close-Up Shots with Reverse Lens Mounting
To reverse mount a lens for macro photography, follow these steps:
1. Remove the lens from your camera body.
2. Attach a reverse mount adapter ring to the front of the lens. This adapter ring should have a filter thread that matches the filter size of your lens.
3. Carefully align the lens with the camera body mount and attach the reverse mount adapter to the camera body.
4. Secure the lens in place by tightening the adapter ring and ensuring it is firmly attached to both the lens and the camera body.
5. Set your camera to manual mode and adjust the aperture and shutter speed settings as desired.
6. Hold the lens in front of the camera body, with the front element facing the subject you want to photograph.
7. Move closer to the subject until it comes into focus. You may need to experiment with the distance and angle to achieve the desired magnification and sharpness.
8. Use manual focus to fine-tune the focus on your subject.
9. Press the shutter button to capture the image.
Reverse lens mounting allows for extreme close-up shots, as the reversed lens acts as a magnifying glass. This technique can produce stunning macro images with incredible detail and shallow depth of field. However, it is important to note that reverse lens mounting may require some trial and error to achieve the desired results. Additionally, using a lens with a wider focal length will result in a greater magnification effect.
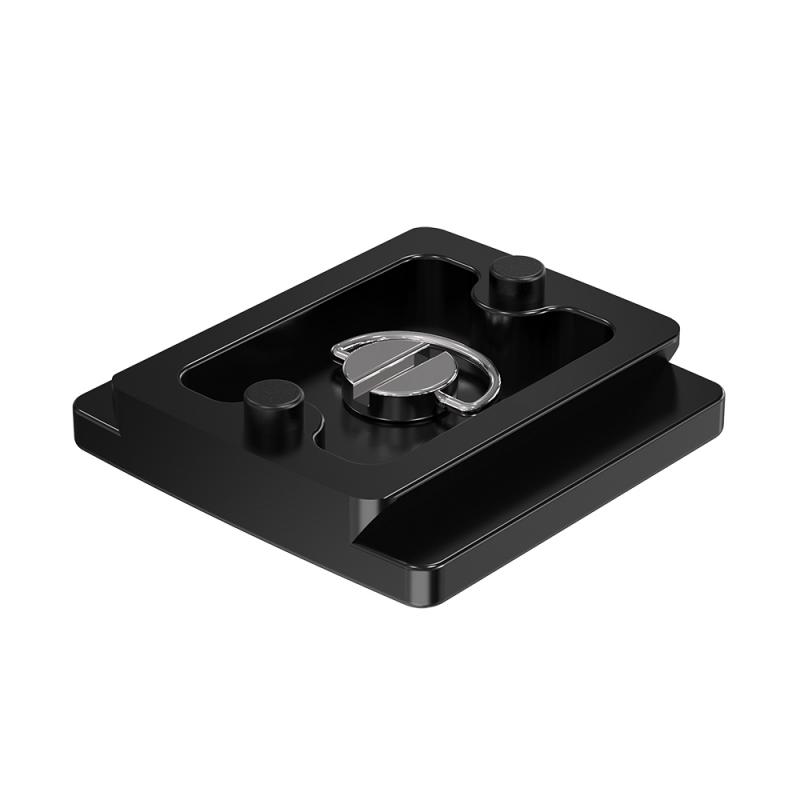
4、 Lens Compatibility: Choosing the Right Lens for Reverse Mounting
To reverse mount a lens, you will need a lens reversal ring or a lens reversal adapter. These accessories allow you to attach the lens to your camera body in reverse, effectively turning it into a macro lens. Here's a step-by-step guide on how to reverse mount a lens:
1. Obtain a lens reversal ring or adapter: These can be found online or at camera stores. Make sure to choose the right size for your lens and camera body.
2. Remove the lens from your camera body: Unscrew the lens from your camera body and set it aside.
3. Attach the lens reversal ring or adapter: Screw the reversal ring or adapter onto the camera body's lens mount. Ensure it is securely attached.
4. Mount the lens in reverse: Take your lens and attach it to the reversal ring or adapter. Screw it on until it is firmly in place.
5. Set the camera to manual mode: Since the lens is now reversed, the camera's automatic functions will not work. Switch to manual mode to have full control over the settings.
6. Adjust the aperture and focus: With the lens reversed, the aperture will be fixed at its widest setting. Use the camera's manual focus to adjust the focus point.
7. Experiment and shoot: Start experimenting with different subjects and distances to achieve the desired macro effect. Remember to use a tripod or other stabilization methods to minimize camera shake.
It's important to note that reverse mounting a lens may result in some loss of image quality, as the lens was not designed to be used in this manner. However, it can be a cost-effective way to explore macro photography. Additionally, newer camera models may have limitations or restrictions when it comes to reverse mounting lenses, so it's always a good idea to consult your camera's manual or manufacturer's website for specific information.
In conclusion, reverse mounting a lens can be a fun and creative way to explore macro photography. By following these steps and experimenting with different subjects, you can capture unique and detailed close-up shots.
