How To Set Up Canon Digital Camera ?
To set up a Canon digital camera, first, insert the battery into the camera and charge it fully using the provided charger. Next, insert a memory card into the camera to store your photos and videos. Turn on the camera by pressing the power button. Set the date and time by navigating through the camera's menu options. Adjust the camera settings according to your preferences, such as image quality, ISO, white balance, etc. Attach the lens to the camera if it is not already attached. Finally, you are ready to start capturing photos and videos with your Canon digital camera.
1、 Powering on the Canon digital camera and adjusting settings.
To set up a Canon digital camera, follow these steps:
1. Powering on the camera: Locate the power button, usually located on the top or back of the camera. Press and hold the power button until the camera turns on. Some newer models may have a dedicated power switch instead.
2. Adjusting settings: Once the camera is powered on, you can start adjusting the settings according to your preferences. Use the menu button or the touchscreen (if available) to navigate through the camera's settings. Here are some key settings you may want to consider:
- Image quality: Choose the desired image quality, such as JPEG or RAW, depending on your needs. RAW files offer more flexibility for post-processing but take up more storage space.
- ISO sensitivity: Adjust the ISO to control the camera's sensitivity to light. Higher ISO values are useful in low-light situations but may introduce more noise in the image.
- White balance: Set the white balance to ensure accurate color reproduction. You can choose from presets like daylight, cloudy, or custom white balance settings.
- Autofocus mode: Select the autofocus mode that suits your shooting scenario. Options may include single-shot autofocus, continuous autofocus, or manual focus.
- Exposure settings: Adjust the aperture, shutter speed, and exposure compensation to control the amount of light entering the camera and achieve the desired exposure.
- Shooting mode: Choose the shooting mode that best fits your needs, such as manual, aperture priority, shutter priority, or scene modes.
Remember to consult your camera's user manual for specific instructions as the layout and options may vary depending on the model. Additionally, exploring online tutorials or joining photography forums can provide valuable insights and tips for maximizing your camera's capabilities.
2、 Inserting and formatting the memory card for storage.
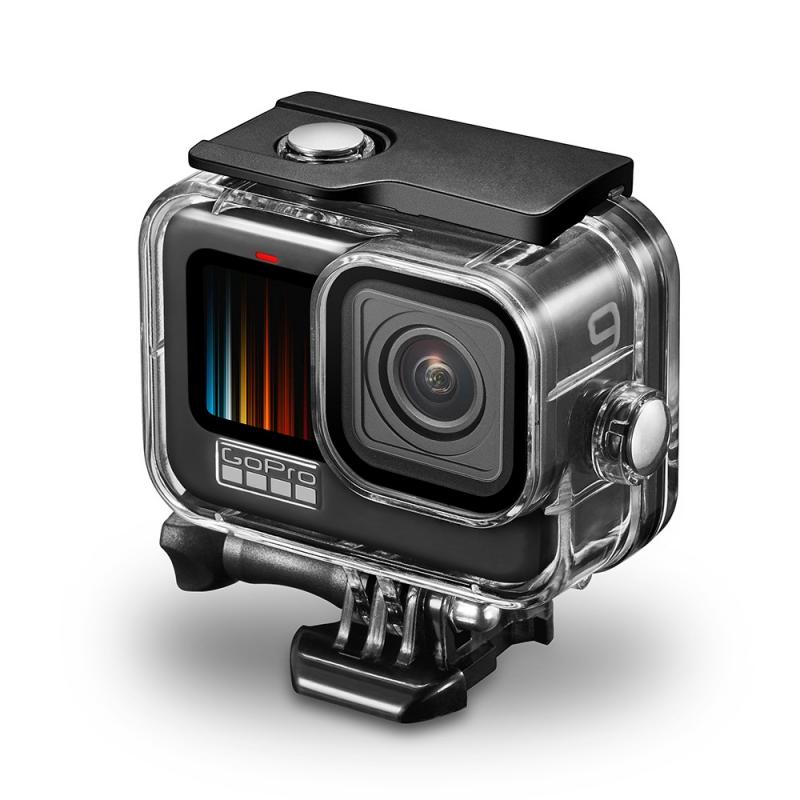
To set up a Canon digital camera, one of the first steps is to insert and format the memory card for storage. This process ensures that the camera recognizes the memory card and prepares it for use.
To begin, locate the memory card slot on your Canon digital camera. It is usually located on the side or bottom of the camera body. Open the memory card slot cover and carefully insert the memory card into the slot. Make sure the card is inserted in the correct orientation, as indicated by the markings on the camera and the memory card.
Once the memory card is inserted, turn on the camera and navigate to the settings menu. Look for the option to format the memory card. Formatting erases any existing data on the card and prepares it for use with the camera. Select the format option and follow the on-screen instructions to complete the process.
Formatting the memory card is important because it ensures compatibility and optimal performance. It creates a file system that the camera can read and write to, allowing for efficient storage and retrieval of photos and videos. Additionally, formatting can help resolve any potential issues with the memory card, such as corruption or errors.
It is worth noting that different Canon camera models may have slightly different menu layouts and options. Therefore, it is always recommended to consult the camera's user manual for specific instructions on how to format the memory card.
In conclusion, inserting and formatting the memory card is an essential step in setting up a Canon digital camera. It ensures compatibility, optimal performance, and efficient storage of photos and videos.
3、 Attaching and adjusting lenses for optimal photography.
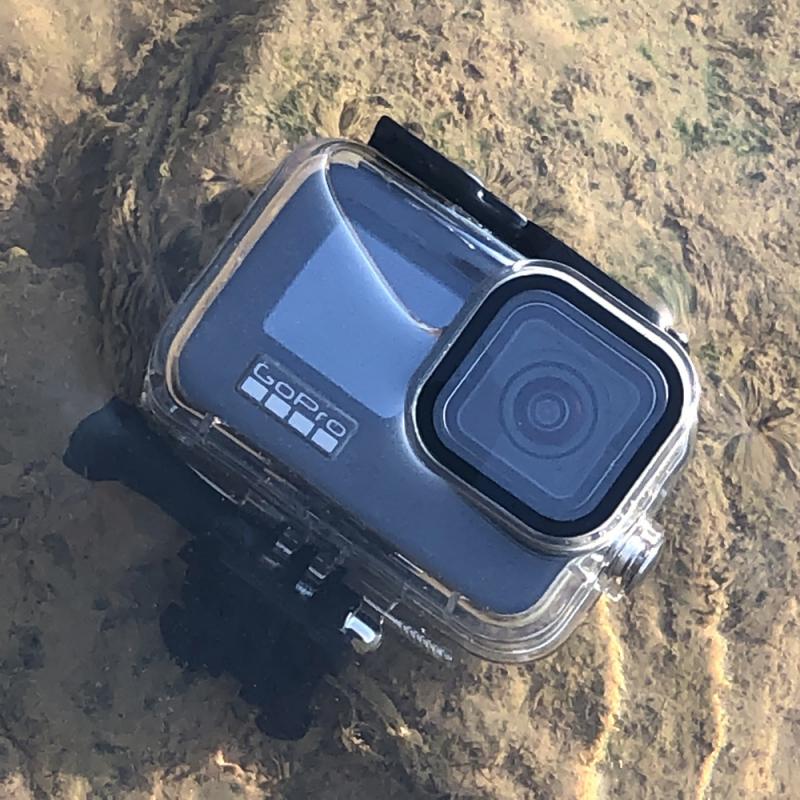
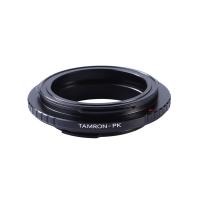
To set up a Canon digital camera, one of the first steps is to attach and adjust lenses for optimal photography. Canon offers a wide range of lenses that cater to different photography needs, from wide-angle to telephoto lenses. Here is a step-by-step guide on how to attach and adjust lenses for optimal photography with a Canon digital camera.
1. Remove the lens cap: Before attaching the lens, remove the lens cap to expose the lens mount.
2. Align the lens: Align the white or red dot on the lens with the corresponding dot on the camera body. This ensures proper alignment and prevents damage to the lens or camera.
3. Attach the lens: Gently twist the lens clockwise until it locks into place. Make sure it is securely attached to the camera body.
4. Adjust the zoom and focus: Depending on the lens, adjust the zoom and focus rings to achieve the desired composition and sharpness. Some lenses have autofocus capabilities, while others require manual adjustment.
5. Set the aperture: Adjust the aperture settings on the lens or camera body to control the amount of light entering the camera. This affects the depth of field and exposure of the photograph.
6. Test and fine-tune: Take a few test shots to ensure the lens is properly attached and adjusted. Review the images on the camera's LCD screen and make any necessary adjustments to achieve the desired results.
It is worth noting that Canon regularly releases new lenses with advanced features and improved image quality. Therefore, it is recommended to stay updated with the latest lens offerings and reviews to make informed decisions about lens selection for optimal photography. Additionally, Canon's website and user manuals provide detailed instructions specific to each lens model, which can be helpful for further guidance on attaching and adjusting lenses.
4、 Understanding and navigating the camera's menu system.
To set up a Canon digital camera, the first step is to familiarize yourself with the camera's menu system. Understanding and navigating the menu system is crucial as it allows you to customize various settings and options according to your preferences.
To begin, turn on the camera and locate the menu button, usually denoted by an icon resembling a series of horizontal lines or a small square with lines inside. Pressing this button will bring up the camera's menu on the LCD screen.
Once in the menu, you can use the camera's directional buttons or touch screen (if available) to navigate through the different options. The menu is typically divided into sections such as shooting settings, playback settings, and system settings.
In the shooting settings section, you can adjust parameters like image quality, ISO sensitivity, white balance, and autofocus settings. These settings allow you to capture photos in different lighting conditions and achieve the desired image quality.
The playback settings section allows you to customize how your images are displayed on the camera's LCD screen. You can choose to view images in a grid, zoom in for a closer look, or enable a slideshow feature.
The system settings section includes options for formatting memory cards, setting the date and time, and configuring other general camera settings.
It's important to note that the menu system may vary slightly depending on the specific model of Canon camera you are using. Therefore, it is recommended to consult the camera's user manual for detailed instructions tailored to your camera model.
In conclusion, understanding and navigating the camera's menu system is essential for setting up a Canon digital camera. By exploring the various options and customizing settings according to your needs, you can optimize your photography experience and capture stunning images.















There are no comments for this blog.