How To Set Up Hd Wifi Camera ?
To set up an HD WiFi camera, follow these general steps:
1. Choose a location for the camera that has a strong WiFi signal and a power source nearby.
2. Download the camera's app on your smartphone or tablet.
3. Connect the camera to power and turn it on.
4. Use the app to connect the camera to your WiFi network.
5. Follow the app's instructions to complete the setup process, which may include creating an account and setting up notifications.
Once the camera is set up, you can use the app to view live footage, adjust settings, and receive alerts when motion is detected. It's important to regularly check the camera's connection and ensure that it's working properly to ensure the safety and security of your home or business.
1、 Camera Placement and Mounting

Camera Placement and Mounting:
When setting up an HD WiFi camera, it is important to consider the placement and mounting of the camera. The camera should be placed in a location that provides a clear view of the area you want to monitor. It is also important to consider the angle of the camera to ensure that it captures the desired area.
When mounting the camera, it is important to ensure that it is securely attached to the surface. This can be done using screws or adhesive mounts. It is also important to ensure that the camera is mounted at the correct height to capture the desired area.
The latest point of view when it comes to camera placement and mounting is to consider the privacy of others. It is important to ensure that the camera is not pointed towards areas where people have a reasonable expectation of privacy, such as bedrooms or bathrooms. Additionally, it is important to consider the potential for the camera to be hacked and used for malicious purposes. To prevent this, it is recommended to use strong passwords and keep the camera's firmware up to date.
In summary, when setting up an HD WiFi camera, it is important to consider the placement and mounting of the camera to ensure that it captures the desired area and is securely attached to the surface. It is also important to consider the privacy of others and take steps to prevent the camera from being hacked.
2、 Network Configuration and Connectivity
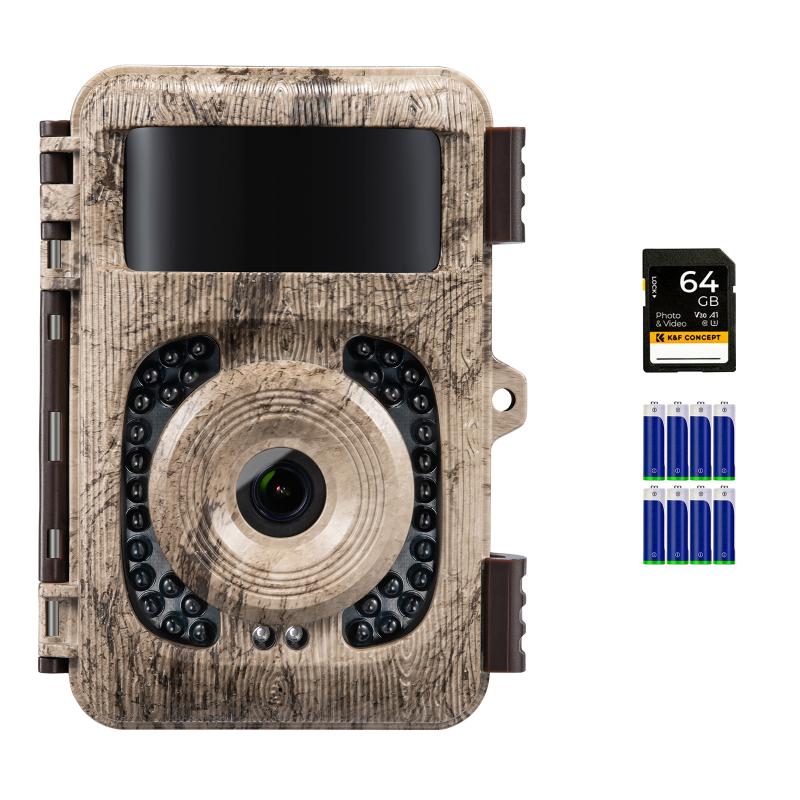
How to set up HD WiFi camera involves network configuration and connectivity. The first step is to ensure that the camera is compatible with your WiFi network. Most cameras support the 2.4GHz frequency band, so ensure that your router is also compatible with this frequency band.
Next, connect the camera to a power source and turn it on. Download the camera's app on your smartphone or tablet and follow the instructions to connect the camera to your WiFi network. This usually involves scanning a QR code on the camera or entering the WiFi network name and password.
Once the camera is connected to your WiFi network, you can access it remotely from your smartphone or tablet. You can view live footage, receive alerts when motion is detected, and even control the camera's pan, tilt, and zoom functions.
It is important to ensure that your WiFi network is secure to prevent unauthorized access to your camera. This can be done by setting a strong password for your WiFi network and enabling two-factor authentication for the camera's app.
In conclusion, setting up an HD WiFi camera involves network configuration and connectivity. By following the above steps, you can easily set up your camera and access it remotely from your smartphone or tablet. It is important to ensure that your WiFi network is secure to prevent unauthorized access to your camera.
3、 Camera Setup and Configuration
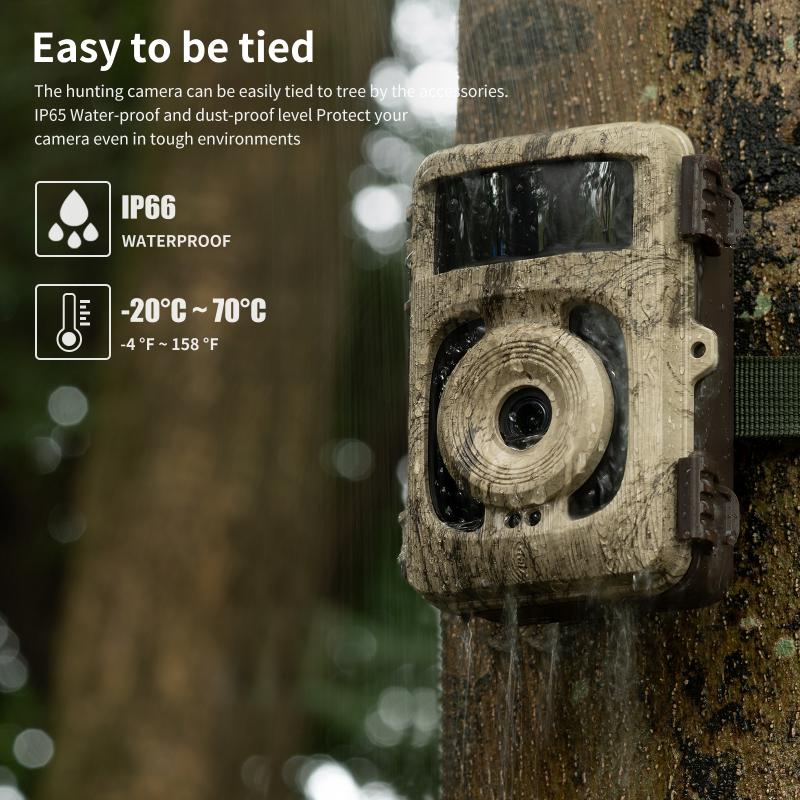
How to set up HD WiFi camera:
1. Choose a location: First, choose a location where you want to install the camera. Make sure it is a secure and stable location.
2. Connect the camera to power: Connect the camera to a power source using the provided power adapter.
3. Connect the camera to WiFi: Use the camera's mobile app to connect it to your WiFi network. Follow the instructions provided in the app to connect the camera to your WiFi network.
4. Configure camera settings: Once the camera is connected to your WiFi network, you can configure its settings using the mobile app. You can adjust the camera's resolution, frame rate, and other settings.
5. Mount the camera: Once you have configured the camera settings, mount the camera in the desired location. Make sure it is securely mounted and aimed in the right direction.
6. Test the camera: After mounting the camera, test it to make sure it is working properly. Use the mobile app to view the camera's live feed and adjust its settings as needed.
The latest point of view is that many HD WiFi cameras now come with advanced features such as motion detection, night vision, and two-way audio. These features make it easier to monitor your home or business and keep it secure. Additionally, many cameras now come with cloud storage options, allowing you to store footage remotely and access it from anywhere. Overall, setting up an HD WiFi camera is a simple process that can greatly enhance your security and peace of mind.
4、 Mobile App Installation and Configuration

How to set up HD WiFi camera:
1. Choose a location: First, choose a location where you want to install the camera. Make sure it is within the range of your WiFi network.
2. Connect the camera to power: Connect the camera to a power source using the provided power adapter.
3. Download the mobile app: Download the mobile app for your camera from the App Store or Google Play Store.
4. Create an account: Create an account on the app and log in.
5. Add the camera: Add the camera to the app by following the instructions provided in the app.
6. Connect to WiFi: Connect the camera to your WiFi network by entering your WiFi network name and password.
7. Configure settings: Configure the camera settings such as motion detection, recording, and notifications according to your preferences.
8. Test the camera: Test the camera by viewing the live feed on the app.
Mobile App Installation and Configuration:
The mobile app installation and configuration process may vary depending on the brand and model of the camera. However, most cameras come with a user manual that provides step-by-step instructions on how to install and configure the mobile app. It is important to ensure that the mobile app is compatible with your smartphone or tablet before downloading it. Additionally, make sure that your smartphone or tablet is connected to the same WiFi network as the camera during the installation process. Some cameras may also require firmware updates to ensure optimal performance. It is recommended to check for firmware updates regularly and install them as needed.


