How To Set Up Overhead Camera Phone ?
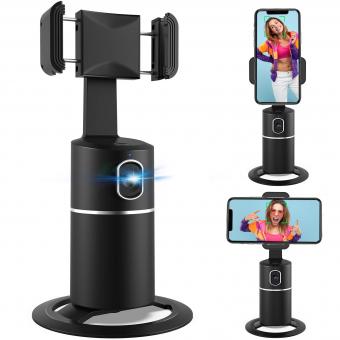
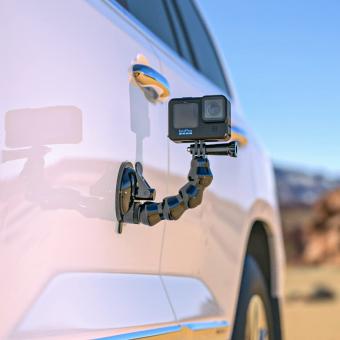
To set up an overhead camera phone, you will need a phone holder or mount that can be attached to a tripod or any other stable surface. You can also use a flexible arm mount that can be clamped onto a desk or table. Once you have the mount, attach your phone to it and position it directly above the subject you want to capture. Make sure the camera lens is facing downwards and adjust the angle as needed. You can also use a remote shutter or timer to take photos or videos without touching the phone. Additionally, you can use editing apps to enhance the quality of your footage and add effects or filters.
1、 Positioning the phone for optimal overhead view
How to set up overhead camera phone? Positioning the phone for optimal overhead view is key. First, find a stable surface to place your phone on, such as a tripod or a stack of books. Next, adjust the angle of the phone so that it is directly facing the area you want to capture. This may require tilting the phone slightly or adjusting the height of the surface it is on.
It is also important to ensure that the lighting in the area is adequate for the camera to capture clear images. Natural light is often the best option, but if this is not available, consider using additional lighting sources such as lamps or studio lights.
Another important consideration is the distance between the phone and the subject. Depending on the size of the subject, you may need to adjust the distance to ensure that it is fully captured in the frame.
Finally, it is important to use a camera app that allows you to adjust the settings for optimal image quality. This may include adjusting the exposure, white balance, and focus.
With these tips in mind, you can set up your overhead camera phone for optimal results. As technology continues to advance, there may be new tools and techniques available to further enhance your overhead camera setup.
2、 Choosing the right camera app for your needs
How to set up overhead camera phone:
Setting up an overhead camera phone is a great way to capture videos or photos of your work or projects. Here are the steps to set up an overhead camera phone:
1. Find a stable surface: Look for a stable surface to place your phone on. A table or desk works well.
2. Position your phone: Position your phone so that the camera is facing down towards your work area. You can use a phone holder or a tripod to keep your phone steady.
3. Adjust the angle: Adjust the angle of your phone so that it captures the area you want to film or photograph.
4. Use a remote: Use a remote or timer to take photos or start recording without touching your phone.
5. Test the lighting: Make sure the lighting is good and that there are no shadows or glare on your work area.
Choosing the right camera app for your needs:
Choosing the right camera app for your needs is important to get the best results from your overhead camera phone. Here are some factors to consider when choosing a camera app:
1. Features: Look for a camera app that has the features you need, such as manual focus, exposure control, and white balance adjustment.
2. Compatibility: Make sure the camera app is compatible with your phone's operating system.
3. User interface: Choose a camera app with a user-friendly interface that is easy to navigate.
4. Price: Consider the price of the camera app. Some apps are free, while others require a one-time purchase or a subscription.
5. Reviews: Read reviews from other users to get an idea of the app's performance and reliability.
In conclusion, setting up an overhead camera phone is easy and can be done with just a few simple steps. Choosing the right camera app is also important to get the best results from your overhead camera phone. With the latest advancements in technology, there are many camera apps available that offer a range of features and capabilities to suit your needs.
3、 Adjusting camera settings for lighting and focus
How to set up overhead camera phone:
Setting up an overhead camera phone is a great way to capture videos or photos of your work or projects. Here are some steps to follow:
1. Choose a stable surface: Find a stable surface to place your phone on. A tripod or a phone holder can be used to keep the phone steady.
2. Position the camera: Position the camera directly above the subject you want to capture. Make sure the camera is at a height that allows you to capture the entire subject.
3. Adjust the camera settings: Adjust the camera settings for lighting and focus. Make sure the lighting is adequate and the focus is sharp. You can use the camera's manual settings or an app to adjust the settings.
4. Start recording: Once you have set up the camera and adjusted the settings, you can start recording. Make sure you have enough storage space on your phone to capture the video or photo.
Adjusting camera settings for lighting and focus:
When setting up an overhead camera phone, it is important to adjust the camera settings for lighting and focus. Here are some tips:
1. Lighting: Make sure the lighting is adequate for the subject you want to capture. If the lighting is too bright or too dim, it can affect the quality of the video or photo. You can adjust the exposure settings on your phone to get the right lighting.
2. Focus: Make sure the subject is in focus. You can use the autofocus feature on your phone or manually adjust the focus. If the subject is moving, you may need to use continuous autofocus.
3. White balance: Adjust the white balance to get the right color temperature. This will ensure that the colors in your video or photo look natural.
4. Resolution: Choose the right resolution for your video or photo. Higher resolutions will give you better quality, but they will also take up more storage space on your phone.
In conclusion, setting up an overhead camera phone is a great way to capture videos or photos of your work or projects. Adjusting the camera settings for lighting and focus is important to ensure that you get the best quality video or photo. With the latest advancements in phone camera technology, it is now easier than ever to capture high-quality videos and photos with your phone.
4、 Using a tripod or stabilizer for steady shots
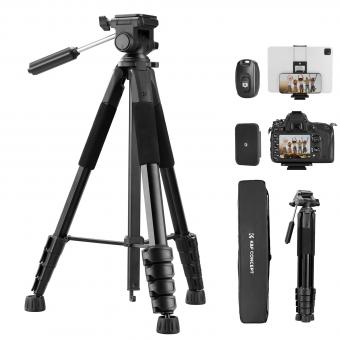
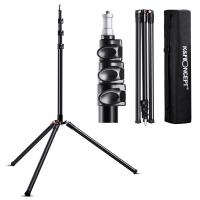
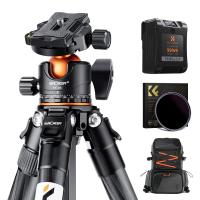
How to set up overhead camera phone? One of the easiest ways to set up an overhead camera phone is by using a tripod or stabilizer for steady shots. This method is ideal for capturing high-quality footage without any shakiness or blurriness. To set up your overhead camera phone using a tripod or stabilizer, you will need to follow a few simple steps.
First, attach your phone to the tripod or stabilizer using a phone mount. Make sure that the mount is secure and that your phone is positioned correctly. Next, adjust the height and angle of the tripod or stabilizer to get the perfect overhead shot. You may need to experiment with different angles and heights to find the best position for your shot.
Once you have your camera set up, you can start recording your footage. Make sure that you have good lighting and that your subject is in focus. You may also want to use a remote control or timer to start and stop your recording, so that you don't have to touch your phone while it's recording.
In conclusion, using a tripod or stabilizer is a great way to set up an overhead camera phone. It's easy to use, and it will help you capture high-quality footage without any shakiness or blurriness. With a little practice, you'll be able to create amazing overhead shots that will impress your audience.
