How To Set Up Time Lapse Camera ?
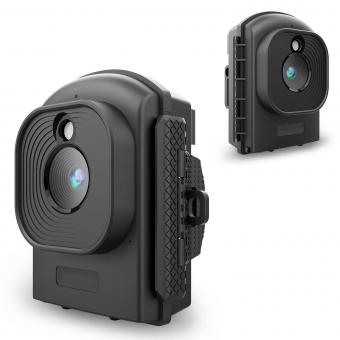
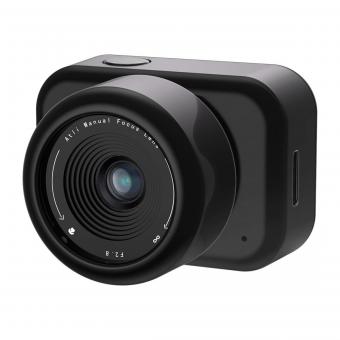
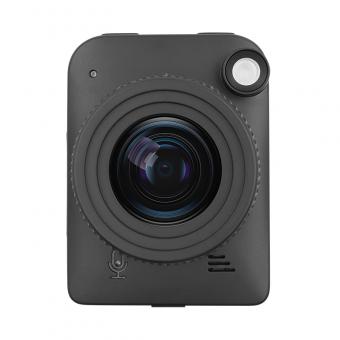
To set up a time-lapse camera, you will need a camera that has a time-lapse function or an intervalometer. First, choose a location and set up your camera on a tripod or stable surface. Then, set the interval time for the camera to take photos at regular intervals. Next, set the duration of the time-lapse, which will determine how long the camera will take photos for. Finally, start the time-lapse and let the camera take photos until the duration is complete. Once the time-lapse is complete, you can compile the photos into a video using editing software.
1、 Camera selection
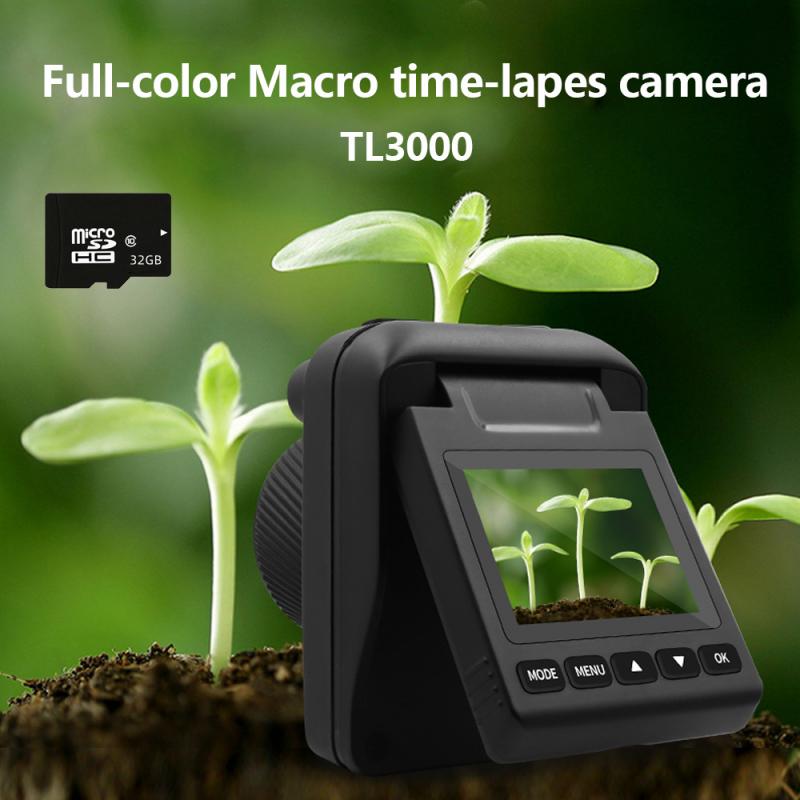
How to set up time lapse camera:
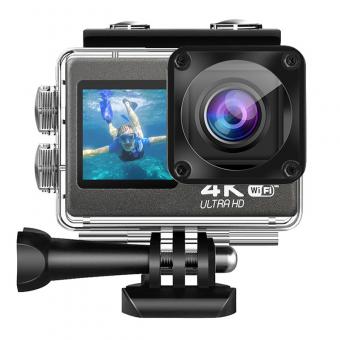
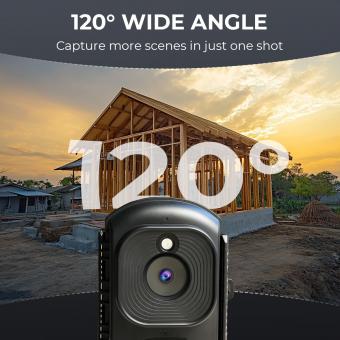
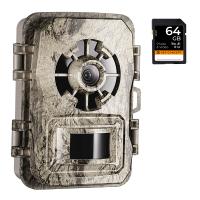
1. Camera selection: The first step in setting up a time lapse camera is selecting the right camera. There are many cameras available in the market that are specifically designed for time lapse photography. Some popular options include GoPro, Sony, and Canon cameras. It is important to choose a camera that has a good battery life, high resolution, and a wide-angle lens.
2. Camera placement: Once you have selected the camera, the next step is to decide where to place it. The location should be stable and secure, and the camera should be protected from the elements. You can use a tripod or a mount to keep the camera steady.
3. Camera settings: After placing the camera, you need to set up the camera settings. This includes setting the interval between shots, the duration of the time lapse, and the resolution of the images. You can also adjust the exposure and white balance settings to get the best results.
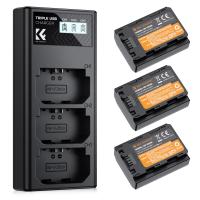
4. Power source: Time lapse photography requires a lot of power, so it is important to have a reliable power source. You can use a battery pack or an AC adapter to power the camera.
5. Start shooting: Once you have set up the camera, you can start shooting. It is important to check the camera regularly to ensure that it is still working properly and that the battery is not running low.
The latest point of view in time lapse photography is the use of motion control devices such as sliders and pan-tilt heads. These devices allow for more dynamic shots and can add a new level of creativity to your time lapse videos.
2、 Interval and duration settings
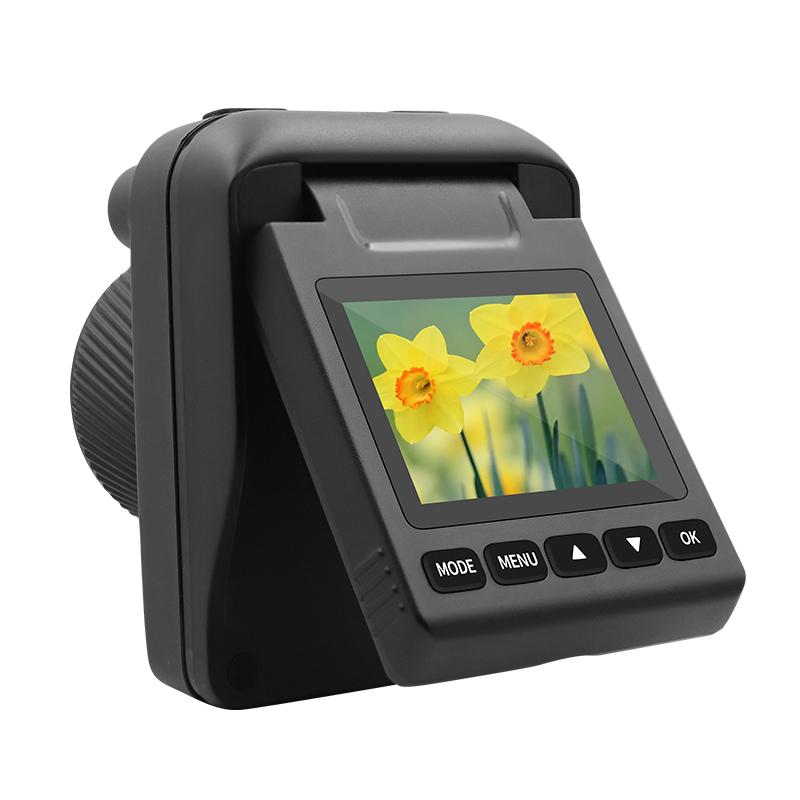
How to set up time lapse camera:
1. Choose the right camera: First, you need to choose the right camera for your time lapse project. Look for a camera that has a built-in intervalometer or can be connected to an external one.
2. Choose the right location: Choose a location that has an interesting subject and a good vantage point. Make sure the camera is stable and won't be disturbed during the shoot.
3. Set up the camera: Mount the camera on a tripod or other stable surface. Set the focus and exposure settings manually to ensure consistency throughout the shoot.
4. Interval and duration settings: Set the interval and duration settings based on the length of your project and the speed at which you want the time lapse to play back. For example, if you want a 10-second time lapse of a 2-hour event, you would set the interval to 5 seconds and the duration to 7200 seconds (2 hours).
5. Start shooting: Once you have everything set up, start the time lapse and let the camera do its work. Make sure to check on the camera periodically to ensure it is still functioning properly.
The latest point of view on time lapse photography is that it has become increasingly popular in recent years due to advancements in technology and the ease of sharing content on social media. Time lapse videos can be used for a variety of purposes, including documenting construction projects, capturing natural phenomena, and creating artistic content. With the right equipment and settings, anyone can create stunning time lapse videos.
3、 Power source and storage
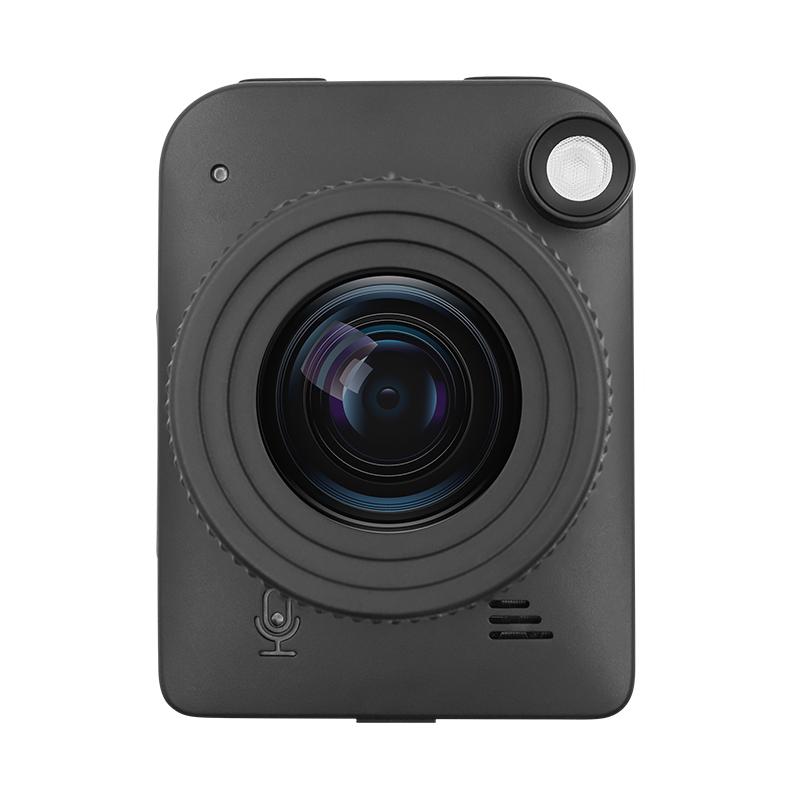
How to set up time lapse camera:
One of the most important aspects of setting up a time lapse camera is ensuring that you have a reliable power source and sufficient storage capacity. Without these two elements, your time lapse project may be cut short or incomplete.
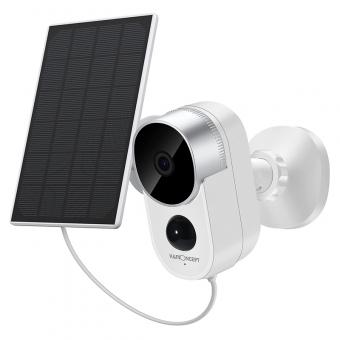
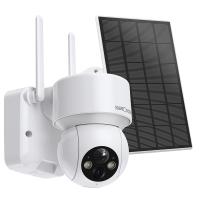
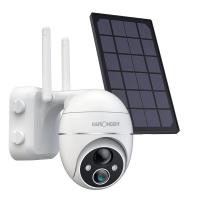
Power source: Depending on the length of your time lapse project, you may need to consider using an external power source. This could be a battery pack or solar panel, depending on your location and the availability of sunlight. Alternatively, you could use a power outlet if one is available nearby. It's important to ensure that your power source is reliable and won't run out of juice halfway through your project.
Storage: Time lapse photography can generate a lot of data, so it's important to have enough storage capacity to capture all of your images. This could be in the form of an SD card or external hard drive. Make sure you have enough storage space to capture all of your images, and consider backing up your data to a cloud storage service or another device to ensure that you don't lose any of your footage.
In addition to these two key elements, it's important to choose the right camera and settings for your time lapse project. Consider factors such as the interval between shots, the duration of your project, and the lighting conditions in your location. With the right setup, you can capture stunning time lapse footage that showcases the beauty of the world around us.
4、 Mounting and stability
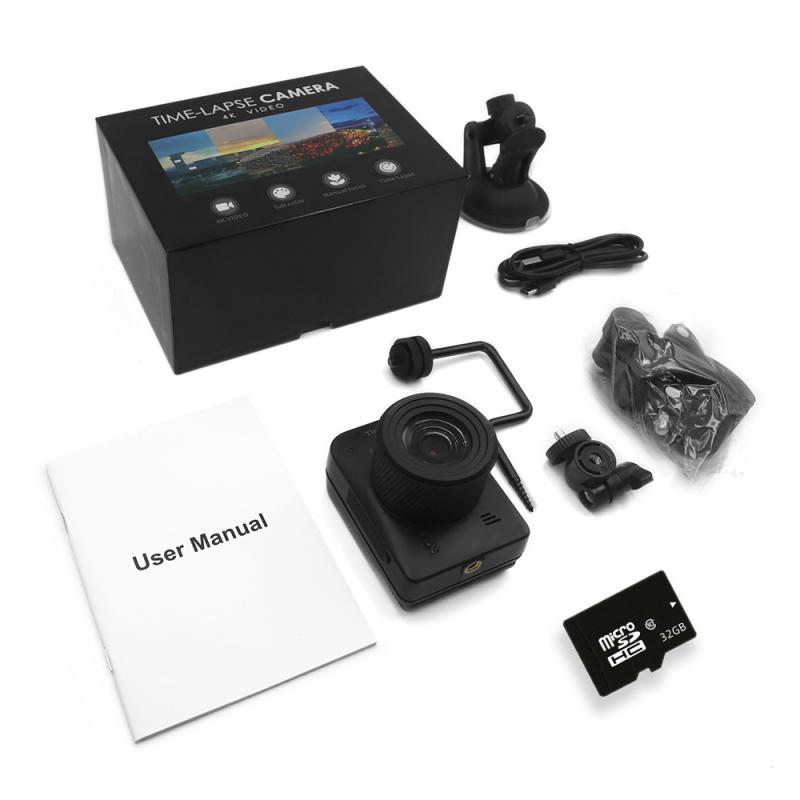
Mounting and stability are crucial factors when setting up a time-lapse camera. The camera needs to be mounted on a stable surface to prevent any movement or shaking during the time-lapse recording. This will ensure that the final footage is smooth and stable.
To set up a time-lapse camera, first, choose a suitable location for the camera. This could be a scenic spot, a construction site, or any other location that you want to capture in a time-lapse. Once you have chosen the location, find a stable surface to mount the camera on. This could be a tripod, a wall mount, or any other stable surface.
Next, attach the camera to the mount and adjust the angle and position of the camera to capture the desired view. Make sure that the camera is level and stable before starting the time-lapse recording.
It is also important to consider the weather conditions when setting up a time-lapse camera. If the camera is exposed to the elements, it may need to be protected from rain, wind, or extreme temperatures. You may need to use a weatherproof housing or cover to protect the camera.
In summary, mounting and stability are essential when setting up a time-lapse camera. Choose a stable surface to mount the camera on, adjust the angle and position of the camera, and protect the camera from the elements if necessary. With these considerations in mind, you can capture stunning time-lapse footage of your chosen location.

