How To Take Overhead Shots With A Tripod ?
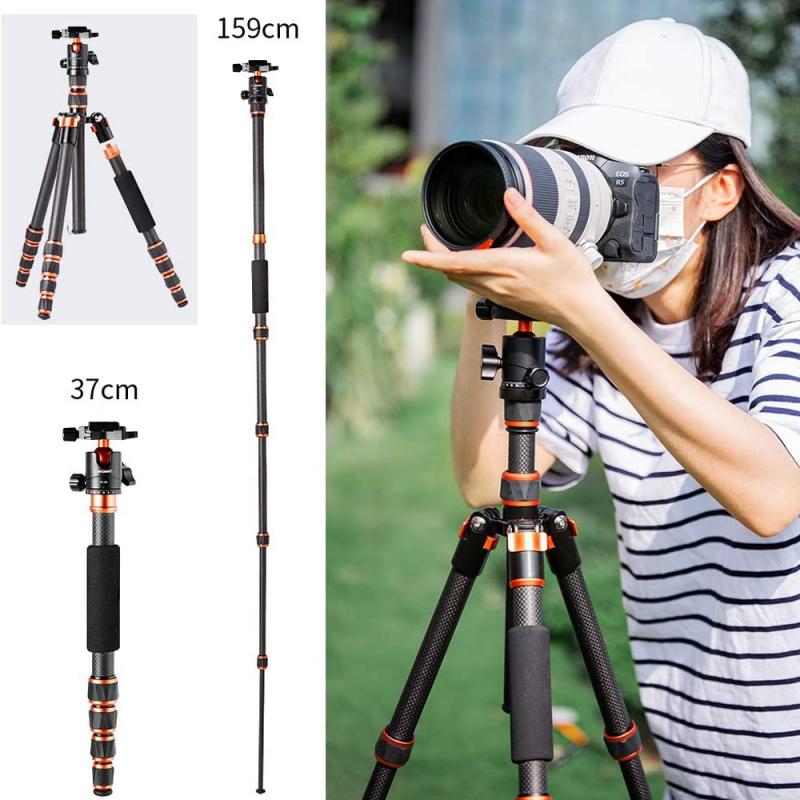
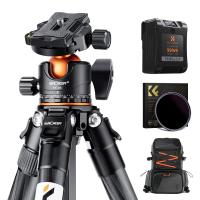
To take overhead shots with a tripod, you will need to adjust the height of the tripod to the desired level. You can use the center column of the tripod to extend the height of the camera. Once the tripod is at the desired height, you can mount the camera on the tripod head and adjust the angle of the camera to point downwards towards the subject. You can use a remote shutter release or a self-timer to take the shot without touching the camera and causing any vibrations. You can also use a spirit level to ensure that the camera is level and straight. Additionally, you can use a grid overlay on your camera's LCD screen to help you compose the shot and ensure that the subject is centered.
1、 Tripod Adjustment
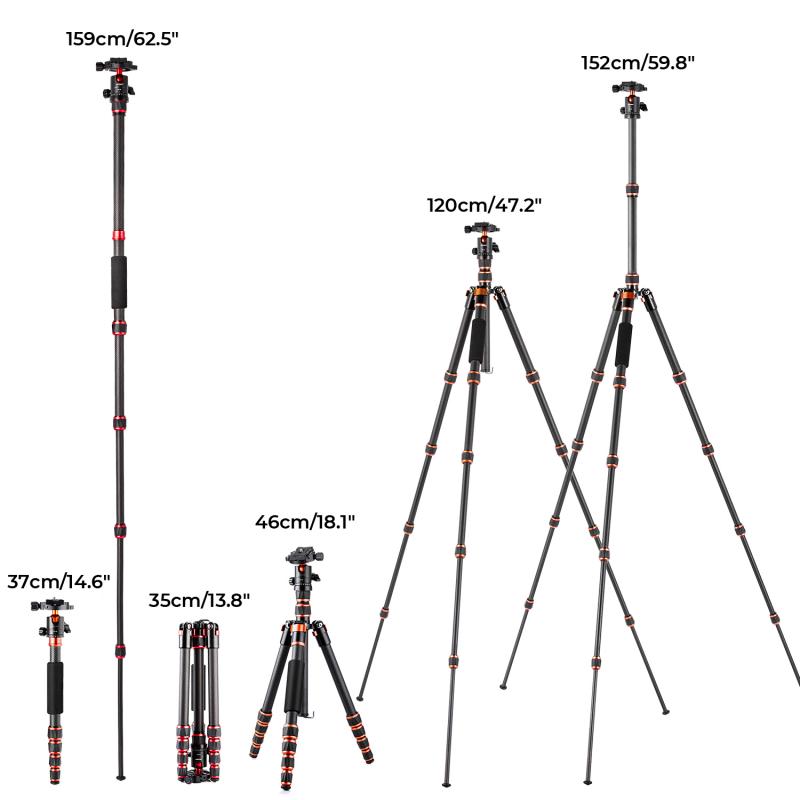
How to take overhead shots with a tripod? The first step is to adjust your tripod to the right height. You want the camera to be directly above the subject, so you'll need to raise the tripod to the appropriate height. This can be a bit tricky, as you'll need to make sure the tripod is stable and won't tip over. Once you've got the tripod at the right height, you can attach your camera and start taking photos.
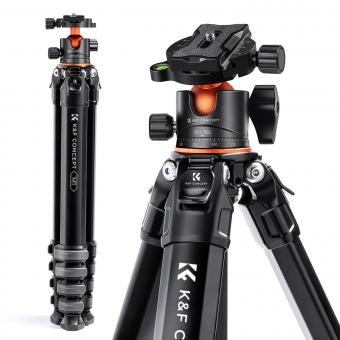
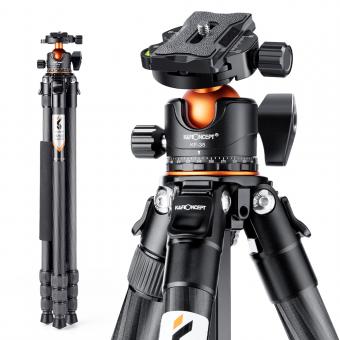
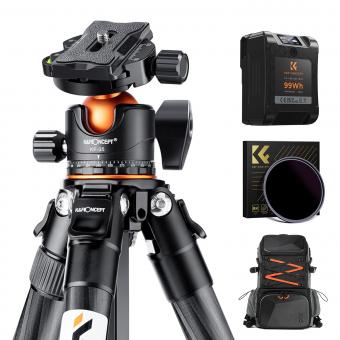
One important thing to keep in mind when taking overhead shots is the angle of the camera. You want to make sure the camera is pointing straight down, so you'll need to adjust the tripod head accordingly. Most tripods have a ball head that allows you to adjust the angle of the camera, so make sure you use this feature to get the camera in the right position.
Another important consideration when taking overhead shots is lighting. You'll want to make sure the subject is well-lit, so consider using a reflector or other lighting equipment to get the right amount of light. You may also want to experiment with different camera settings, such as aperture and shutter speed, to get the best possible shot.
In terms of the latest point of view, many photographers are now using drones to take overhead shots. Drones offer a lot of flexibility and can be used to capture stunning aerial footage. However, drones can be expensive and require a lot of skill to operate safely. If you're just starting out with overhead photography, a tripod is a great option that will allow you to get great shots without breaking the bank.
2、 Camera Settings
How to take overhead shots with a tripod:
Taking overhead shots with a tripod can be a great way to capture unique perspectives and add interest to your photos. Here are some steps to follow:
1. Set up your tripod: Choose a sturdy tripod and set it up at the desired height and angle. Make sure it is stable and won't tip over.
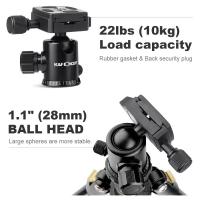
2. Attach your camera: Use a ball head or other type of tripod head to attach your camera securely to the tripod. Make sure it is level and pointing in the right direction.
3. Adjust camera settings: Depending on the lighting conditions and the effect you want to achieve, you may need to adjust your camera settings. For example, you may want to use a smaller aperture to increase depth of field, or a slower shutter speed to capture motion blur.
4. Use a remote shutter release: To avoid camera shake, use a remote shutter release or the self-timer function on your camera to take the shot.
5. Review and adjust: After taking the shot, review it on your camera's LCD screen and adjust the settings or composition as needed.
Latest point of view:
With the rise of social media platforms like Instagram and TikTok, overhead shots have become increasingly popular. They can be used to showcase food, products, or even your outfit of the day. To make your overhead shots stand out, try experimenting with different angles and compositions. For example, you could shoot straight down or at a slight angle, or include other elements in the frame to add context or interest. Additionally, consider using editing tools to enhance your photos and make them more visually appealing. With a little creativity and practice, you can take stunning overhead shots that will impress your followers and elevate your photography skills.
3、 Lighting Considerations
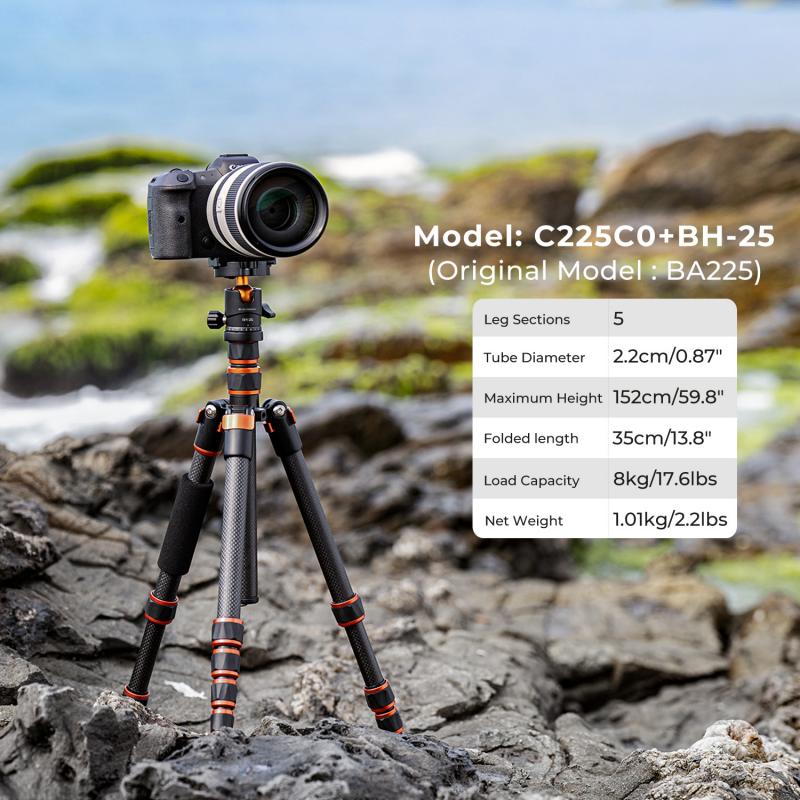
When taking overhead shots with a tripod, lighting is a crucial consideration. The lighting should be even and consistent to avoid any shadows or glare that could affect the quality of the shot. One way to achieve this is by using diffused lighting, which softens the light and reduces harsh shadows. This can be achieved by using a softbox or diffuser on your light source.
Another important consideration is the color temperature of the lighting. The color temperature of the light can affect the overall mood and tone of the shot. For example, warm lighting can create a cozy and inviting atmosphere, while cool lighting can create a more clinical and sterile feel. It is important to choose the right color temperature for the desired effect.
In addition, the direction of the lighting is also important. When taking overhead shots, it is best to position the light source directly above the subject to avoid any unwanted shadows. This can be achieved by using a boom arm or light stand to position the light source directly above the subject.
Finally, it is important to consider the ambient lighting in the room. If there is natural light coming in from windows or other sources, it is important to balance the artificial lighting with the natural light to avoid any color imbalances or unwanted shadows.
Overall, lighting is a crucial consideration when taking overhead shots with a tripod. By using diffused lighting, choosing the right color temperature, positioning the light source correctly, and balancing the ambient lighting, you can achieve high-quality overhead shots that are well-lit and visually appealing.
4、 Composition Techniques
How to take overhead shots with a tripod:
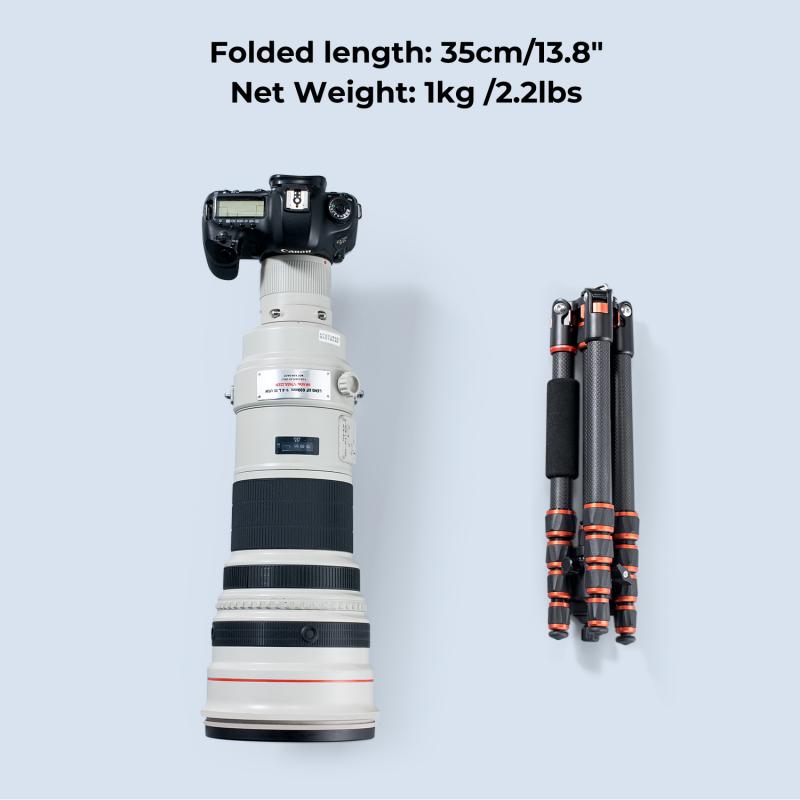
1. Choose the right tripod: Make sure your tripod is sturdy and can hold the weight of your camera at an overhead angle. A tripod with a center column that can be tilted horizontally is ideal.
2. Set up your shot: Position your subject and adjust your camera settings. Make sure your camera is level and centered over your subject.
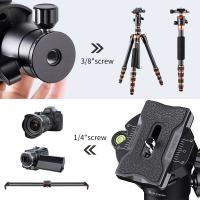
3. Attach your camera to the tripod: Use a quick-release plate or screw to attach your camera securely to the tripod head.
4. Adjust the tripod height: Extend the center column of your tripod to the desired height and angle it horizontally.
5. Use a remote shutter release: To avoid camera shake, use a remote shutter release or the self-timer function on your camera.
6. Take the shot: Once everything is set up, take the shot. Adjust the tripod height and camera angle as needed to get the perfect shot.
Composition Techniques:
When taking overhead shots, it's important to consider the composition of your shot. Here are some composition techniques to keep in mind:
1. Rule of thirds: Divide your shot into thirds both horizontally and vertically, and place your subject at one of the intersections.
2. Leading lines: Use lines in your shot to draw the viewer's eye to your subject.
3. Symmetry: Use symmetry to create a balanced and visually pleasing shot.
4. Negative space: Use negative space to create a sense of depth and focus on your subject.
5. Color: Use color to create contrast and draw attention to your subject.
In addition to these traditional composition techniques, it's important to consider the latest trends in photography. For example, minimalism and simplicity are currently popular styles, so consider using negative space and simple compositions in your overhead shots. Additionally, incorporating unique angles and perspectives can make your shots stand out and add interest to your composition.
