How To Use A Camera Tripod ?
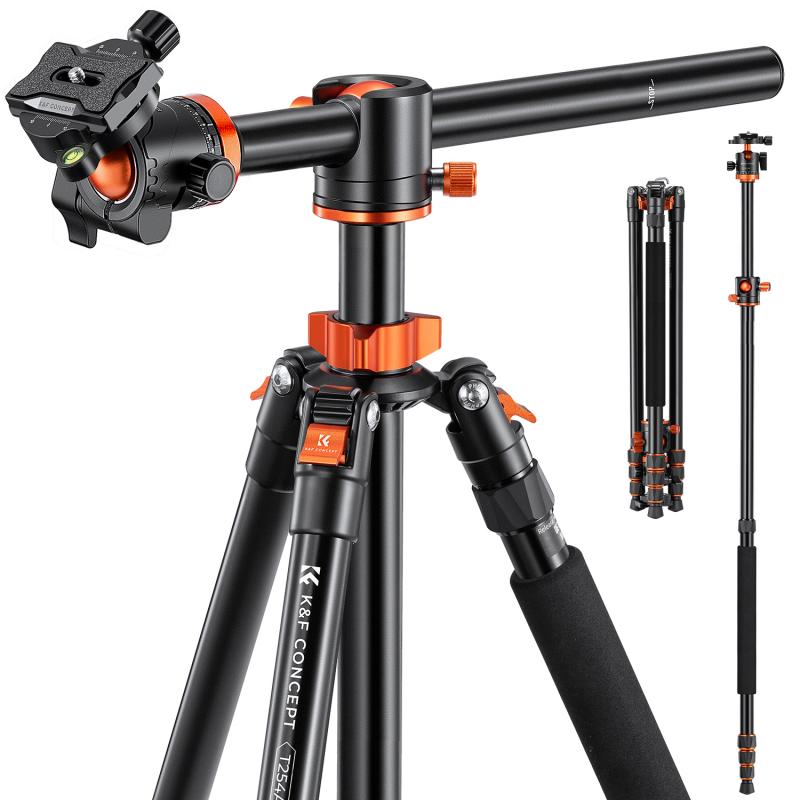
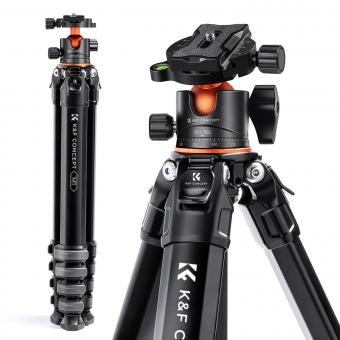
To use a camera tripod, first, extend the legs of the tripod to your desired height. Make sure the legs are securely locked in place. Then, attach your camera to the tripod head using the mounting plate or quick release system. Ensure that the camera is securely attached. Adjust the tripod head to position your camera at the desired angle and composition. Use the tripod's pan and tilt controls to fine-tune the camera's position. Once you have set up the tripod and camera, use the tripod's locking mechanisms to secure the position. This will help prevent any unwanted movement or camera shake. Finally, use a remote shutter release or the camera's self-timer function to take the photo without touching the camera, further minimizing any potential camera shake.
1、 Setting up the tripod legs for stability
Setting up a camera tripod is essential for achieving stability and capturing sharp, steady images. Here's a step-by-step guide on how to use a camera tripod effectively:
1. Unfold the tripod: Start by releasing the tripod legs from their folded position. Most tripods have a quick-release mechanism that allows you to extend the legs easily. Pull the legs outwards until they are fully extended.
2. Adjust the leg height: Determine the desired height for your camera by adjusting the length of each tripod leg. Most tripods have multiple leg sections with locking mechanisms. Unlock each section and extend or retract the legs to achieve the desired height. Ensure that all the legs are set to the same length for stability.
3. Lock the legs: Once you have set the desired height, lock the tripod legs in place by tightening the leg locks. These locks are usually located near the top of each leg section. Make sure they are securely tightened to prevent any accidental movement.
4. Spread the legs: To maximize stability, spread the tripod legs apart. Position them in a way that forms a stable base. The spread should be wide enough to support the weight of your camera and any additional equipment.
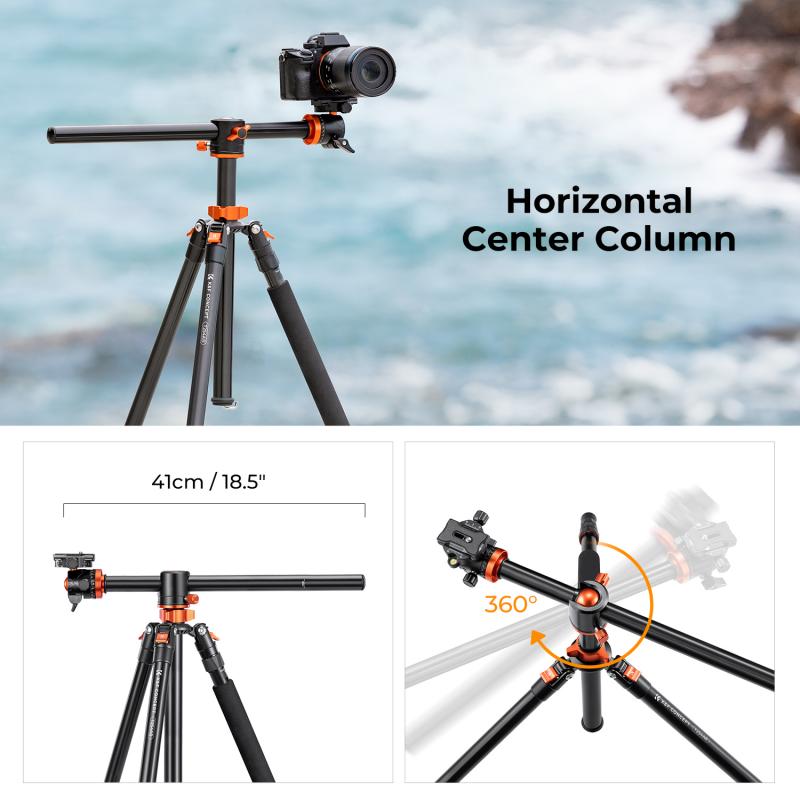
5. Adjust the center column: Some tripods have a center column that can be extended or retracted. If needed, adjust the center column to fine-tune the height of your camera. However, keep in mind that extending the center column too much can compromise stability.
6. Attach the camera: Most tripods have a mounting plate or quick-release system to attach your camera securely. Attach the plate to the camera's tripod socket and then attach it to the tripod head. Ensure that it is securely fastened to prevent any accidental detachment.
7. Fine-tune the position: Once your camera is attached, use the tripod's pan and tilt controls to adjust the camera's position. This will allow you to frame your shot precisely.
Remember, stability is crucial when using a tripod. Avoid extending the tripod legs to their maximum height unless necessary, as this can reduce stability. Additionally, always check that the tripod is on a level surface to prevent any imbalance.
By following these steps, you can effectively set up a camera tripod and capture sharp, steady images.
2、 Mounting the camera securely on the tripod head
Mounting the camera securely on the tripod head is an essential step in using a camera tripod effectively. To ensure stability and prevent any unwanted movement or camera shake, follow these steps:
1. Start by extending the tripod legs to your desired height. Make sure the tripod is on a stable surface and adjust the leg angles if needed for added stability.
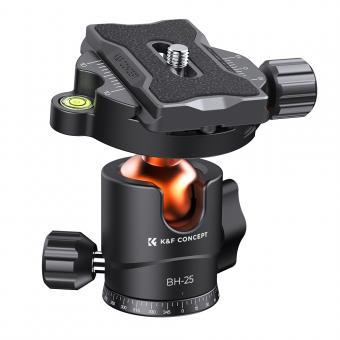
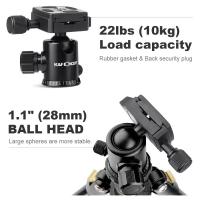
2. Locate the tripod head, which is the part that holds the camera. Most tripods have a quick-release plate system, where a plate is attached to the camera and then mounted onto the tripod head. To do this, locate the mounting screw on the tripod head and loosen it.
3. Attach the quick-release plate to the camera by aligning the plate's screw hole with the camera's tripod socket. Tighten the plate securely to the camera using the plate's locking mechanism.
4. Once the plate is attached to the camera, align it with the tripod head's mounting screw and slide it into place. Tighten the mounting screw to secure the camera onto the tripod head.
5. Ensure that the camera is securely mounted by gently testing its stability. If there is any movement or wobbling, double-check the mounting screw's tightness.
From a latest point of view, some tripods now come with additional features such as built-in levels or bubble indicators. These can help you ensure that your camera is perfectly level, which is especially useful for landscape or architectural photography. Additionally, some tripod heads offer a panoramic rotation feature, allowing you to smoothly capture wide-angle shots or create panoramic images. Familiarize yourself with these features and utilize them to enhance your photography experience.
Remember, mounting the camera securely on the tripod head is crucial for achieving sharp and stable images. Take your time to properly attach the camera to the tripod, and always double-check its stability before starting your shoot.
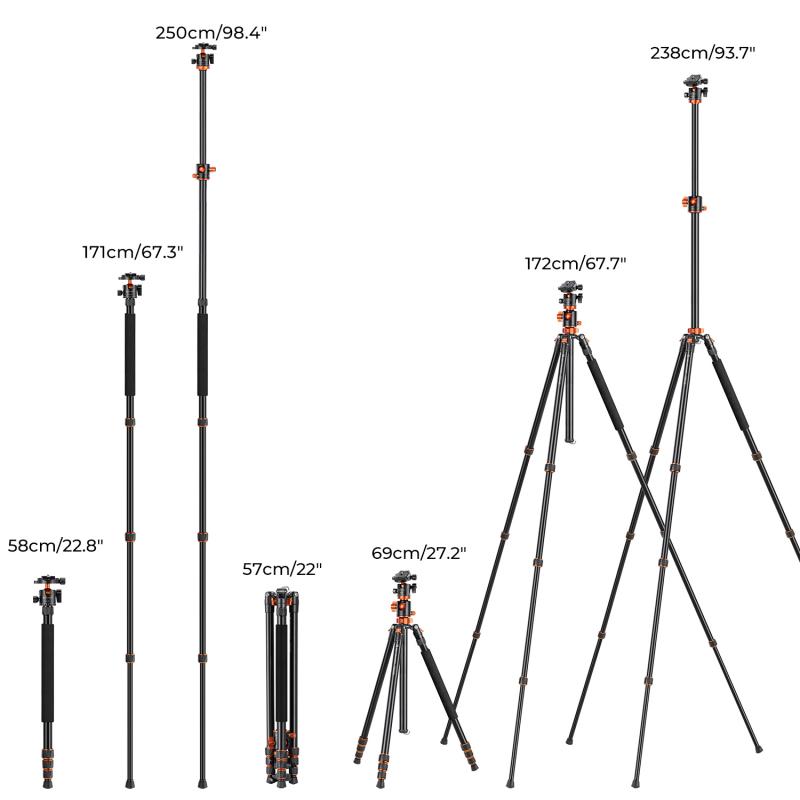
3、 Adjusting the tripod height and angle for desired composition
How to use a camera tripod:
1. Adjusting the tripod height and angle for desired composition: The first step in using a camera tripod is to set it up at the desired height and angle. Most tripods have adjustable legs that can be extended or retracted to achieve the desired height. Make sure the tripod is stable and secure before attaching the camera.
2. Attaching the camera: Once the tripod is set up, attach the camera to the tripod head. Most tripods have a quick-release plate that attaches to the camera's tripod mount. Slide the plate into the tripod head and secure it in place. Ensure that the camera is securely attached to the tripod to prevent any accidents.
3. Adjusting the tripod head: The tripod head allows you to adjust the camera's position and angle. There are typically two controls on the tripod head - one for panning horizontally and another for tilting vertically. Use these controls to position the camera exactly where you want it. Make sure the camera is level and straight before capturing your shot.
4. Locking the tripod: Once you have achieved the desired composition, lock the tripod in place. Most tripods have locking mechanisms on the legs and the tripod head. Tighten these locks to ensure that the tripod remains stable and secure during the shoot.
5. Fine-tuning the composition: After locking the tripod, take a moment to review the composition through the camera's viewfinder or LCD screen. Make any necessary adjustments to the tripod height, angle, or camera position to achieve the perfect composition.
In conclusion, using a camera tripod involves adjusting the tripod height and angle for the desired composition, attaching the camera securely, adjusting the tripod head, locking the tripod, and fine-tuning the composition. By following these steps, you can ensure stability and capture sharp, well-composed images.
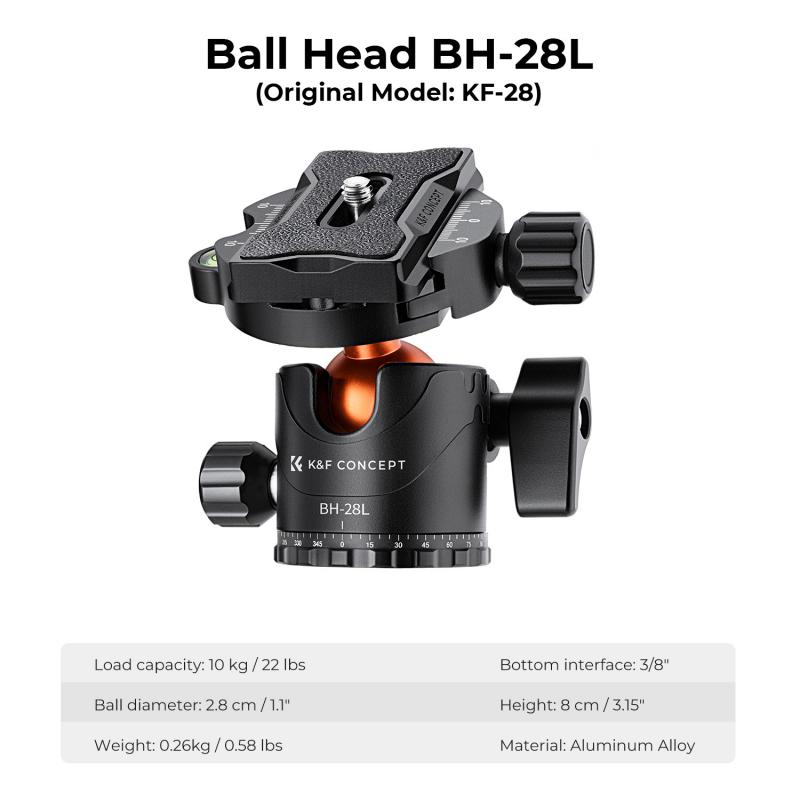
4、 Using the tripod's pan and tilt functions for smooth movements
Using a camera tripod is essential for achieving stable and professional-looking shots. Here's a step-by-step guide on how to use a camera tripod effectively:
1. Set up the tripod: Extend the tripod legs to your desired height and lock them in place. Ensure that the tripod is stable on the ground.
2. Attach the camera: Most tripods have a quick-release plate that attaches to the camera's tripod mount. Securely attach the plate to the camera and then attach it to the tripod head. Make sure it is tightly fastened to avoid any accidental falls.
3. Adjust the tripod head: Most tripods have a pan and tilt head that allows you to adjust the camera's position. Loosen the pan and tilt locks to freely move the camera. Once you have the desired angle, tighten the locks to secure the camera in place.
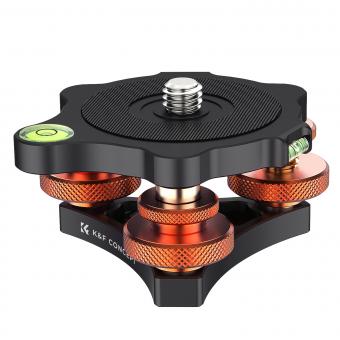
4. Level the camera: Use the tripod's built-in bubble level or a separate leveling tool to ensure that the camera is perfectly level. This is crucial for capturing straight horizons and avoiding tilted shots.
5. Using the tripod's pan and tilt functions: The pan function allows you to rotate the camera horizontally, while the tilt function allows vertical movement. To achieve smooth movements, use slow and controlled motions. Avoid jerky movements that can result in shaky footage.
6. Experiment with different heights and angles: Adjust the tripod's height and leg angles to capture shots from various perspectives. This can add depth and creativity to your photographs or videos.
In recent years, some tripods have introduced additional features such as fluid heads, which provide even smoother movements. These fluid heads use hydraulic mechanisms to dampen any sudden movements, resulting in more professional-looking footage. Additionally, some tripods now come with built-in smartphone mounts, making it easier to capture shots using your phone.
Remember, practice makes perfect. Experiment with different techniques and settings to find what works best for your specific needs.
