How To Use A Microscope Correctly ?
To use a microscope correctly, start by placing the microscope on a stable surface and ensuring it is properly plugged in or has fresh batteries. Next, turn on the microscope and adjust the light source to the desired intensity. Place the specimen on the stage and secure it using the stage clips or slide holder. Use the coarse adjustment knob to bring the specimen into focus at the lowest magnification. Once the specimen is in focus, switch to higher magnifications using the objective lenses. Use the fine adjustment knob to fine-tune the focus. Adjust the condenser and diaphragm to optimize the lighting conditions. Finally, observe the specimen through the eyepiece and make any necessary adjustments to the focus or lighting to obtain a clear image.
1、 Microscope Parts and Functions
Using a microscope correctly is essential to obtain accurate and clear images. Here is a guide on how to use a microscope correctly, along with an overview of its parts and functions.
1. Set up the microscope: Start by placing the microscope on a stable surface and ensuring it is properly plugged in or has fresh batteries. Adjust the light source to provide adequate illumination.
2. Adjust the eyepiece: Look through the eyepiece and adjust the focus using the diopter adjustment ring until the image appears clear. This compensates for any differences in vision between your eyes.
3. Prepare the specimen: Place the specimen on a clean glass slide and cover it with a coverslip. Ensure the specimen is properly mounted and positioned for observation.
4. Use the coarse focus knob: Begin with the lowest magnification objective lens and use the coarse focus knob to bring the specimen into rough focus. This knob moves the stage up and down to adjust the focus.
5. Fine-tune the focus: Once the specimen is roughly in focus, switch to the fine focus knob to make precise adjustments. This knob allows for finer control of the focus and helps to obtain a clear image.
6. Adjust the magnification: Rotate the nosepiece to switch to higher magnification objective lenses. Remember to refocus using the coarse and fine focus knobs after changing the magnification.
7. Observe and record: Look through the eyepiece and observe the specimen. Use the stage controls to move the slide and explore different areas. Take notes or capture images if necessary.
Microscope Parts and Functions:
- Eyepiece: Also known as the ocular lens, the eyepiece is where you look through to observe the specimen. It typically provides a magnification of 10x.
- Objective lenses: These are the lenses located on the rotating nosepiece. They come in different magnifications, such as 4x, 10x, 40x, and 100x. The objective lenses are responsible for magnifying the specimen.
- Coarse and fine focus knobs: The coarse focus knob moves the stage up and down rapidly to bring the specimen into rough focus. The fine focus knob allows for precise adjustments to obtain a clear image.
- Stage: The stage is where the specimen is placed for observation. It often has clips or a mechanical stage to hold the slide in place.
- Condenser: The condenser is located beneath the stage and focuses the light onto the specimen, improving the image quality.
- Diaphragm: The diaphragm controls the amount of light passing through the condenser. Adjusting it can help optimize the illumination for different specimens.
- Light source: The light source, usually an LED or halogen lamp, provides illumination for the specimen. It is located beneath the stage or integrated into the microscope.
- Arm and base: The arm is the curved part of the microscope that connects the eyepiece and objective lenses to the base. The base provides stability and support for the microscope.
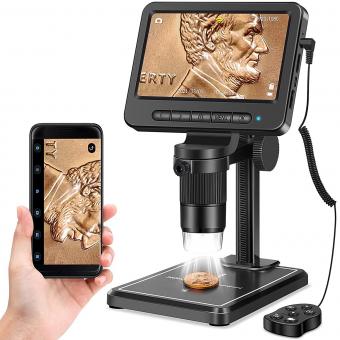
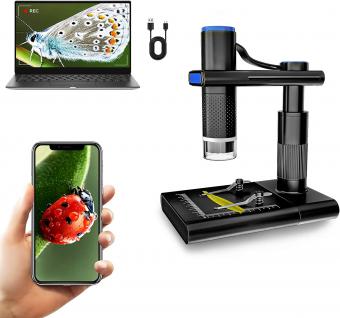
It is important to note that the latest advancements in microscopy technology have led to the development of more advanced microscopes, such as digital microscopes and confocal microscopes. These instruments offer enhanced imaging capabilities and may have additional features and controls. However, the basic principles of using a microscope correctly and understanding its parts and functions remain the same.

2、 Microscope Setup and Calibration
Using a microscope correctly is essential to obtain accurate and reliable results in scientific research, medical diagnostics, and various other fields. Here are some guidelines on how to set up and calibrate a microscope properly:
1. Clean the microscope: Before starting, ensure that the microscope is clean and free from dust or debris. Use a soft brush or air blower to remove any particles from the lenses and other surfaces.
2. Adjust the lighting: Proper lighting is crucial for clear visualization. Adjust the light intensity to an appropriate level, avoiding excessive brightness that may cause glare or damage to the specimen.
3. Choose the correct objective lens: Microscopes typically have multiple objective lenses with different magnification powers. Select the appropriate lens based on the desired level of magnification and the size of the specimen.
4. Focus the specimen: Place the specimen on the stage and secure it using the stage clips or slide holder. Start with the lowest magnification lens and use the coarse focus knob to bring the specimen into rough focus. Then, use the fine focus knob to achieve a sharp and clear image.
5. Center the specimen: Adjust the position of the specimen on the stage to ensure it is centered within the field of view. This can be done by moving the stage or adjusting the position of the slide.
6. Calibrate the microscope: Periodically, it is important to calibrate the microscope to ensure accurate measurements. This can be done using a calibration slide with known dimensions or by following the manufacturer's instructions for calibration.
7. Maintain proper posture: When using a microscope for extended periods, maintain a comfortable and ergonomic posture to prevent strain or fatigue. Adjust the height of the microscope and use a supportive chair if necessary.
It is worth noting that with advancements in technology, digital microscopes and software are becoming increasingly popular. These tools offer additional features such as image capture, measurement, and analysis, enhancing the capabilities of microscopy.
In conclusion, setting up and calibrating a microscope correctly is crucial for obtaining accurate and reliable results. By following these guidelines and staying updated with the latest advancements in microscopy technology, researchers and professionals can maximize the potential of this essential scientific tool.
3、 Sample Preparation Techniques for Microscopy
Sample Preparation Techniques for Microscopy
Using a microscope correctly is essential to obtain accurate and reliable results in microscopy. Here are some guidelines on how to use a microscope correctly:
1. Clean the microscope: Before starting, ensure that the microscope is clean and free from dust or debris. Use a soft cloth or lens paper to clean the lenses and the stage.
2. Adjust the lighting: Proper lighting is crucial for microscopy. Adjust the light intensity to an appropriate level, ensuring that the sample is well-illuminated but not overexposed. Use the condenser to control the light focus.
3. Choose the correct objective lens: Microscopes have different objective lenses with varying magnifications. Select the appropriate lens based on the desired level of magnification and resolution.
4. Focus the sample: Start with the lowest magnification objective lens and gradually increase the magnification as needed. Use the coarse and fine focus knobs to bring the sample into sharp focus. Avoid using excessive force while focusing to prevent damage to the microscope or the sample.
5. Use immersion techniques: Immersion techniques, such as oil immersion, can enhance the resolution and clarity of the sample. Apply a drop of immersion oil on the slide and use a high magnification objective lens specifically designed for oil immersion.
6. Handle the sample carefully: When preparing the sample, ensure that it is properly mounted on a slide and covered with a coverslip. Avoid touching the coverslip or the sample with bare hands to prevent contamination or damage.
7. Adjust the contrast: Adjust the contrast and brightness settings on the microscope to optimize the visibility of the sample. This can help highlight specific structures or details within the sample.
8. Take proper care of the microscope: After use, clean the lenses and stage again to remove any residue. Store the microscope in a clean and dry environment to prevent damage or contamination.
It is important to note that microscopy techniques and technologies are constantly evolving. Therefore, it is advisable to consult the latest literature and resources for any specific sample preparation techniques or advancements in microscopy.

4、 Adjusting Magnification and Focus
Using a microscope correctly is essential to obtain accurate and clear images. One of the key aspects of using a microscope is adjusting the magnification and focus. Here are some steps to follow to ensure you are using a microscope correctly:
1. Start with the lowest magnification: When beginning your observation, always start with the lowest magnification objective lens. This allows you to locate and focus on the specimen easily.
2. Use the coarse adjustment knob: Begin focusing by using the coarse adjustment knob. This knob moves the stage up and down, bringing the specimen into view. Start with a rough focus and gradually adjust until the specimen becomes clearer.
3. Fine-tune with the fine adjustment knob: Once the specimen is in view, use the fine adjustment knob to fine-tune the focus. This knob moves the stage in smaller increments, allowing for precise focusing.
4. Adjust the magnification: To increase the magnification, rotate the nosepiece to switch to a higher magnification objective lens. Remember to refocus using the coarse and fine adjustment knobs after changing the magnification.
5. Use proper lighting: Adjust the light intensity to ensure optimal illumination of the specimen. Too much or too little light can affect the clarity of the image. Additionally, adjust the condenser to control the amount of light passing through the specimen.
It is important to note that different microscopes may have slight variations in their controls and settings. Therefore, it is always recommended to refer to the manufacturer's instructions for specific guidelines on using a particular microscope model.
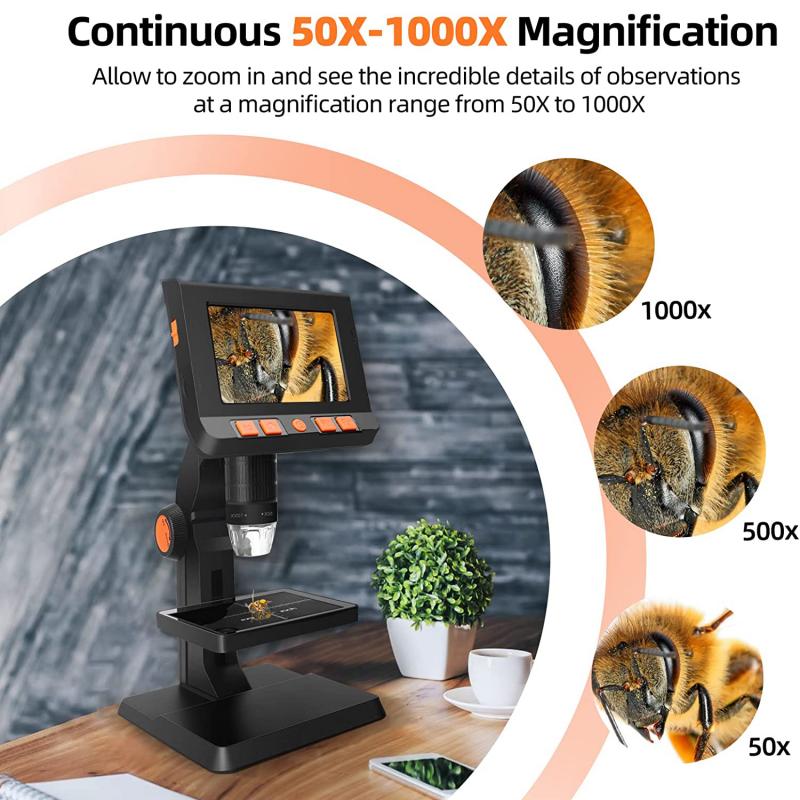
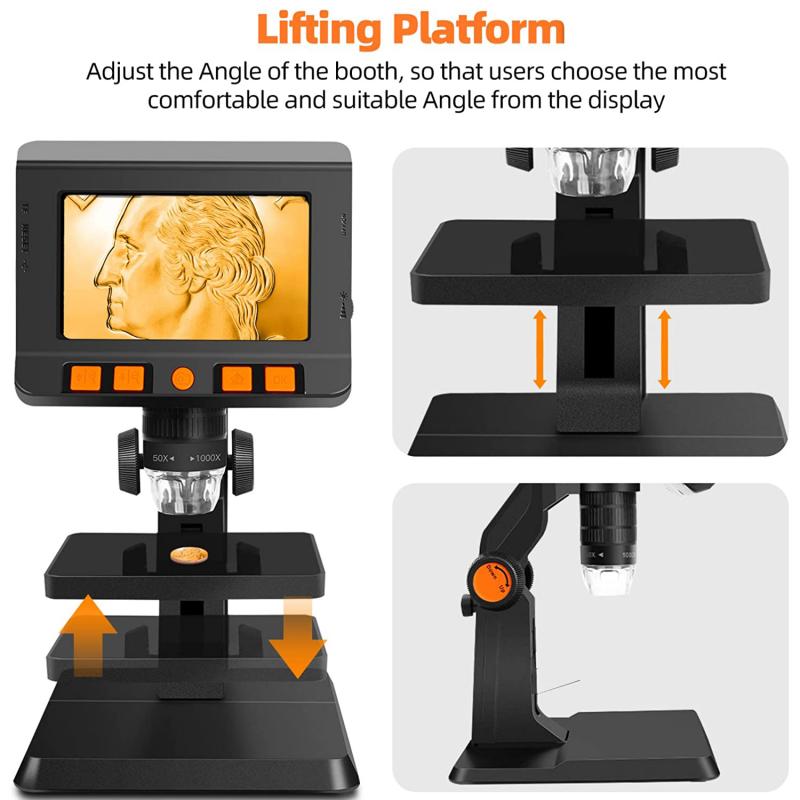
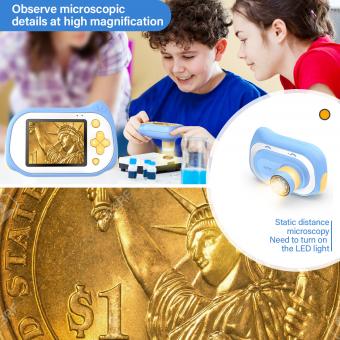
In recent years, advancements in microscope technology have led to the development of digital microscopes. These microscopes often come with built-in cameras and software that allow for easy image capture and analysis. Additionally, some digital microscopes offer features like autofocus, which automatically adjusts the focus for optimal image quality.
In conclusion, adjusting magnification and focus is a crucial step in using a microscope correctly. By following the steps outlined above and considering the latest advancements in microscope technology, you can ensure accurate and clear observations of your specimens.





















There are no comments for this blog.