How To Use A Monopod For Camera ?
To use a monopod for a camera, first, attach the camera to the monopod's mounting plate or screw. Adjust the height of the monopod to your desired level and tighten the locking mechanism. Hold the monopod with one hand and use the other hand to operate the camera. When taking a photo, keep the monopod steady and use your body as a stabilizer. You can also use the monopod to pan or tilt the camera for different angles. Remember to always keep the monopod balanced and secure to prevent any accidents or damage to your camera.
1、 Monopod basics and setup
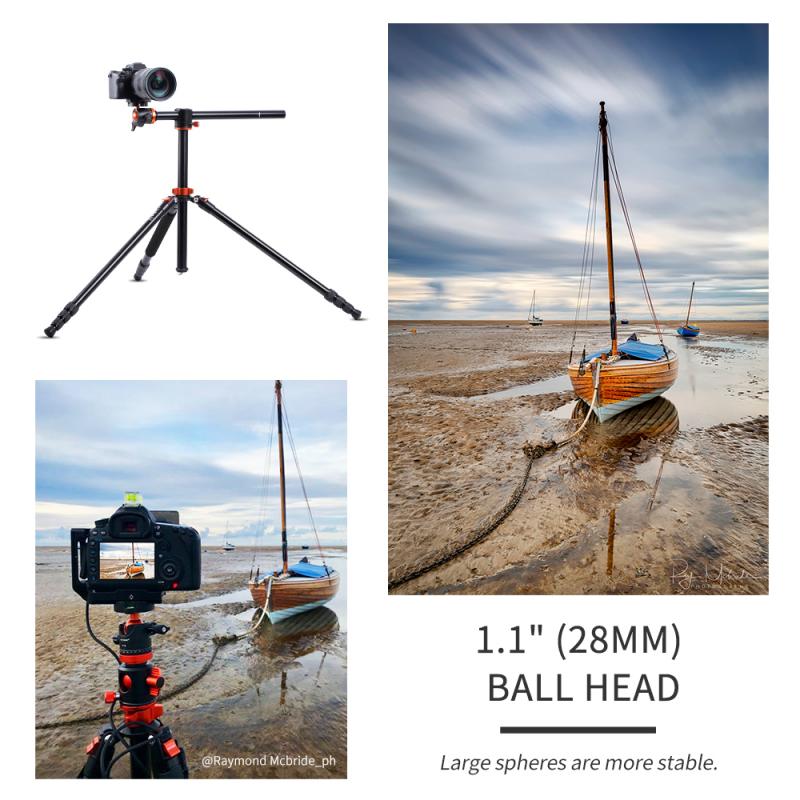
A monopod is a single-legged camera support that can help you stabilize your camera and reduce camera shake. Here are the basic steps to set up and use a monopod:
1. Choose the right monopod: Monopods come in different sizes and materials. Choose one that can support the weight of your camera and lens.
2. Attach the camera: Most monopods come with a screw at the top that can attach to the camera's tripod mount. Make sure the camera is securely attached.
3. Adjust the height: Extend the monopod to the desired height. Most monopods have adjustable legs that can be locked in place.
4. Hold the monopod: Hold the monopod with both hands, one hand on the grip and the other on the camera.
5. Stabilize the monopod: To further stabilize the monopod, you can lean it against a wall or tree, or use a foot stabilizer.
6. Shoot: Use the monopod to steady your camera and take your shots.
The latest point of view on using a monopod is that it can be a great tool for photographers who need to move quickly and shoot in different locations. It is also useful for photographers who need to shoot in low light conditions or with long lenses. However, it is important to note that a monopod is not a substitute for a tripod and cannot provide the same level of stability. It is also important to practice good technique when using a monopod, such as keeping your elbows close to your body and using a slow shutter speed.
2、 Adjusting height and angle
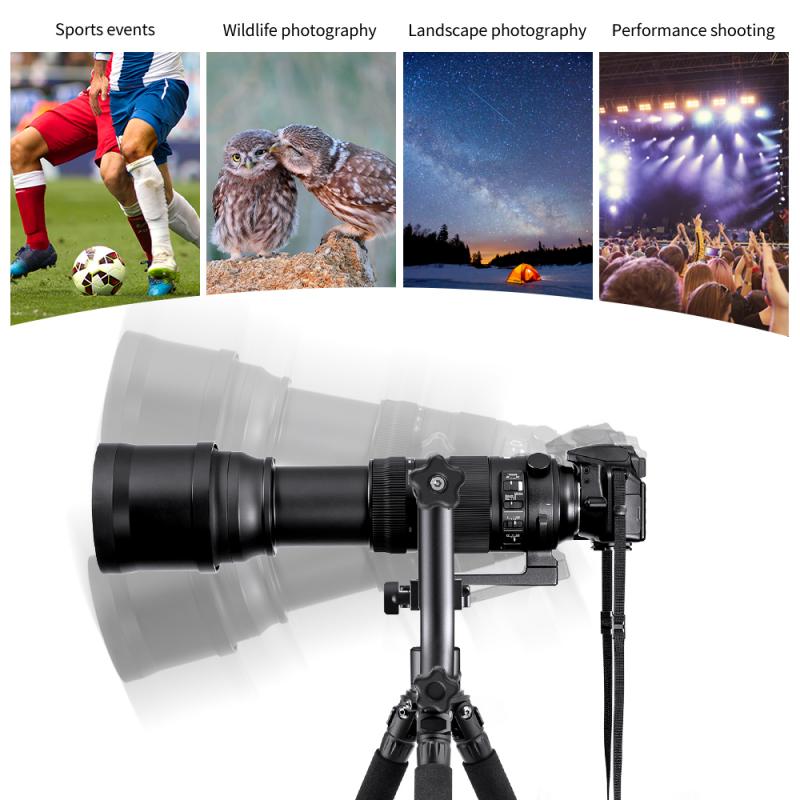
How to use a monopod for camera? A monopod is a great tool for photographers who want to stabilize their camera without the bulk of a tripod. Here are some steps to follow when using a monopod:
1. Attach your camera to the monopod: Most monopods come with a screw at the top that you can use to attach your camera. Make sure your camera is securely attached before moving on to the next step.
2. Adjusting height and angle: Adjust the height of the monopod to your desired level. Most monopods have adjustable legs that can be extended or retracted to achieve the desired height. You can also adjust the angle of the camera by tilting the monopod.
3. Hold the monopod: Hold the monopod with both hands, one hand on the grip and the other hand on the base. This will help you stabilize the monopod and prevent it from tipping over.
4. Take the shot: Once you have adjusted the height and angle of the camera, you are ready to take the shot. Press the shutter button on your camera to take the photo.
The latest point of view is that monopods are becoming increasingly popular among photographers due to their portability and ease of use. They are especially useful for outdoor photography where a tripod may be too bulky or impractical to use. Monopods are also great for capturing action shots as they allow you to move around more freely while still providing some stability for your camera. Overall, a monopod is a great investment for any photographer looking to improve the stability of their shots.
3、 Using a remote shutter release
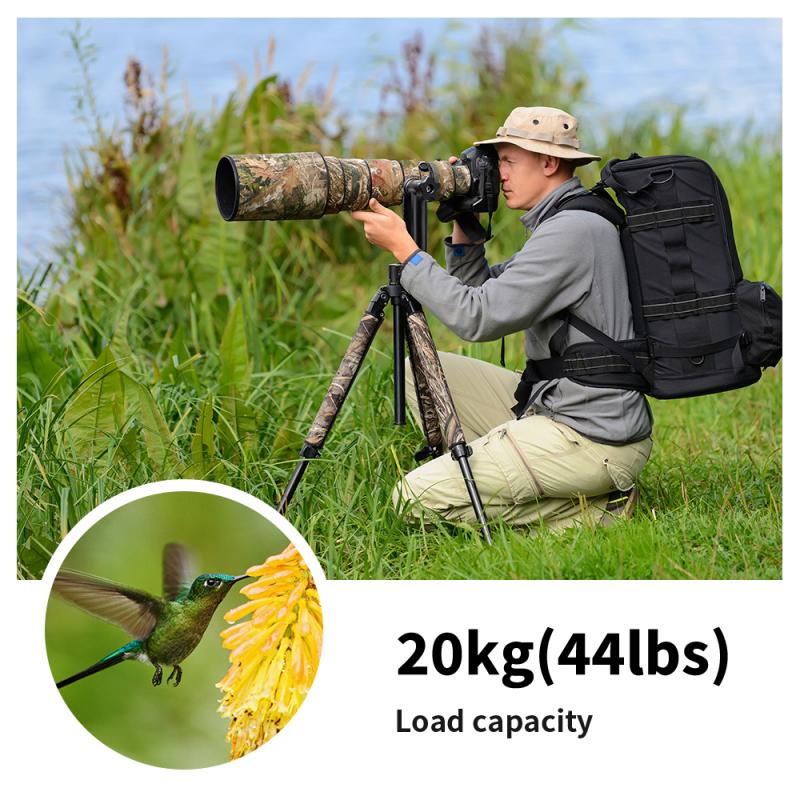
How to use a monopod for camera:
A monopod is a great tool for photographers who want to stabilize their camera without the bulk of a tripod. Here are the steps to use a monopod for your camera:
1. Attach your camera to the monopod using the screw mount on the top of the monopod.
2. Adjust the height of the monopod to your desired height.
3. Hold the monopod with one hand and your camera with the other hand.
4. Use your body to stabilize the monopod and keep it steady.
5. Take your shot.
Using a remote shutter release:
A remote shutter release is a device that allows you to trigger your camera's shutter without physically touching the camera. This is useful for situations where you want to avoid camera shake, such as long exposures or macro photography. Here are the steps to use a remote shutter release:
1. Connect the remote shutter release to your camera's remote port.
2. Set your camera to the desired shooting mode.
3. Position your camera and compose your shot.
4. Press the button on the remote shutter release to take the shot.
5. Review your image to ensure that it is properly exposed and in focus.
In today's world, where technology is advancing rapidly, there are many new and innovative ways to use a monopod or remote shutter release. For example, some remote shutter releases can be controlled by a smartphone app, allowing you to take photos from a distance. Additionally, some monopods have built-in Bluetooth capabilities, allowing you to control your camera remotely. These new features make photography more accessible and convenient for photographers of all levels.
4、 Panning and tilting techniques
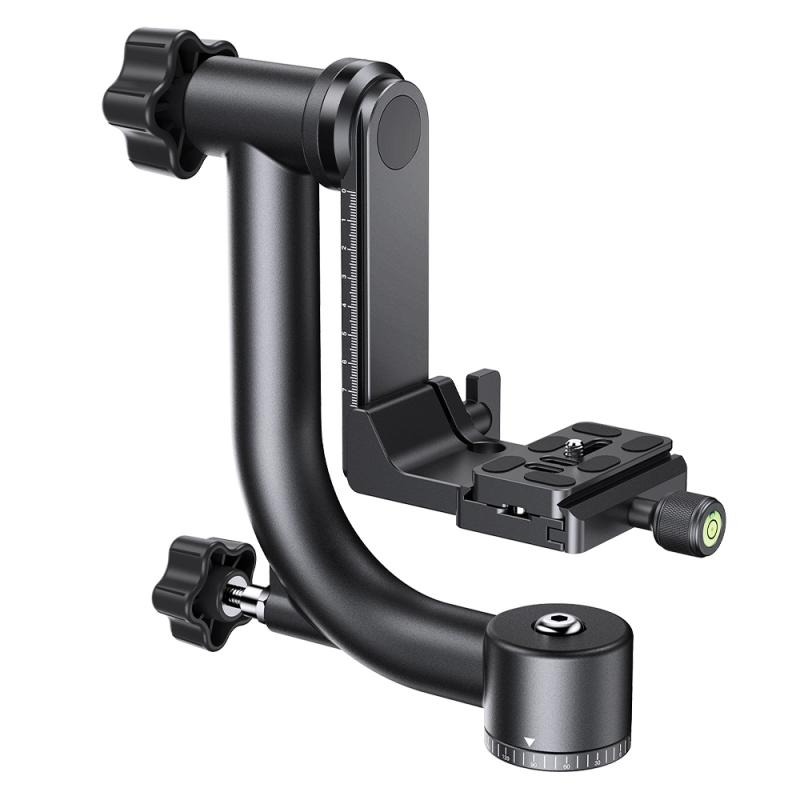
How to use a monopod for camera:
Using a monopod for your camera can be a great way to stabilize your shots and reduce camera shake. Here are some steps to follow when using a monopod:
1. Choose the right monopod: Make sure you choose a monopod that is sturdy enough to support your camera and lens. Look for one with a comfortable grip and adjustable height.
2. Attach your camera: Most monopods come with a screw mount that you can attach your camera to. Make sure your camera is securely attached before using the monopod.
3. Adjust the height: Adjust the height of the monopod so that it is comfortable for you to hold and use. You may need to adjust the height depending on the type of shot you are taking.
4. Use the monopod as a stabilizer: Hold the monopod with both hands and use it to stabilize your camera. This will help reduce camera shake and produce sharper images.
5. Move around: Use the monopod to move around and get different angles. This is especially useful for shooting in crowded areas or when you need to move quickly.
Panning and tilting techniques:
Panning and tilting are two important techniques that can help you capture smooth and steady video footage. Here are some tips for using these techniques:
1. Panning: Panning involves moving the camera horizontally while keeping the subject in the frame. To pan, hold the monopod with both hands and turn your body from the waist. Keep your arms close to your body to reduce camera shake.
2. Tilting: Tilting involves moving the camera up or down while keeping the subject in the frame. To tilt, hold the monopod with both hands and move your arms up or down. Keep your movements slow and smooth to avoid jerky footage.
3. Practice: Panning and tilting take practice to master. Start by practicing on stationary objects before moving on to more complex shots.
4. Use a fluid head: A fluid head can help you achieve smoother panning and tilting movements. Look for a monopod with a fluid head or consider purchasing one separately.
5. Be patient: Panning and tilting take time and patience to get right. Don't be afraid to take multiple shots and experiment with different angles and movements.












There are no comments for this blog.