How To Use A Monopod For Photography?
Using a monopod for photography involves extending the monopod to the desired height, attaching the camera to the top using the tripod mount, and holding the monopod with a firm grip while shooting. It provides stability and support, especially in situations where a tripod may be impractical or prohibited. Additionally, it allows for greater mobility and flexibility compared to a tripod, making it ideal for capturing dynamic subjects or shooting in crowded spaces.
1、 Setting up a monopod for stability
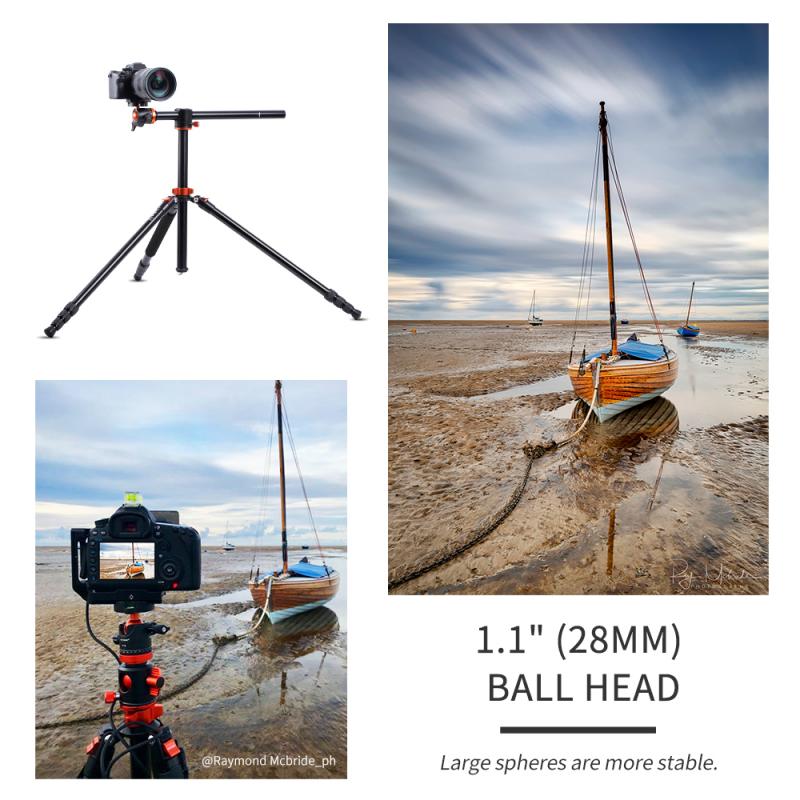
"Setting up a monopod for stability" is an essential step in using a monopod for photography. To ensure stability and get the best results, follow these steps:
1. Choose the right monopod: Select a monopod that is sturdy and can support the weight of your camera and lens. Consider the maximum load capacity and the material of the monopod.
2. Extend the monopod: Fully extend the monopod to your desired height. Make sure the sections are securely locked in place to prevent any wobbling.
3. Attach the camera: Mount your camera onto the monopod using a quick-release plate or a mounting screw. Ensure that the camera is securely attached to the monopod to avoid any accidents.
4. Adjust the height: Fine-tune the height of the monopod to your shooting position. This will help you maintain a comfortable stance while shooting.
5. Stabilize your stance: Position your feet shoulder-width apart and keep your elbows close to your body to minimize camera shake.
6. Use a remote shutter release: To further reduce camera shake, consider using a remote shutter release or the camera's self-timer function to trigger the shutter without physically touching the camera.
7. Latest point of view: With advancements in technology, some monopods now come with features like built-in stabilizers or fluid heads, which can further enhance stability and control during photography.
By following these steps and considering the latest advancements, you can effectively set up a monopod for stability and capture sharp, clear images in various shooting scenarios.
2、 Adjusting the monopod height for different shots
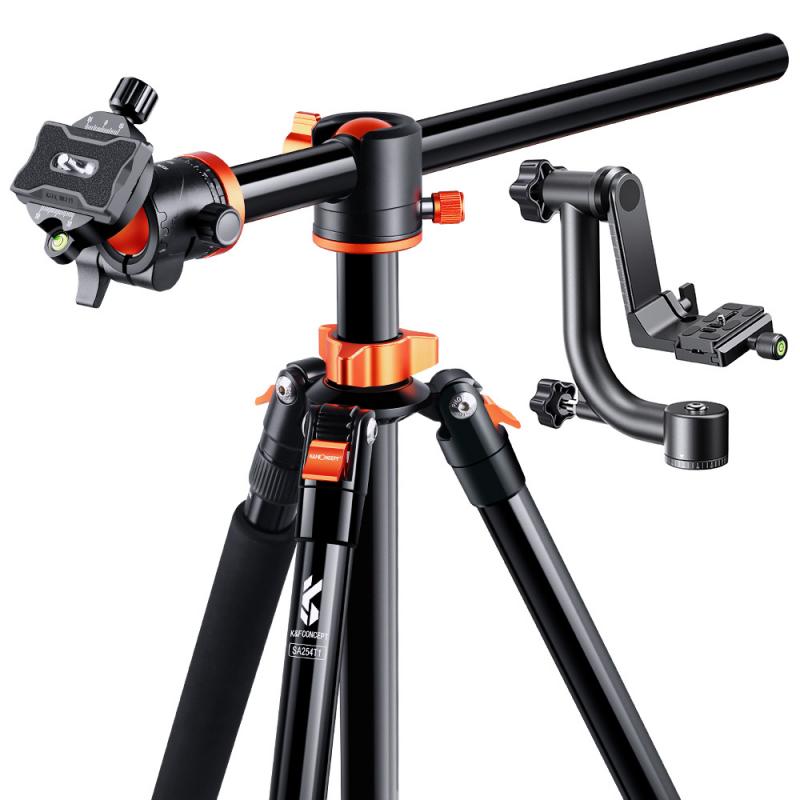
Using a monopod for photography can greatly improve the stability of your shots, especially in situations where a tripod may be too cumbersome or impractical. To use a monopod effectively, follow these steps:
1. Extend the monopod to a comfortable height: Start by extending the monopod to a height that allows you to comfortably hold your camera at eye level. This will help you maintain stability and control while shooting.
2. Attach your camera: Securely attach your camera to the monopod using the mounting plate or screw. Make sure it is firmly attached to prevent any accidental drops.
3. Hold the monopod with a firm grip: Grasp the monopod with a firm grip, using your other hand to operate the camera controls. This will help minimize any shaking or movement while shooting.
4. Use the monopod as a stabilizing tool: When shooting, use the monopod to stabilize your camera by pressing it firmly against the ground or any other stable surface. This will help reduce camera shake and produce sharper images.
Adjusting the monopod height for different shots:
- For low-angle shots: Lower the monopod to the desired height, allowing you to capture unique perspectives and angles close to the ground.
- For high-angle shots: Extend the monopod to its maximum height to capture overhead shots or to gain a better vantage point.
In the latest point of view, monopods are becoming increasingly popular due to their portability and ease of use, especially for photographers who need to move quickly and shoot in dynamic environments. They offer a good balance between stability and mobility, making them a versatile tool for photographers of all levels.
3、 Using a monopod for panning and tracking shots
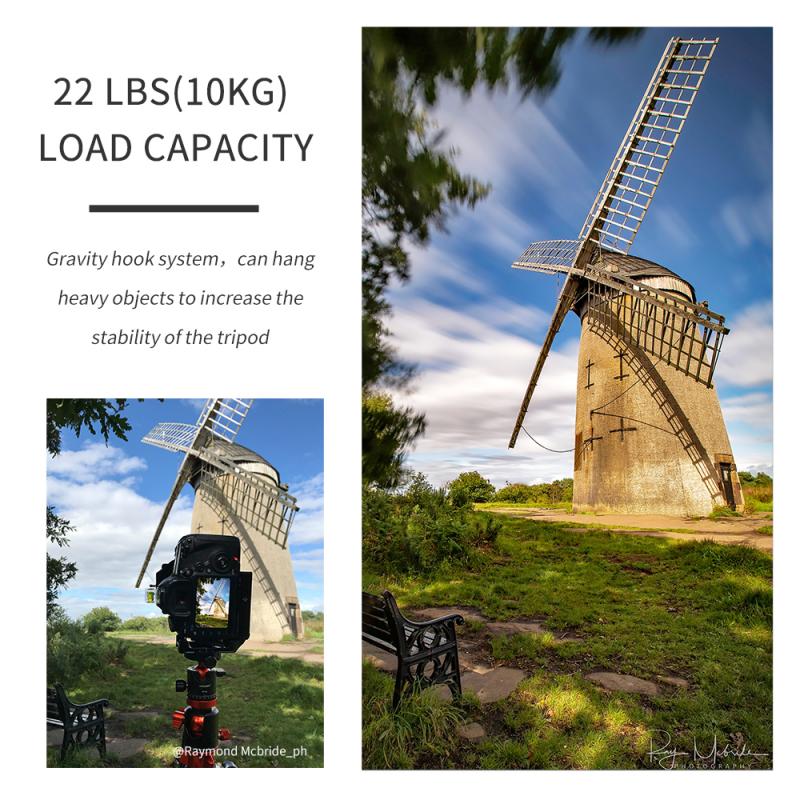
Using a monopod for panning and tracking shots can greatly enhance the quality of your photography, especially when capturing fast-moving subjects or shooting in low light conditions. To use a monopod for photography, follow these steps:
1. Attach your camera to the monopod using the mounting plate or screw.
2. Extend the monopod to a comfortable height, ensuring that it provides stability and support for your camera.
3. Hold the monopod with a firm grip, keeping it steady as you move and adjust the camera.
4. Use the monopod to stabilize your camera when shooting in crowded or uneven terrain, allowing you to capture clear and sharp images.
5. When shooting in low light conditions, the monopod can help reduce camera shake and blur, resulting in better quality photos.
When using a monopod for panning and tracking shots, follow these additional tips:
1. Keep your movements smooth and steady, following the subject as it moves across your frame.
2. Use a slower shutter speed to capture motion blur, adding a sense of dynamism to your images.
3. Experiment with different angles and perspectives to create visually compelling panning and tracking shots.
From the latest point of view, monopods are becoming increasingly popular among photographers due to their portability and versatility. They offer a convenient alternative to tripods, especially when shooting in dynamic environments or on the go. With advancements in monopod design and technology, photographers can now enjoy improved stability and control, making it easier to capture professional-quality panning and tracking shots.
4、 Utilizing a monopod for low-light photography
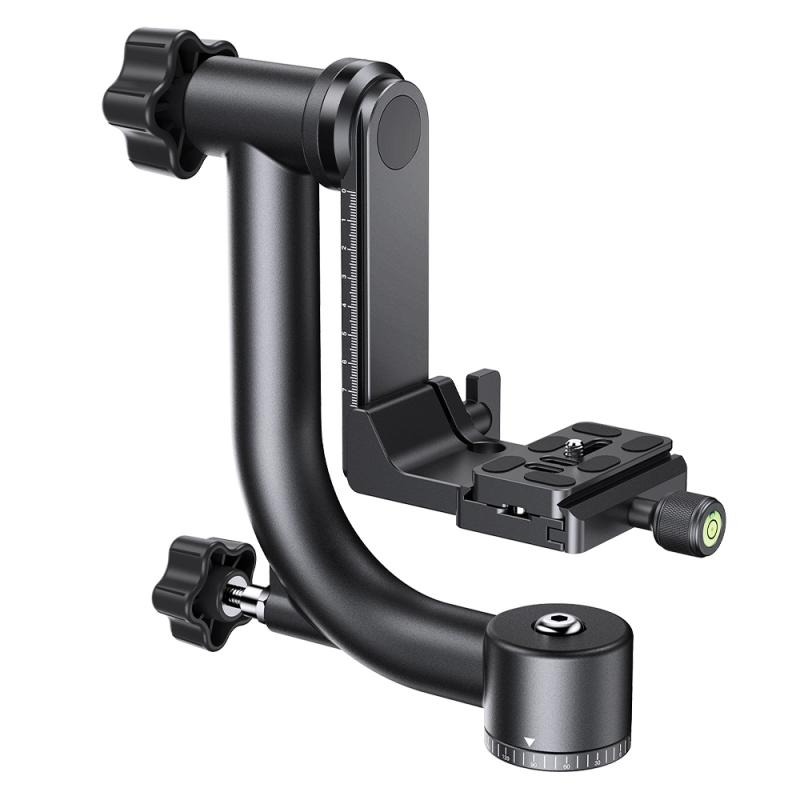
Utilizing a monopod for low-light photography can significantly improve the quality of your images by providing stability and reducing camera shake. Here's how to use a monopod for photography:
1. Choose the right monopod: Select a monopod that is sturdy and lightweight, with a comfortable grip and a secure locking mechanism. Consider the weight of your camera and lens when choosing a monopod to ensure it can support the equipment.
2. Set up the monopod: Extend the monopod to a comfortable height and ensure that the legs are securely locked in place. Adjust the tilt and swivel head to achieve the desired angle for your shot.
3. Attach the camera: Securely mount your camera to the monopod using a quick-release plate or mounting screw. Double-check that the camera is firmly attached to prevent any accidental falls.
4. Position yourself: Stand behind the monopod and hold it with a firm grip to maintain stability. Keep your feet shoulder-width apart and brace yourself to minimize any movement.
5. Shoot with stability: Use the monopod to support the weight of the camera and lens, allowing you to capture sharp, clear images even in low-light conditions. Utilize the monopod's flexibility to adjust the height and angle of your shots as needed.
In the latest point of view, with advancements in image stabilization technology in modern cameras, some photographers may argue that the need for a monopod in low-light photography has diminished. However, a monopod still offers a portable and versatile solution for stabilizing your camera, especially when shooting in challenging lighting conditions. Additionally, using a monopod can help reduce fatigue during extended shooting sessions, allowing photographers to maintain steady control over their equipment.







There are no comments for this blog.