How To Use A Monopod For Video ?
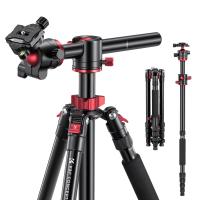
To use a monopod for video, start by extending the monopod to your desired height. Attach your camera or video recording device securely to the monopod's mounting plate or head. Adjust the angle and position of the camera to frame your shot. Hold the monopod firmly with one hand while using your other hand to operate the camera controls. Use smooth and controlled movements to pan or tilt the camera as needed. The monopod provides stability and helps reduce camera shake, resulting in smoother video footage. Experiment with different heights and angles to achieve the desired effect for your video.
1、 Adjusting the monopod height for stable video shooting
Adjusting the monopod height for stable video shooting is an essential step in maximizing the potential of this versatile camera accessory. Whether you are a professional videographer or an amateur enthusiast, understanding how to use a monopod for video can greatly enhance the quality of your footage.
To begin, it is important to choose a monopod that suits your needs. Consider factors such as weight, height, and stability. Once you have selected the right monopod, follow these steps to adjust its height for stable video shooting:
1. Extend the monopod: Start by loosening the locking mechanism and extending the monopod to its maximum height. This will provide you with a starting point for adjustments.
2. Assess the shooting environment: Consider the type of shot you want to capture and the surroundings. If you are shooting in a crowded area, you may need to lower the monopod to avoid obstructing others. On the other hand, if you are shooting a wide-angle landscape shot, you may want to extend the monopod to its maximum height for a better perspective.
3. Fine-tune the height: Once you have an initial height, adjust the monopod to a comfortable level that allows you to maintain stability while shooting. Keep in mind that a slightly lower height can provide more stability, especially if you are shooting handheld.
4. Lock the monopod: Once you have found the desired height, tighten the locking mechanism to secure the monopod in place. This will prevent any accidental adjustments during shooting.
5. Test stability: Before you start recording, test the stability of the monopod by gently shaking it. If it feels wobbly or unstable, readjust the height and tighten the locking mechanism again.
It is worth noting that the latest point of view on using a monopod for video emphasizes the importance of using additional stabilization techniques, such as image stabilization in-camera or using a gimbal. These techniques can further enhance the stability of your footage and minimize any unwanted camera movements.
In conclusion, adjusting the monopod height for stable video shooting is a crucial step in maximizing the potential of this camera accessory. By following these steps and considering the latest techniques, you can ensure that your footage is smooth, steady, and visually appealing.
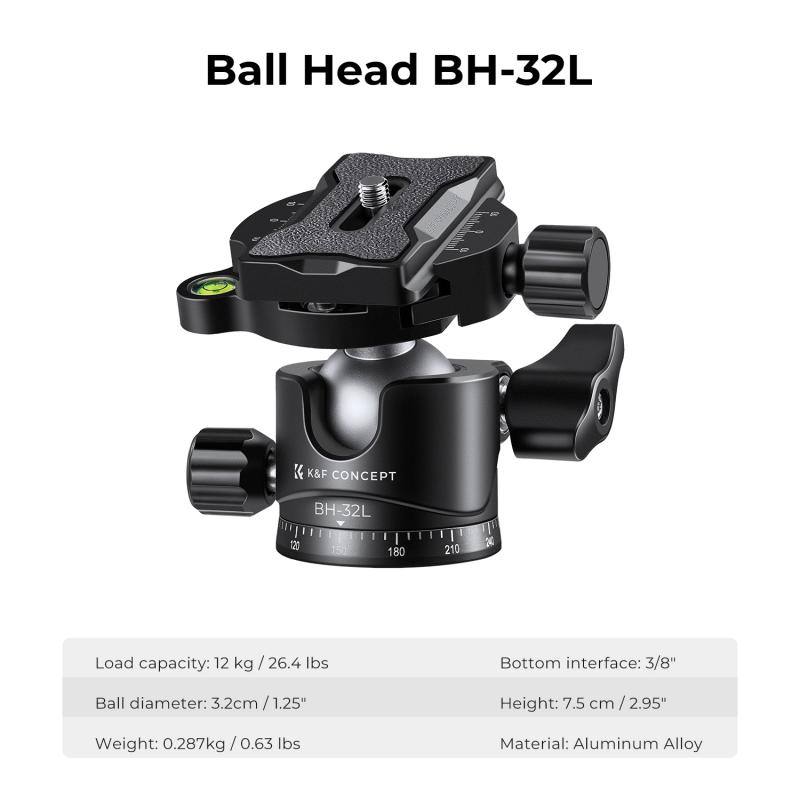
2、 Attaching the camera securely to the monopod
To use a monopod for video, the first step is to attach the camera securely to the monopod. This is crucial to ensure stability and prevent any accidental drops or damage to the equipment.
Start by extending the monopod to your desired height. Most monopods have adjustable sections that can be locked in place. Make sure the locks are secure before proceeding.
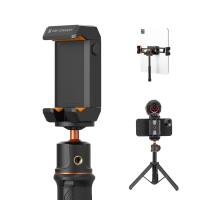
Next, locate the camera mount on the top of the monopod. It is usually a standard 1/4"-20 screw thread that is compatible with most cameras. If your camera has a different mounting system, you may need an adapter.
Align the camera's tripod socket with the monopod's mount and screw it in clockwise until it is tight. Ensure that the camera is securely attached and doesn't wobble or move.
Once the camera is attached, you can adjust the angle by tilting the monopod or using any built-in tilt mechanisms on the monopod head. This allows you to frame your shots properly.
It's important to note that using a monopod for video can provide some stability but won't eliminate all camera shake. To further stabilize your footage, you can use techniques like proper hand placement, smooth movements, and image stabilization features on your camera or lens.
In recent years, some monopods have also incorporated additional features such as built-in stabilizers or fluid heads, which can further enhance the stability and smoothness of your video footage. These advancements have made monopods a popular choice for videographers looking for a portable and versatile solution.
Remember to practice using the monopod and experiment with different techniques to achieve the best results.
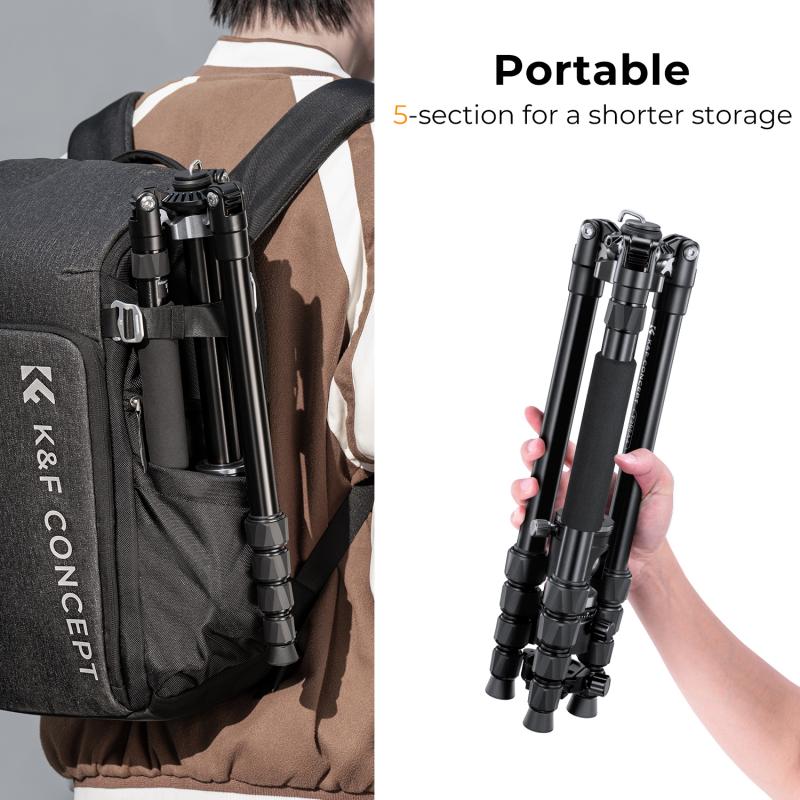
3、 Using a fluid head for smooth panning and tilting
Using a monopod for video is a great way to stabilize your shots and achieve smoother footage. Here's a step-by-step guide on how to use a monopod effectively:
1. Choose the right monopod: Look for a sturdy monopod that can support the weight of your camera and lens. Consider the maximum load capacity and height of the monopod to ensure it meets your needs.
2. Attach your camera: Most monopods come with a quick-release plate or a screw mount. Attach your camera securely to the monopod using these mechanisms. Make sure it is tightly fastened to avoid any accidents.
3. Adjust the height: Extend the monopod to your desired height. It's best to keep it at eye level or slightly higher for comfortable shooting. Lock the monopod in place by tightening the locking mechanism.
4. Hold the monopod correctly: Grip the monopod firmly with one hand around the middle section. This will provide stability and control while shooting.
5. Stabilize your shots: To minimize camera shake, lean the monopod against your body or a stable object like a wall or tree. This will help you achieve steadier shots, especially when shooting in low light conditions or using longer lenses.
6. Move smoothly: While using a monopod, it's important to move slowly and smoothly. Avoid jerky movements or sudden changes in direction. This will help maintain stability and produce professional-looking footage.
Additionally, using a fluid head with your monopod can greatly enhance your video production. A fluid head is a specialized tripod head that allows for smooth panning and tilting movements. It contains a fluid-filled chamber that dampens any sudden movements, resulting in silky-smooth camera motions.
To use a fluid head, simply attach it to the top of your monopod using the quick-release plate or screw mount. Adjust the tension control knobs to achieve the desired resistance for panning and tilting. This will allow you to smoothly follow subjects or create cinematic camera movements.
In conclusion, using a monopod for video can greatly improve the stability of your shots. By following these steps and considering the use of a fluid head, you can achieve professional-looking footage with ease.
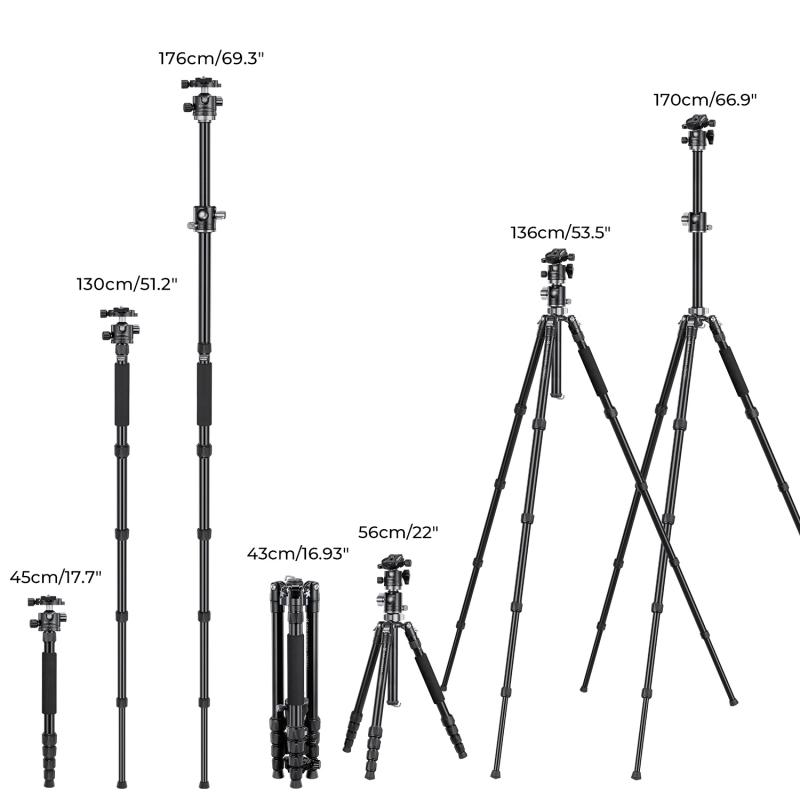
4、 Utilizing the monopod as a stabilizer for handheld shots
Utilizing a monopod for video shooting can greatly enhance the stability and quality of your footage. Here's a guide on how to use a monopod effectively for video:
1. Adjust the height: Extend the monopod to a comfortable height that allows you to maintain a steady grip while shooting. Make sure it is tall enough to reach your eye level.
2. Attach the camera: Most monopods come with a standard tripod mount, so attach your camera securely to the monopod using the mounting plate or quick release system.
3. Grip and balance: Hold the monopod firmly with one hand while gripping the camera with the other. Keep your elbows close to your body for added stability. Find the right balance by adjusting the position of the monopod's base.
4. Stabilize your shots: To use the monopod as a stabilizer, plant the base firmly on the ground and use it as a pivot point. This will help minimize camera shake and produce smoother footage. You can also use your body as a counterweight by leaning slightly in the opposite direction of the camera movement.
5. Panning and tilting: The monopod allows you to pan and tilt your camera smoothly. Use slow and controlled movements to capture fluid shots. Practice these movements to achieve professional-looking results.
6. Mobility: One of the advantages of using a monopod is its portability. You can easily move around while shooting, making it ideal for capturing dynamic shots or following subjects on the go.
7. Experiment with angles: The monopod's versatility allows you to shoot from various angles. Try shooting from low or high angles to add depth and creativity to your videos.
In recent years, monopods have become increasingly popular due to their versatility and ease of use. They offer a more compact and lightweight alternative to tripods, making them a favorite among videographers and vloggers. Additionally, some monopods now come with additional features such as built-in stabilizers or fluid heads, further enhancing their functionality.
Remember, practice is key to mastering the use of a monopod for video. Experiment with different techniques and settings to find what works best for your shooting style. With time and experience, you'll be able to capture professional-looking footage with ease.









There are no comments for this blog.