How To Use A Polarizer Lens Filter ?
To use a polarizer lens filter, simply attach it to the front of your camera lens. Rotate the filter until you achieve the desired effect. The filter helps to reduce glare and reflections from non-metallic surfaces, such as water or glass. It also enhances color saturation and contrast in your photographs.
1、 Understanding Polarization and Light
Understanding Polarization and Light
A polarizer lens filter is a valuable tool for photographers and videographers as it helps control and manipulate the light entering the camera lens. By understanding polarization and how to use a polarizer lens filter effectively, you can enhance your images and create stunning visual effects.
To use a polarizer lens filter, follow these steps:
1. Attach the filter: Screw the polarizer lens filter onto the front of your camera lens. Make sure it is securely attached.
2. Adjust the orientation: Rotate the filter to achieve the desired effect. The filter has a rotating ring that allows you to control the amount of polarization.
3. Observe the effect: Look through the viewfinder or LCD screen and observe the changes in the scene. A polarizer filter reduces glare and reflections, enhances color saturation, and improves contrast.
4. Experiment with angles: Rotate the filter to different angles to maximize or minimize the polarization effect. This is particularly useful when shooting landscapes or water scenes, where reflections can be controlled or eliminated.
5. Be mindful of light sources: Keep in mind that a polarizer filter works best when the light source is at a 90-degree angle to the camera lens. This helps to reduce glare and reflections effectively.
6. Adjust exposure settings: As the polarizer filter reduces the amount of light entering the lens, you may need to adjust your exposure settings accordingly. Increase the exposure time or open up the aperture to compensate for the reduced light.
It is important to note that the effectiveness of a polarizer lens filter can vary depending on the type of light and the subject being photographed. Experimentation and practice will help you understand how to use the filter to achieve the desired results.
In recent years, there has been an increased awareness of the impact of polarizer lens filters on the environment. Some manufacturers have started producing eco-friendly filters that are free from harmful chemicals and reduce the carbon footprint. When purchasing a polarizer lens filter, consider opting for these environmentally friendly options to contribute to a sustainable photography practice.
In conclusion, a polarizer lens filter is a powerful tool for controlling light and enhancing your photographs. By understanding polarization and following the steps mentioned above, you can effectively use a polarizer lens filter to create visually stunning images while being mindful of the environment.

2、 Types of Polarizer Lens Filters
A polarizer lens filter is a valuable tool for photographers and videographers, allowing them to control and manipulate light in their images. There are two main types of polarizer lens filters: linear and circular.
Linear Polarizer Lens Filters: Linear polarizers were the original type of polarizer filters used in photography. They work by blocking light waves that are vibrating in certain directions, reducing glare and reflections. However, linear polarizers can interfere with the autofocus and metering systems of modern cameras, making them less commonly used today.
Circular Polarizer Lens Filters: Circular polarizers are the more popular and widely used type of polarizer filters. They are designed to overcome the issues with linear polarizers and are compatible with autofocus and metering systems. Circular polarizers work by combining a linear polarizer with a quarter-wave plate, which converts the linearly polarized light into circularly polarized light. This allows the filter to effectively reduce glare and reflections while maintaining compatibility with modern camera systems.
How to Use a Polarizer Lens Filter:
1. Attach the Filter: Screw the polarizer filter onto the front of your camera lens. Make sure it is securely attached.
2. Adjust the Orientation: Rotate the filter to adjust the polarization effect. The filter has a rotating ring that allows you to control the amount of polarization. Experiment with different angles to achieve the desired effect.
3. Observe the Effect: Look through the viewfinder or LCD screen and observe the changes in the image. A polarizer filter can reduce reflections on non-metallic surfaces, such as water or glass, and enhance color saturation and contrast.
4. Fine-tune the Effect: Continue rotating the filter to fine-tune the polarization effect. Be mindful of over-polarization, which can result in an unnatural-looking image.
5. Remove the Filter: When you no longer require the polarizing effect, simply unscrew the filter from the lens.
It's important to note that polarizer filters work best when the light source is at a 90-degree angle to the subject. Additionally, they are most effective in outdoor settings, where reflections and glare are more prominent.
In conclusion, polarizer lens filters are a valuable tool for photographers and videographers, allowing them to control and manipulate light in their images. Understanding the different types of polarizer filters and how to use them effectively can greatly enhance the quality of your photographs or videos.
3、 Attaching and Adjusting the Polarizer Lens Filter
Attaching and Adjusting the Polarizer Lens Filter
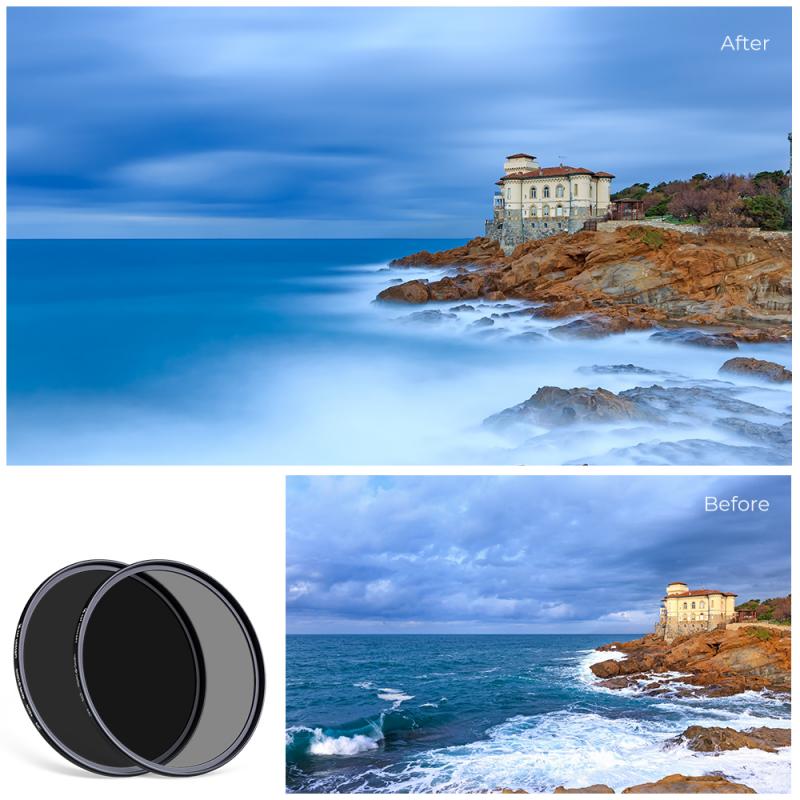
A polarizer lens filter is a valuable tool for photographers looking to enhance their images by reducing glare and improving color saturation. Here is a step-by-step guide on how to use a polarizer lens filter effectively:
1. Choose the right filter size: Polarizer lens filters come in various sizes, so ensure you select the one that fits your camera lens correctly. Check the diameter of your lens, usually marked on the front, and purchase a filter accordingly.
2. Screw on the filter: Once you have the correct size, carefully screw the polarizer filter onto the front of your camera lens. Make sure it is securely attached to avoid any accidental drops.
3. Adjust the filter orientation: Polarizer filters work by blocking certain light waves, so it's crucial to adjust the filter's orientation to achieve the desired effect. Look through the viewfinder or LCD screen and rotate the filter slowly until you see the desired reduction in glare or reflection.
4. Experiment with angles: Depending on the scene and the effect you want to achieve, rotating the filter can have different outcomes. For example, rotating the filter at a 90-degree angle from the sun can help darken the sky or enhance the colors of foliage.
5. Be mindful of the impact on exposure: Polarizer filters can reduce the amount of light entering the camera, so keep an eye on your exposure settings. You may need to adjust your aperture, shutter speed, or ISO to compensate for the filter's impact.
6. Practice and experiment: Like any photography technique, using a polarizer lens filter requires practice and experimentation. Try using the filter in various lighting conditions and scenes to understand its full potential and how it can enhance your images.
In conclusion, attaching and adjusting a polarizer lens filter is a straightforward process that can significantly improve your photography. By reducing glare and enhancing color saturation, this filter can help you capture stunning images with greater clarity and impact.
4、 Controlling Reflections and Glare with a Polarizer Lens Filter
Controlling Reflections and Glare with a Polarizer Lens Filter
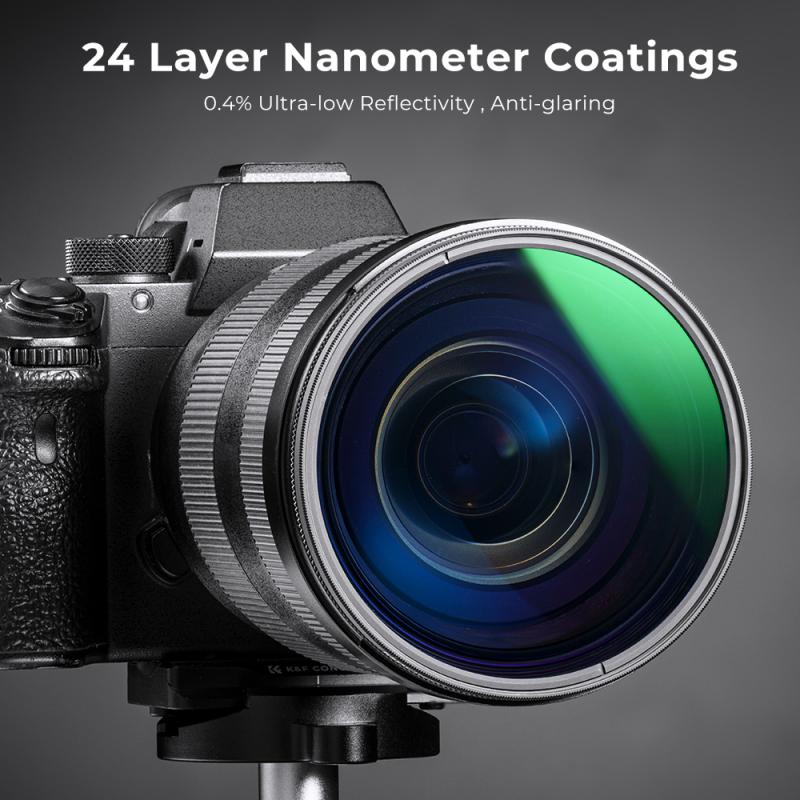
A polarizer lens filter is a valuable tool for photographers looking to control reflections and glare in their images. It is particularly useful when shooting landscapes, water scenes, or any situation where there is a significant amount of light bouncing off reflective surfaces.
To use a polarizer lens filter, follow these steps:
1. Attach the filter to your camera lens: Screw the filter onto the front of your camera lens. Make sure it is securely attached.
2. Adjust the angle of the filter: Rotate the filter to achieve the desired effect. The filter has a rotating ring that allows you to control the amount of polarization. Experiment with different angles to see the impact on reflections and glare.
3. Observe the effect through the viewfinder: Look through the camera's viewfinder or use the live view mode to see the changes in real-time. Pay attention to how the filter reduces reflections on shiny surfaces like water or glass.
4. Fine-tune the effect: Once you have the desired level of polarization, you can fine-tune the effect by adjusting the angle of the filter. This will help you achieve the desired balance between reducing reflections and maintaining the overall image quality.
The latest point of view on using a polarizer lens filter is that it not only helps control reflections and glare but also enhances color saturation and contrast. By reducing unwanted reflections, the filter allows the camera to capture more vibrant colors and deeper contrasts, resulting in more visually appealing images.
However, it is important to note that using a polarizer lens filter can also reduce the amount of light entering the camera, which may require longer exposure times or higher ISO settings. Additionally, the effect of the filter is most pronounced when shooting at a 90-degree angle to the light source, so keep this in mind when composing your shots.
In conclusion, a polarizer lens filter is a versatile tool for photographers seeking to control reflections and glare. By following the steps outlined above and considering the latest perspectives on its usage, you can effectively utilize this filter to enhance your images and create stunning visual effects.
