How To Use Amscope Microscope ?
To use an AmScope microscope, first, ensure that it is properly assembled and plugged in. Next, place the specimen on the stage and adjust the focus using the coarse and fine focus knobs. Use the eyepiece to view the specimen and adjust the magnification using the objective lenses. You can also adjust the brightness and contrast using the illumination controls. Finally, when finished, turn off the microscope and properly store it.
1、 Setting up the microscope
Setting up the microscope is the first step in using an AmScope microscope. The following steps will guide you on how to set up your AmScope microscope:
1. Unpack the microscope: Carefully unpack the microscope and ensure that all the parts are present.
2. Assemble the microscope: Follow the instructions provided in the user manual to assemble the microscope. This usually involves attaching the base, arm, and head of the microscope.
3. Install the eyepieces: Install the eyepieces into the eyepiece tubes. The eyepieces are usually marked with a magnification power, such as 10x or 20x.
4. Install the objective lenses: Install the objective lenses into the nosepiece. The objective lenses are also marked with a magnification power, such as 4x, 10x, or 40x.
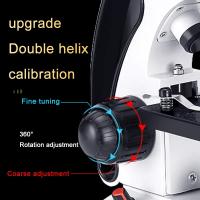
5. Adjust the focus: Adjust the focus by moving the stage up or down using the coarse and fine focus knobs. Start with the lowest magnification objective lens and work your way up to higher magnifications.
6. Use the light source: Turn on the light source and adjust the brightness as needed. Some AmScope microscopes come with LED lights, which provide bright and even illumination.
7. Use the stage clips: Use the stage clips to hold the specimen in place. Adjust the position of the specimen using the stage controls.
8. Use the eyepieces: Look through the eyepieces and adjust the focus as needed. Use the magnification power that is appropriate for the specimen you are observing.
In conclusion, setting up an AmScope microscope is a straightforward process that can be completed in a few simple steps. With proper setup and use, an AmScope microscope can provide high-quality images and accurate results.
2、 Adjusting the focus and illumination
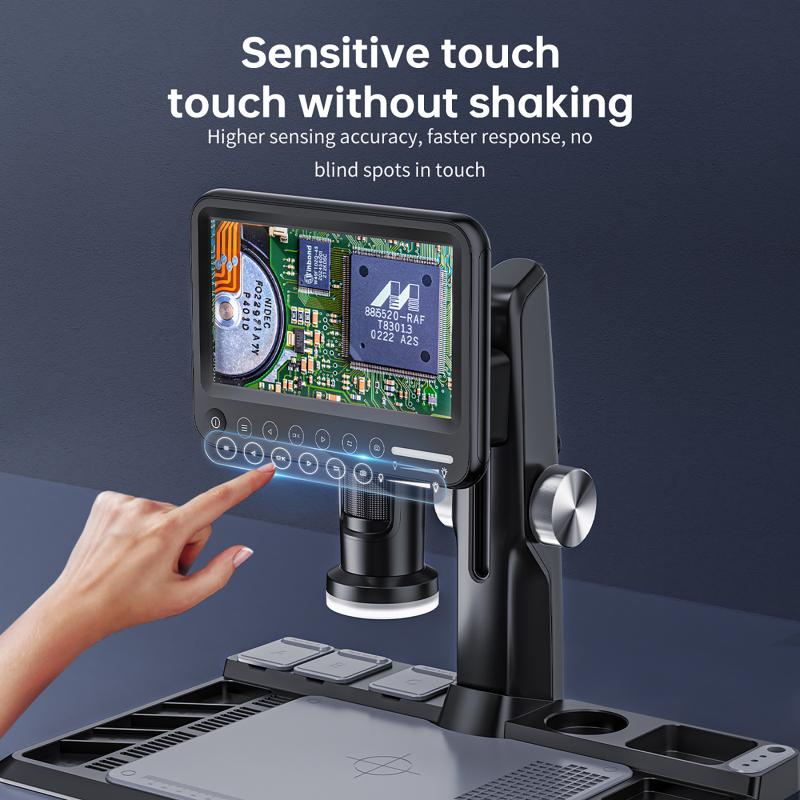
Adjusting the focus and illumination is a crucial step in using an AmScope microscope. To begin, place the specimen on the stage and adjust the stage height so that the specimen is in focus. Next, adjust the focus knob to bring the specimen into sharp focus. It is important to note that the focus knob should be turned slowly and gently to avoid damaging the specimen or the microscope.
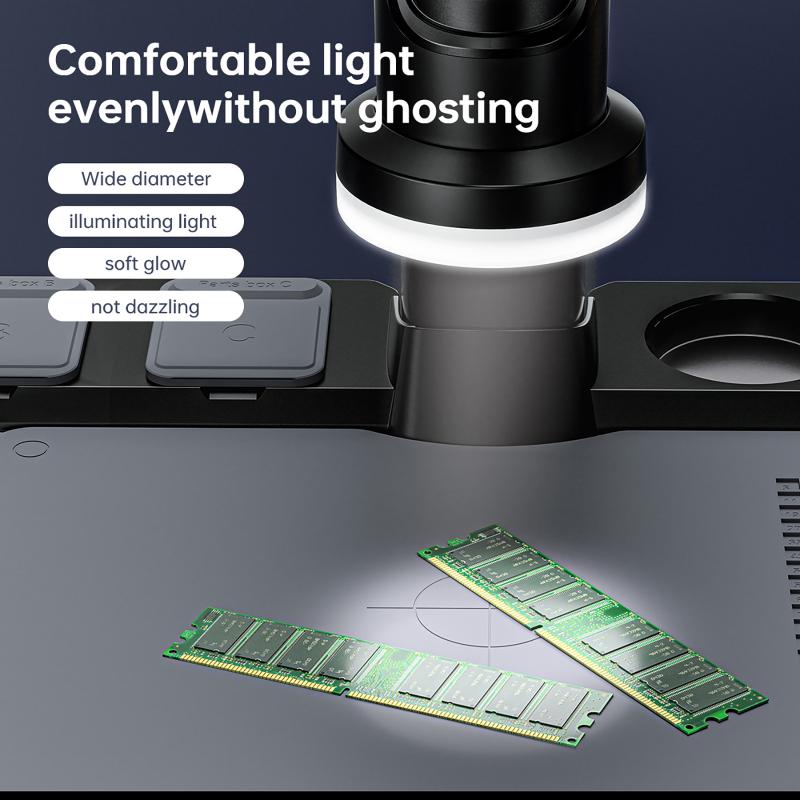
Once the specimen is in focus, adjust the illumination to ensure that the specimen is properly lit. The AmScope microscope typically has a built-in LED light source that can be adjusted using the brightness control knob. Adjust the brightness until the specimen is evenly lit and any important details are visible.
It is also important to note that the AmScope microscope may have additional features such as a condenser or iris diaphragm that can be adjusted to further improve the image quality. These features can be adjusted according to the specific needs of the user and the specimen being observed.
In addition to these basic steps, it is important to follow the manufacturer's instructions and safety guidelines when using an AmScope microscope. This includes properly cleaning and maintaining the microscope, using appropriate protective gear, and avoiding any actions that could damage the microscope or the specimen.
Overall, adjusting the focus and illumination is a critical step in using an AmScope microscope and can greatly improve the quality of the observed specimen. By following the proper procedures and safety guidelines, users can ensure that they get the most out of their microscope and achieve accurate and reliable results.
3、 Choosing the right objective lens
How to use AmScope microscope:
1. Set up the microscope: First, set up the microscope on a stable surface and plug it in. Adjust the light source to the desired brightness.
2. Place the specimen: Place the specimen on the stage and secure it with the stage clips.
3. Adjust the focus: Use the coarse focus knob to bring the specimen into focus. Then, use the fine focus knob to adjust the focus for clarity.
4. Choose the right objective lens: The objective lens is the most important part of the microscope. It determines the magnification and resolution of the image. Choose the objective lens based on the level of magnification needed for the specimen. AmScope microscopes come with a range of objective lenses, from 4x to 100x.
5. Adjust the magnification: Once the objective lens is chosen, adjust the magnification by rotating the nosepiece to the desired objective lens.
6. View the specimen: Look through the eyepiece and adjust the focus and lighting as needed to view the specimen clearly.
Choosing the right objective lens is crucial for obtaining clear and accurate images. The objective lens should be chosen based on the level of magnification needed for the specimen. It is important to note that higher magnification does not always mean better resolution. In fact, using too high of a magnification can result in a blurry image. It is recommended to start with a lower magnification and gradually increase it until the desired level is reached. Additionally, it is important to use the appropriate immersion oil for high magnification objectives to improve resolution. Overall, choosing the right objective lens is essential for obtaining high-quality images with an AmScope microscope.
4、 Using the mechanical stage
How to use an AmScope microscope:
1. Set up the microscope: Place the microscope on a stable surface and plug it in. Adjust the height of the microscope so that it is comfortable to use.
2. Adjust the focus: Turn the coarse focus knob to bring the specimen into focus. Then, use the fine focus knob to sharpen the image.
3. Choose the magnification: Select the appropriate objective lens for the magnification you need. Rotate the nosepiece to switch between lenses.
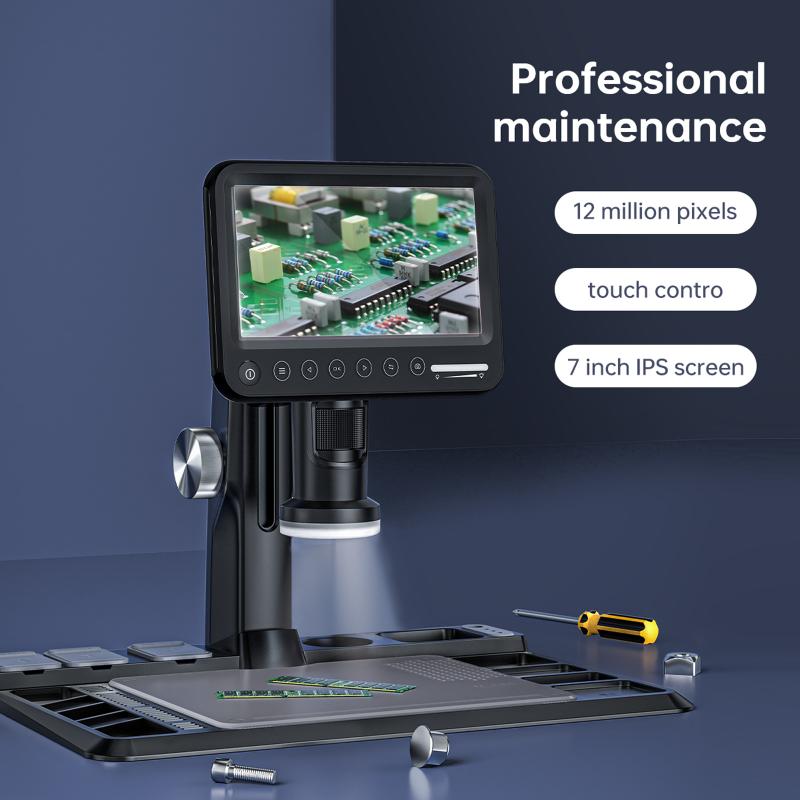
4. Using the mechanical stage: The mechanical stage allows you to move the specimen around without having to touch it. To use the mechanical stage, first, place the slide on the stage and secure it with the stage clips. Then, use the X and Y-axis knobs to move the slide around until you find the area you want to view. The mechanical stage is especially useful when examining larger specimens or when you need to move the specimen precisely.
5. Adjust the lighting: Adjust the brightness of the light source to get the best image. You can also adjust the angle of the light to reduce glare.
6. Clean the microscope: After use, clean the lenses with lens paper or a soft cloth. Wipe down the rest of the microscope with a damp cloth.
In conclusion, using an AmScope microscope is a straightforward process that requires a few basic steps. The mechanical stage is a useful tool that allows you to move the specimen around without having to touch it. It is important to keep the microscope clean to ensure that you get the best image possible. With a little practice, you can become proficient in using an AmScope microscope and enjoy exploring the microscopic world.








There are no comments for this blog.