How To Use An Endoscope Camera ?
To use an endoscope camera, first connect the camera to a compatible device such as a smartphone, tablet, or computer. Then, insert the camera into the area you want to examine, such as a body cavity or a narrow space. Use the camera's controls to adjust the focus and lighting as needed. The camera will capture real-time images or videos of the internal area, which can be viewed on the connected device's screen. It is important to follow the manufacturer's instructions for proper usage and to ensure the camera is cleaned and sterilized before and after each use to maintain hygiene and prevent contamination.
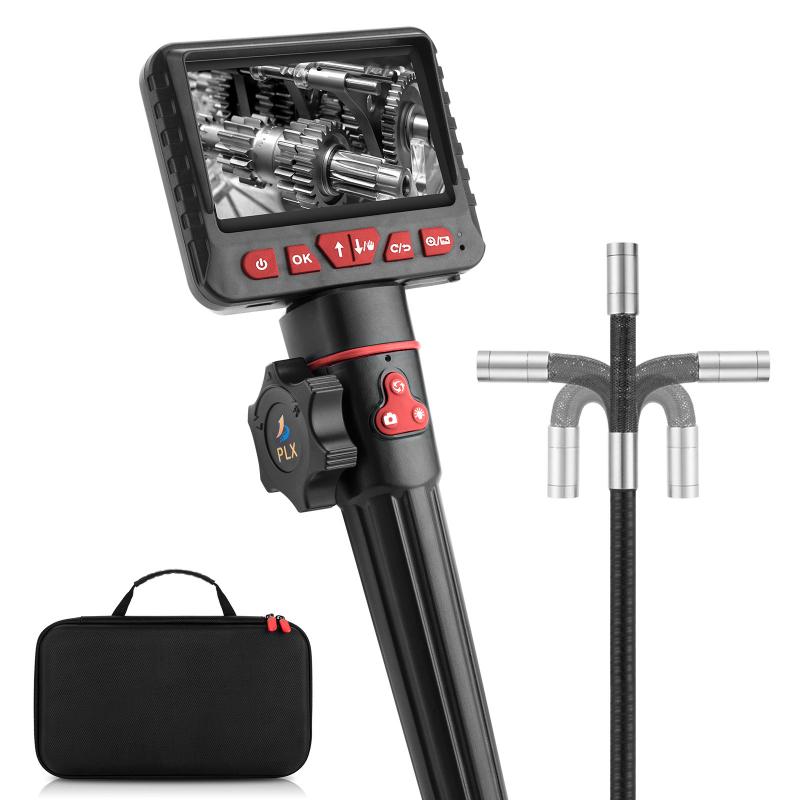
1、 Endoscope Camera: Overview and Components
Endoscope Camera: Overview and Components
An endoscope camera is a medical device used to visualize the internal organs and structures of the body. It consists of a long, flexible tube with a light source and a camera at the tip. The camera captures high-quality images and videos, which can be viewed in real-time on a monitor.
To use an endoscope camera, follow these steps:
1. Preparation: Ensure that the camera is properly sterilized and ready for use. Connect the camera to a compatible monitor or display device.
2. Insertion: Insert the endoscope camera into the body through a natural opening or a small incision. The flexible tube allows for easy maneuverability through the body's passages.
3. Illumination: Activate the light source to provide illumination for clear visualization. Adjust the brightness as needed to optimize the image quality.
4. Navigation: Slowly navigate the camera through the body, following the natural pathways or specific areas of interest. The camera can be rotated and tilted to capture different angles and views.
5. Image capture: Use the camera's capture function to freeze and save images of the internal structures. These images can be used for documentation, analysis, or sharing with other medical professionals.
6. Video recording: If necessary, the camera can also record videos of the procedure. This can be useful for reviewing the procedure later or for educational purposes.
7. Removal and cleaning: Once the examination is complete, carefully remove the endoscope camera from the body. Clean and disinfect the camera according to the manufacturer's instructions to ensure its safe reuse.
It is important to note that the use of an endoscope camera requires specialized training and expertise. Only trained medical professionals should operate the device to ensure accurate and safe examinations.
In recent years, there have been advancements in endoscope camera technology, such as the development of smaller and more flexible cameras, improved image resolution, and wireless connectivity. These advancements have made endoscopy procedures more efficient and less invasive, leading to better patient outcomes.
2、 Preparing for Endoscope Camera Use
Preparing for Endoscope Camera Use
Using an endoscope camera can be a valuable tool in various fields, including medicine, plumbing, and automotive repair. To ensure a successful and efficient use of an endoscope camera, it is important to properly prepare beforehand. Here are some steps to follow when preparing for endoscope camera use:
1. Familiarize yourself with the camera: Read the user manual and understand the functions and features of the endoscope camera. This will help you navigate through the settings and make the most out of its capabilities.
2. Check the camera and accessories: Before using the endoscope camera, inspect it for any damage or defects. Ensure that all the necessary accessories, such as cables and attachments, are present and in good condition.
3. Clean and disinfect the camera: Proper hygiene is crucial, especially in medical applications. Clean the camera and its attachments thoroughly using a mild detergent and warm water. Disinfect the camera according to the manufacturer's instructions or using an appropriate disinfectant solution.
4. Prepare the inspection area: Clear the area where the inspection will take place. Remove any obstacles or debris that may obstruct the camera's view. Ensure proper lighting in the area to enhance visibility.
5. Connect the camera: Depending on the type of endoscope camera, connect it to a compatible device, such as a smartphone, tablet, or computer. Install any necessary software or apps to enable the camera's functionality.
6. Calibrate the camera: Some endoscope cameras may require calibration before use. Follow the manufacturer's instructions to calibrate the camera properly, ensuring accurate and reliable results.
7. Test the camera: Before using the endoscope camera for its intended purpose, perform a test run to ensure that it is functioning correctly. Check the image quality, focus, and any additional features that may be available.
8. Follow safety guidelines: Depending on the application, there may be specific safety guidelines to follow. For example, in medical settings, proper personal protective equipment (PPE) should be worn. Adhere to these guidelines to ensure the safety of both the user and the patient.
It is important to stay updated with the latest advancements and guidelines in endoscope camera use. As technology evolves, new features and improvements may be introduced, enhancing the user experience and expanding the camera's capabilities.
3、 Inserting and Maneuvering the Endoscope Camera
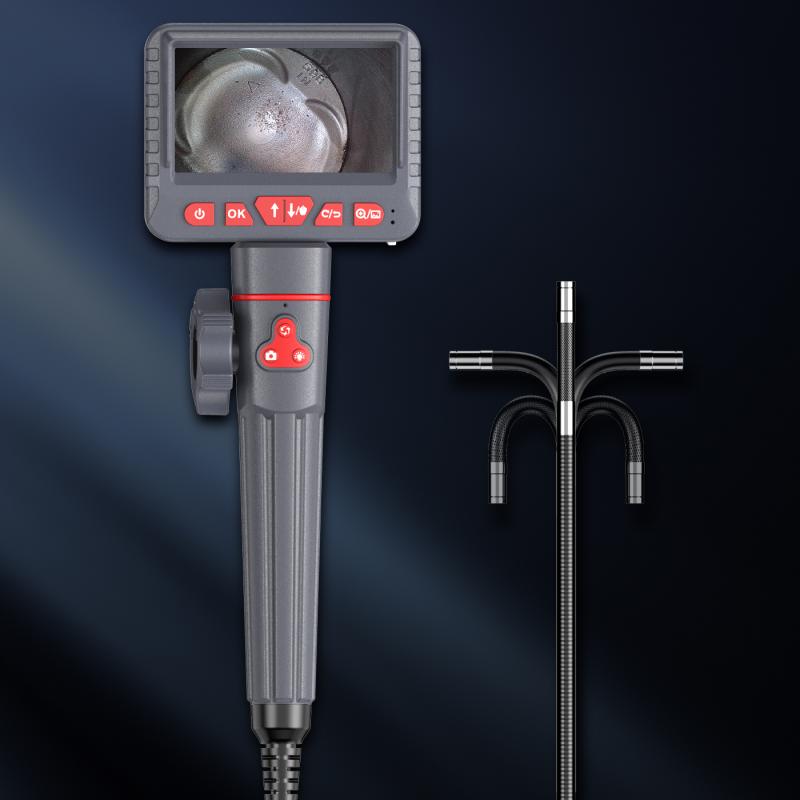
Inserting and maneuvering an endoscope camera requires careful technique and precision to ensure accurate and safe examination of the body's internal organs and structures. Here is a step-by-step guide on how to use an endoscope camera:
1. Preparation: Before using the endoscope camera, ensure that it is clean and sterilized according to the manufacturer's instructions. Also, make sure that the patient is properly positioned and adequately sedated if necessary.
2. Insertion: Gently insert the endoscope camera into the body through a natural opening or a small incision. The camera is usually attached to a flexible tube, allowing it to navigate through the body's passages smoothly.
3. Visualization: As the camera progresses, images are transmitted to a monitor, providing a real-time view of the internal organs. Adjust the camera's focus and lighting settings to optimize visibility.
4. Maneuvering: Use the control knobs or buttons on the endoscope camera to navigate and steer it through the body. The camera can be rotated, tilted, and advanced or retracted to examine different areas of interest.
5. Documentation: During the examination, capture images or record videos of any abnormalities or findings for further analysis and documentation. This can be done by pressing the appropriate buttons on the camera or using external recording devices.
6. Removal: Once the examination is complete, carefully withdraw the endoscope camera from the body, ensuring that no damage or discomfort is caused to the patient.
It is important to note that the use of endoscope cameras should only be performed by trained medical professionals who have received proper training and certification. Additionally, advancements in technology have led to the development of more advanced endoscope cameras, such as wireless and capsule endoscopes, which offer improved maneuverability and patient comfort.
Always follow the manufacturer's instructions and guidelines for the specific endoscope camera being used, as different models may have slight variations in operation.
4、 Capturing Images and Videos with the Endoscope Camera
Capturing Images and Videos with the Endoscope Camera
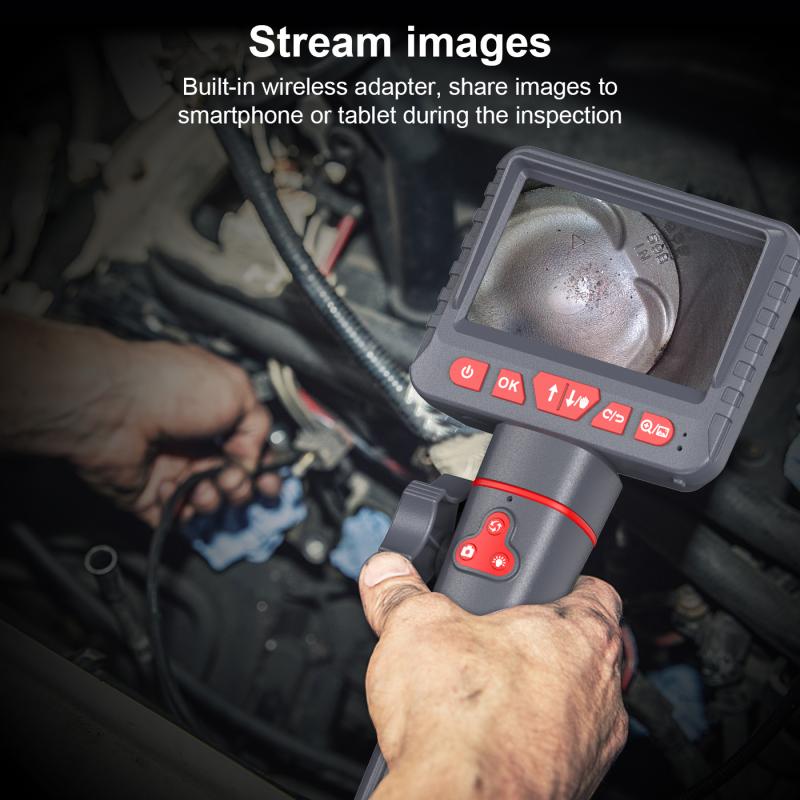
An endoscope camera is a versatile tool that allows for the visualization of hard-to-reach areas in various fields, including medicine, plumbing, automotive, and more. It consists of a long, flexible tube with a camera at the end, which transmits real-time images and videos to a connected device. Here's a step-by-step guide on how to use an endoscope camera effectively:
1. Connect the endoscope camera: Start by connecting the camera to a compatible device, such as a smartphone, tablet, or computer. Most endoscope cameras use a USB or Wi-Fi connection for this purpose.
2. Install the necessary software: Depending on the camera model, you may need to install specific software or apps on your device to view and record the images and videos captured by the endoscope camera. Check the manufacturer's instructions for guidance.
3. Prepare the area: Before inserting the endoscope camera, ensure that the area you want to examine is clean and well-lit. Remove any obstructions or debris that may hinder the camera's movement.
4. Insert the endoscope camera: Gently insert the camera into the desired area, using the flexible tube to navigate through tight spaces. Take your time and be cautious to avoid damaging the camera or the object being examined.
5. Adjust the camera settings: Once the camera is in position, adjust the focus, brightness, and other settings as needed to obtain clear and detailed images or videos. Some endoscope cameras offer adjustable LED lights to improve visibility in dark areas.
6. Capture images and videos: Use the software or app on your device to capture images or record videos of the area being examined. Take multiple shots from different angles to ensure a comprehensive view.
7. Review and save the captured media: After capturing the images or videos, review them on your device to ensure they meet your requirements. Save the files to your device or transfer them to a computer for further analysis or sharing.
It's worth noting that the latest endoscope cameras often come with advanced features like wireless connectivity, higher resolution cameras, and improved image stabilization. These advancements enhance the user experience and provide clearer and more detailed visuals.
In conclusion, using an endoscope camera involves connecting it to a compatible device, preparing the area, inserting the camera, adjusting the settings, capturing the media, and reviewing and saving the files. With the latest advancements in endoscope camera technology, users can now benefit from improved image quality and ease of use, making it an invaluable tool in various industries.













There are no comments for this blog.