How To Use Borescope For Android ?
To use a borescope for Android, you will need to follow these steps:
1. Purchase a borescope that is compatible with Android devices. Make sure it has a micro USB or USB-C connector, depending on the type of port your Android device has.
2. Install the borescope app on your Android device. You can find various borescope apps on the Google Play Store. Choose one that is recommended for your specific borescope model.
3. Connect the borescope to your Android device. Plug the borescope's USB connector into the micro USB or USB-C port on your Android device.
4. Open the borescope app on your Android device. Allow the app to access the camera and microphone permissions if prompted.
5. Turn on the borescope and adjust the settings as needed. Some borescopes have adjustable LED lights or focus settings that you can control through the app.
6. Start using the borescope. The live feed from the borescope's camera should now be visible on your Android device's screen. You can use the app's features to capture photos or videos, adjust the brightness, zoom in or out, and perform other functions.
Remember to consult the user manual that comes with your specific borescope model for detailed instructions on its usage.
1、 Compatibility with Android devices for borescope usage
To use a borescope with an Android device, you will need a borescope that is compatible with Android devices. Most borescopes on the market today come with a USB or Wi-Fi connection option, allowing them to be used with Android devices.
If your borescope has a USB connection, you will need an OTG (On-The-Go) adapter to connect it to your Android device. The OTG adapter allows you to connect USB devices, such as a borescope, to your Android device. Once connected, you can use a compatible app, such as CameraFi or USB Camera, to view the live feed from the borescope on your Android device's screen.
If your borescope has a Wi-Fi connection, you will need to download the corresponding app from the manufacturer onto your Android device. This app will allow you to connect your Android device to the borescope's Wi-Fi network and view the live feed from the borescope on your Android device's screen.
It is important to note that not all borescopes are compatible with Android devices. Before purchasing a borescope, make sure to check the product specifications and ensure that it is compatible with Android devices. Additionally, it is always a good idea to read reviews and check for any compatibility issues reported by other users.
As technology advances, compatibility with Android devices for borescope usage is becoming more common. Manufacturers are increasingly developing borescopes with Android compatibility in mind, making it easier for Android users to utilize this tool for various applications.
2、 Connecting borescope to Android device for optimal functionality
Connecting a borescope to an Android device for optimal functionality is a relatively straightforward process. Here's a step-by-step guide on how to use a borescope for Android:
1. Check compatibility: Ensure that your borescope is compatible with Android devices. Most borescopes come with a USB or micro-USB connector, which can be easily connected to an Android device.
2. Install the necessary app: Search for and download a borescope app from the Google Play Store. There are several options available, such as "USB Camera" or "Endoscope Camera." Make sure to choose an app that is compatible with your specific borescope model.
3. Connect the borescope: Plug the borescope's USB or micro-USB connector into the corresponding port on your Android device. Some borescopes may require an additional adapter or OTG (On-The-Go) cable, which can be purchased separately if needed.
4. Open the app: Launch the borescope app on your Android device. The app should automatically detect the connected borescope and display the live feed from the camera.
5. Adjust settings: Depending on the app, you may have options to adjust the camera's brightness, contrast, or resolution. Experiment with these settings to optimize the image quality for your specific needs.
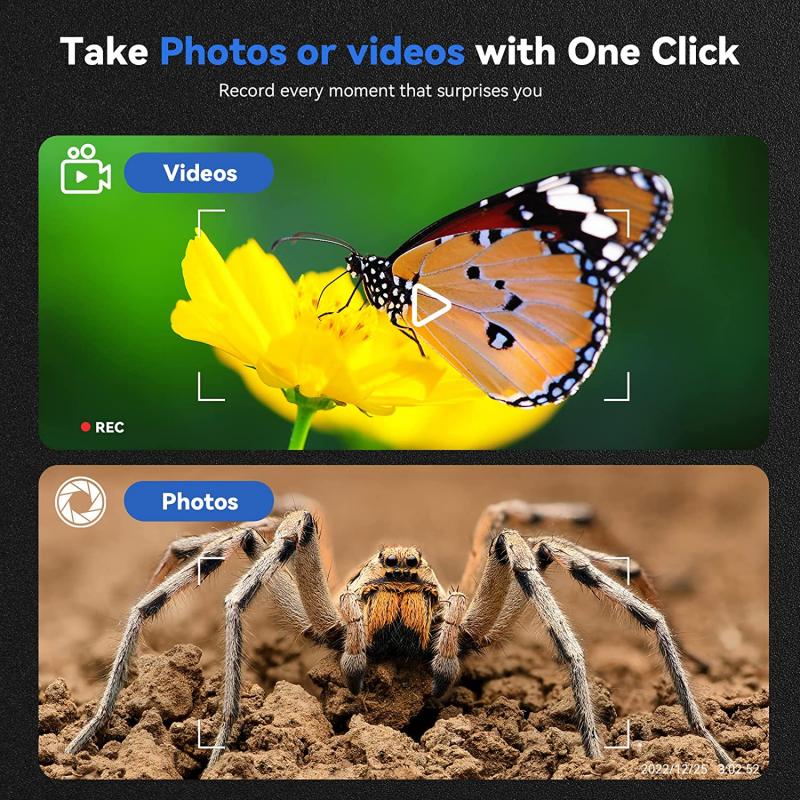
6. Capture media: Most borescope apps allow you to capture photos or record videos directly from the live feed. Use the app's interface to take pictures or start/stop video recording as desired.
7. Save and share: Once you have captured media, you can save it to your Android device's gallery or share it with others via email, messaging apps, or social media platforms.
It's worth noting that the latest advancements in borescope technology have led to the development of wireless borescopes that can connect to Android devices via Wi-Fi. These wireless borescopes eliminate the need for physical connections and offer greater flexibility in terms of maneuverability and range.
In conclusion, connecting a borescope to an Android device for optimal functionality involves checking compatibility, installing the necessary app, connecting the borescope, adjusting settings, capturing media, and saving/sharing it. With the latest advancements in wireless borescopes, users can enjoy even more convenience and flexibility in their inspections and explorations.
3、 Installing and configuring borescope app on Android for usage
To use a borescope on an Android device, you will need to install and configure a borescope app. Here is a step-by-step guide on how to do it:
1. Go to the Google Play Store on your Android device and search for "borescope app." There are several options available, so choose one that suits your needs and has good reviews.
2. Once you have selected an app, click on the "Install" button to download and install it on your device. Make sure you have a stable internet connection for a smooth installation process.
3. After the installation is complete, open the borescope app. You may be prompted to grant certain permissions, such as access to the camera and microphone. Allow these permissions for the app to function properly.
4. Connect your borescope to your Android device. Depending on the type of borescope you have, you may need to use a USB or Wi-Fi connection. Follow the manufacturer's instructions to establish the connection.
5. Once the borescope is connected, the app should automatically detect it. You may need to select the appropriate connection option within the app if multiple options are available.
6. Now, you can start using the borescope on your Android device. The app will provide you with a live feed from the borescope's camera, allowing you to inspect hard-to-reach areas.
7. Use the app's features and settings to adjust the camera's focus, brightness, and other parameters to enhance the visibility of the captured images or videos.
It's important to note that the steps may vary slightly depending on the specific borescope app and device you are using. Therefore, it's always a good idea to refer to the app's user manual or online documentation for detailed instructions.
As technology advances, new features and improvements are continuously being introduced to borescope apps. Therefore, it is recommended to keep your app updated to benefit from the latest enhancements and bug fixes. Regularly check for updates in the Google Play Store and install them as they become available.
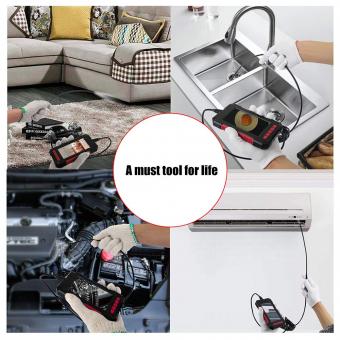
Using a borescope app on your Android device can provide you with a convenient and portable solution for inspections in various industries, including automotive, plumbing, HVAC, and more.
4、 Using borescope camera features on Android for inspections and examinations
Using a borescope camera on an Android device for inspections and examinations is a convenient and efficient way to access hard-to-reach areas. Here's how you can use a borescope for Android:
1. Choose a compatible borescope: Ensure that the borescope you purchase is compatible with Android devices. Most borescopes come with a USB or micro-USB connector that can be easily plugged into your Android phone or tablet.
2. Install the borescope app: To use the borescope camera, you'll need to download a compatible app from the Google Play Store. There are several apps available, such as "CameraFi" or "USB Camera," that allow you to connect and control the borescope camera.
3. Connect the borescope camera: Plug the borescope camera into the USB or micro-USB port of your Android device. Once connected, open the borescope app on your device.
4. Adjust settings: Within the borescope app, you can adjust various settings such as brightness, resolution, and exposure to optimize the image quality. Experiment with these settings to get the best possible visuals.
5. Start inspecting: With the borescope camera connected and settings adjusted, you can now start using it for inspections and examinations. Insert the camera into the desired area and view the live feed on your Android device's screen. You can capture photos or record videos of the inspection for future reference.
The latest advancements in borescope technology have made it easier than ever to use these devices with Android devices. Some borescopes now offer wireless connectivity, allowing you to connect to your Android device via Wi-Fi or Bluetooth. This eliminates the need for physical connections and provides greater flexibility during inspections.
Additionally, many borescope apps now offer advanced features such as image and video editing, measurement tools, and the ability to share captured media directly from the app. These features enhance the overall inspection process and make it more convenient to document findings.
In conclusion, using a borescope camera on an Android device for inspections and examinations is a straightforward process. By following the steps mentioned above and taking advantage of the latest advancements in borescope technology, you can efficiently inspect hard-to-reach areas and capture high-quality visuals for analysis and documentation.













There are no comments for this blog.