How To Use Camera Tripod ?
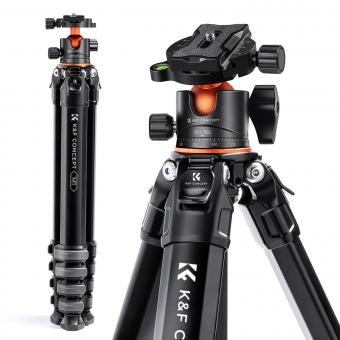
To use a camera tripod, first, extend the legs of the tripod to the desired height and lock them in place. Then, attach the camera to the tripod head using the mounting plate or screw. Adjust the angle and position of the camera using the tripod head controls. Once the camera is in the desired position, lock the tripod head in place. Finally, use the tripod's adjustable feet or weight hook to stabilize the tripod and prevent it from tipping over. When finished, release the camera from the tripod head and collapse the legs for storage.
1、 Setting up the tripod legs
Setting up a camera tripod is an essential skill for any photographer. A tripod provides stability and allows you to take sharp, clear photos without the risk of camera shake. Here's how to set up a camera tripod:
1. Choose a level surface: Before setting up your tripod, make sure you choose a level surface. This will ensure that your camera is stable and won't tip over.
2. Extend the legs: Extend the legs of your tripod by loosening the leg locks and pulling the legs out to the desired length. Make sure all three legs are extended to the same length to ensure stability.
3. Adjust the height: Adjust the height of your tripod by extending or retracting the center column. This will allow you to position your camera at the desired height.
4. Secure the camera: Once your tripod is set up, attach your camera to the tripod head. Make sure the camera is securely attached and won't fall off.
5. Adjust the tripod head: Adjust the tripod head to position your camera at the desired angle. Most tripod heads allow you to pan and tilt the camera to get the perfect shot.
In addition to these basic steps, it's important to choose a tripod that is sturdy and can support the weight of your camera and lens. Look for a tripod with a weight capacity that exceeds the weight of your camera and lens. It's also important to choose a tripod that is easy to set up and adjust, so you can quickly and easily get the shot you want.
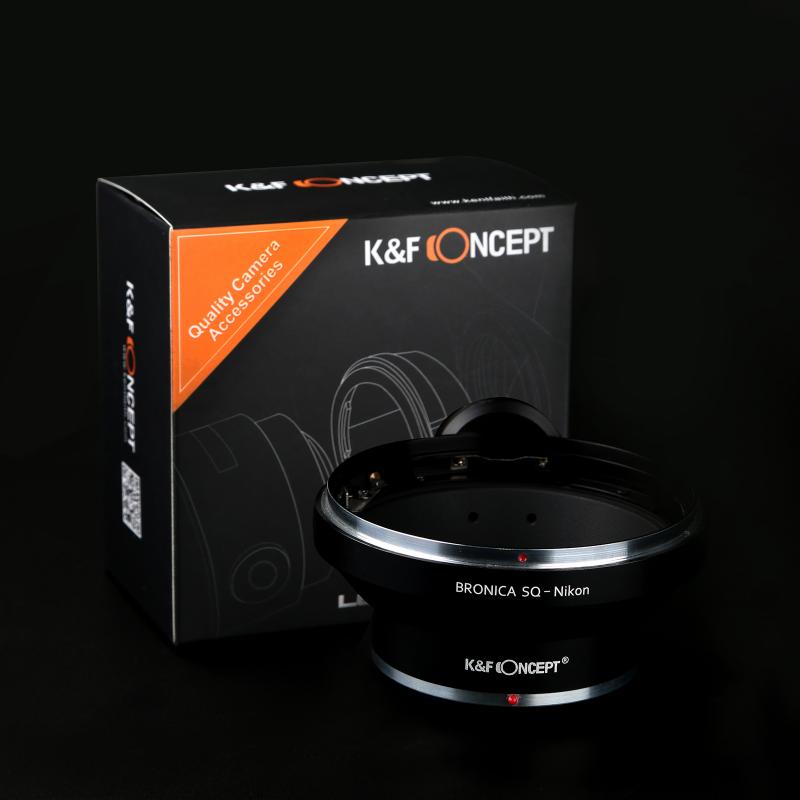
2、 Attaching the camera to the tripod head
Attaching the camera to the tripod head is a crucial step in using a camera tripod. Here are the steps to follow:
1. Locate the tripod head plate: The tripod head plate is a small metal plate that attaches to the bottom of your camera. It is usually included with the tripod.
2. Attach the tripod head plate to your camera: Most tripod head plates have a screw that attaches to the camera's tripod mount. Make sure the plate is securely attached to your camera.
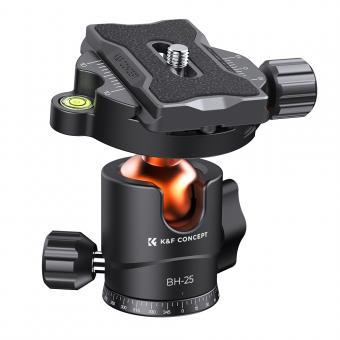
3. Attach the tripod head plate to the tripod head: The tripod head plate usually has a locking mechanism that attaches to the tripod head. Make sure the plate is securely attached to the tripod head.
4. Adjust the camera position: Once your camera is attached to the tripod head, you can adjust the position of the camera by loosening the tripod head controls. This allows you to pan, tilt, and adjust the camera's position to get the perfect shot.
5. Secure the camera: Once you have the camera in the desired position, make sure to tighten the tripod head controls to secure the camera in place.
It is important to note that different tripod heads may have different locking mechanisms and controls. Always refer to the manufacturer's instructions for your specific tripod head to ensure proper use.
In recent years, some tripods have also incorporated quick-release mechanisms that allow for faster and easier attachment and detachment of the camera. These mechanisms typically involve a lever or button that releases the tripod head plate from the tripod head.
3、 Adjusting the tripod head for the desired angle
How to use camera tripod? A camera tripod is an essential tool for any photographer who wants to capture sharp and stable images. It provides a stable base for your camera, which reduces camera shake and allows you to take longer exposures without blurring the image. Here are some steps on how to use a camera tripod:
1. Choose the right tripod: The first step is to choose the right tripod for your camera. Make sure it is sturdy enough to support the weight of your camera and lens.
2. Set up the tripod: Once you have chosen the right tripod, set it up on a level surface. Extend the legs and adjust the height of the tripod to your desired level.
3. Attach the camera: Attach your camera to the tripod using the mounting plate. Make sure it is securely attached to the tripod head.
4. Adjust the tripod head: Adjust the tripod head for the desired angle. Most tripod heads have a ball and socket joint that allows you to adjust the angle of the camera. You can also adjust the pan and tilt of the tripod head to get the perfect shot.
5. Take the shot: Once you have adjusted the tripod head, you are ready to take the shot. Use a remote shutter release or the camera's self-timer to avoid camera shake.
In conclusion, using a camera tripod is essential for any photographer who wants to capture sharp and stable images. Adjusting the tripod head for the desired angle is an important step in using a camera tripod. With the right tripod and proper adjustments, you can take stunning photos that are free from camera shake.
4、 Using the tripod's height adjustment features
Using a camera tripod is an essential tool for any photographer who wants to capture sharp and stable images. A tripod provides a stable base for your camera, which reduces camera shake and allows you to take longer exposures without blurring the image. In this article, we will focus on how to use the tripod's height adjustment features.
Firstly, it is important to choose a tripod that suits your needs. Tripods come in different sizes and weight capacities, so make sure you choose one that can support the weight of your camera and lens. Once you have your tripod, you can adjust its height to suit your shooting needs.
Most tripods have two height adjustment features: the center column and the legs. The center column is the vertical column that extends from the tripod's base to the camera mount. You can adjust the height of the center column by loosening the locking knob and sliding it up or down. However, it is important to note that extending the center column too far can make the tripod unstable, so it is best to keep it as low as possible.
The legs of the tripod are the other height adjustment feature. Most tripods have three legs that can be extended or retracted to adjust the height. To adjust the height of the legs, loosen the locking knobs and extend or retract the legs to the desired height. Once you have adjusted the legs, make sure to tighten the locking knobs to secure the legs in place.
In conclusion, using a tripod's height adjustment features is essential for getting the perfect shot. By adjusting the center column and legs, you can achieve the desired height and stability for your camera. However, it is important to choose a tripod that suits your needs and to keep the center column as low as possible to maintain stability.
