How To Use Dslr Lens ?
To use a DSLR lens, first, ensure that your camera is turned off. Locate the lens release button on your camera body and press it while simultaneously twisting the lens counterclockwise to detach it from the camera. Align the lens mount on the camera body with the corresponding mount on the lens and gently twist the lens clockwise until it locks into place. Make sure it is securely attached.
Once the lens is attached, turn on your camera and adjust the settings according to your desired shooting mode. Use the focus ring on the lens to manually focus or switch to autofocus mode if available. Adjust the zoom ring if your lens has a zoom function. Additionally, you can adjust the aperture, shutter speed, and ISO settings to control the exposure.
When you are ready to take a photo, half-press the shutter button to allow the camera to focus, and then fully press it to capture the image. Experiment with different settings and techniques to achieve the desired results. Remember to handle the lens with care and protect it from dust and moisture when not in use.
1、 Lens Mount Compatibility
Lens mount compatibility refers to the ability of a DSLR lens to be attached and used on a specific camera body. Different camera manufacturers have their own lens mount systems, which means that lenses from one brand may not be compatible with cameras from another brand. Understanding lens mount compatibility is crucial when purchasing lenses for your DSLR camera.
To use a DSLR lens, you need to ensure that it is compatible with your camera's lens mount. Most camera manufacturers have a range of lenses specifically designed for their camera bodies. For example, Canon cameras use the EF or EF-S lens mount, while Nikon cameras use the F-mount. It is important to note that some camera manufacturers have multiple lens mounts, so make sure to check the specific model of your camera.
When purchasing a lens, ensure that it is designed for your camera's lens mount. This information can usually be found in the lens specifications or on the manufacturer's website. Using a lens with an incompatible mount can result in the lens not fitting properly or not functioning correctly.
It is also worth noting that some third-party lens manufacturers, such as Sigma and Tamron, produce lenses with different mounts to cater to multiple camera brands. These lenses are often referred to as "third-party lenses" and can be a more affordable alternative to the camera manufacturer's lenses.
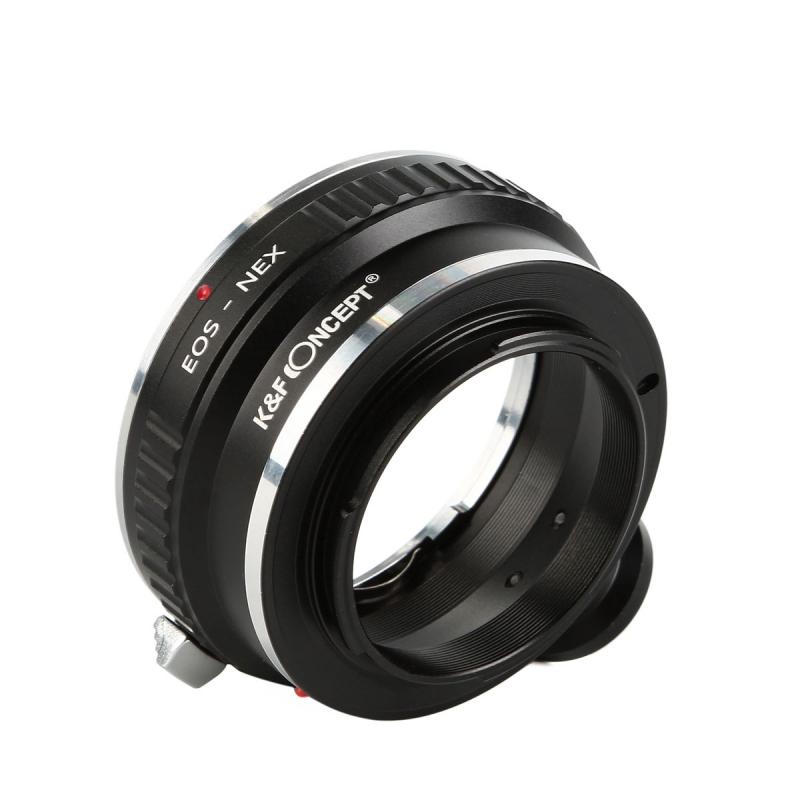
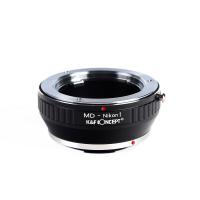
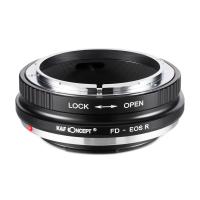
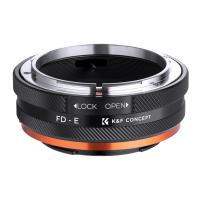
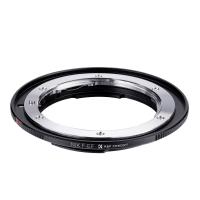
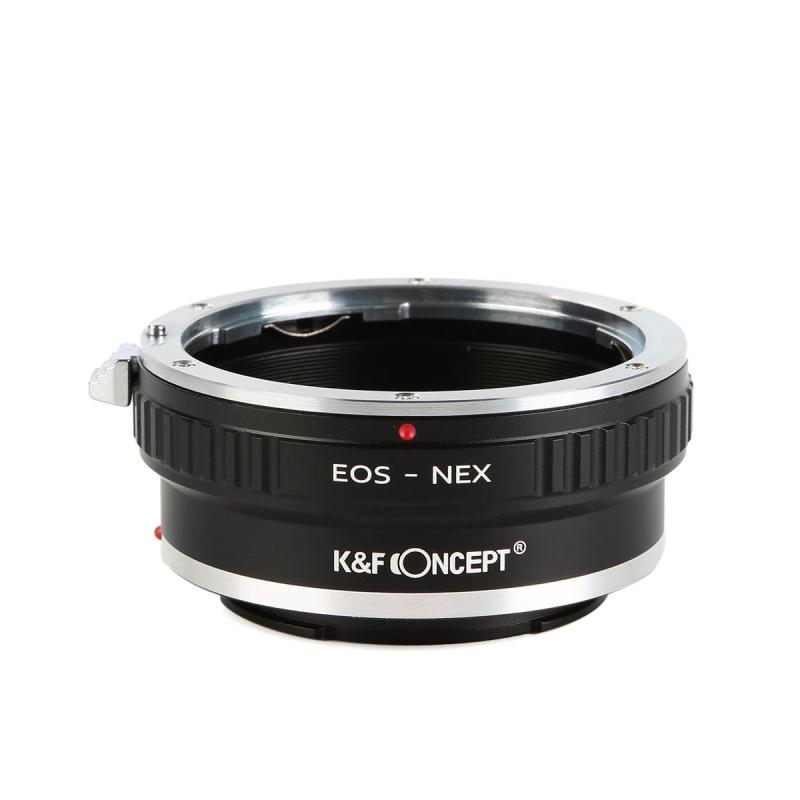
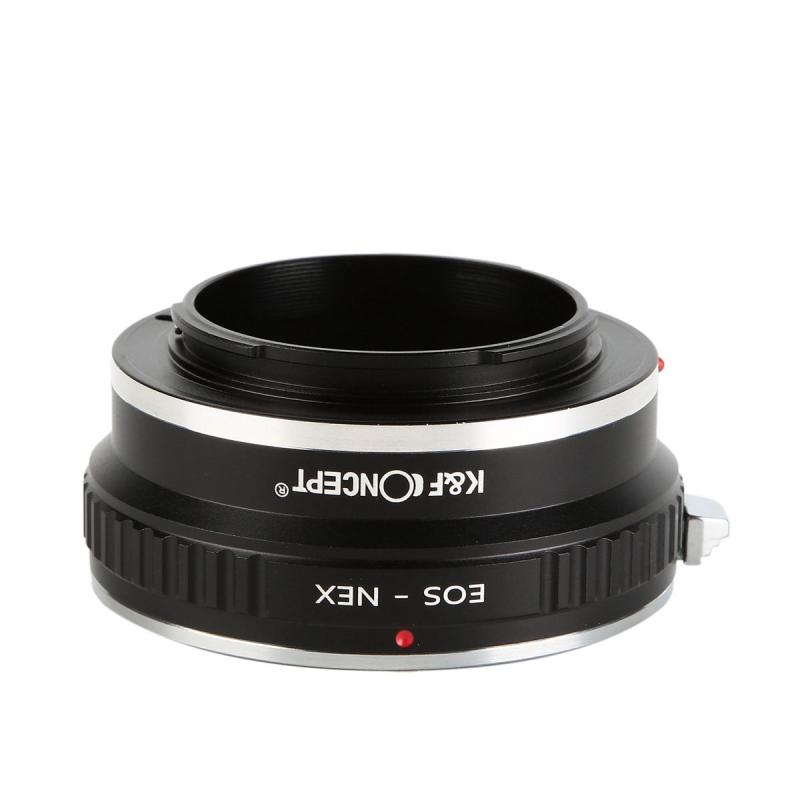
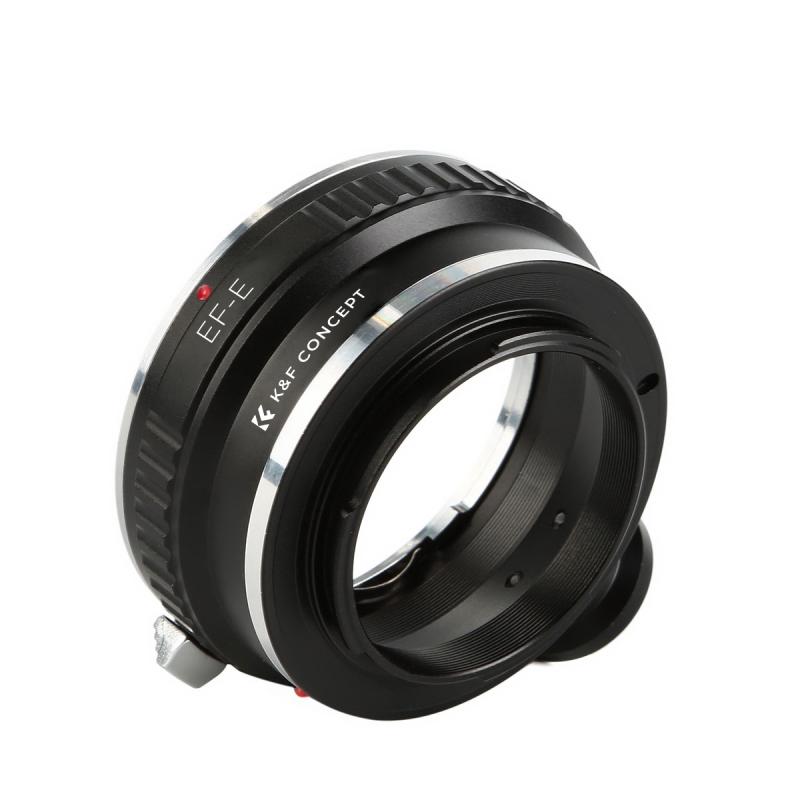
In recent years, there have been advancements in lens mount adapters, which allow you to use lenses with different mounts on your camera. These adapters can be useful if you have lenses from a different camera system that you want to use on your DSLR. However, it is important to note that using an adapter may result in some limitations, such as autofocus or aperture control not working as effectively as with native lenses.
In conclusion, understanding lens mount compatibility is essential when using a DSLR lens. Ensure that the lens you purchase is designed for your camera's lens mount, and consider third-party lenses or lens mount adapters if you want to use lenses from different camera systems.
2、 Focal Length and Zoom Range
Focal Length and Zoom Range are important aspects to consider when using a DSLR lens. Understanding these concepts will help you make the most out of your lens and capture stunning photographs.
Focal length refers to the distance between the lens and the image sensor. It determines the angle of view and magnification of the lens. A shorter focal length, such as 18mm, will provide a wider angle of view, allowing you to capture more of the scene in your frame. On the other hand, a longer focal length, like 200mm, will give you a narrower angle of view, allowing you to zoom in and capture distant subjects in detail.
Zoom range, on the other hand, refers to the ability of a lens to change its focal length. Zoom lenses have a range of focal lengths, such as 18-55mm or 70-200mm. This versatility allows you to adjust the focal length according to your subject and composition. For example, you can use a wider focal length for landscapes or group shots, and a longer focal length for portraits or wildlife photography.
To use a DSLR lens effectively, start by understanding the focal length and zoom range of your lens. Experiment with different focal lengths to see how they affect your composition. Practice zooming in and out to capture different perspectives of your subject. Additionally, consider the aperture settings and other features of your lens to further enhance your photography.
It's worth noting that the latest advancements in lens technology have brought about improvements in image stabilization, autofocus speed, and optical quality. These advancements have made it easier for photographers to achieve sharp and high-quality images, even at longer focal lengths. So, make sure to explore the capabilities of your lens and take advantage of the latest features to enhance your photography skills.
3、 Aperture and Depth of Field
Aperture and Depth of Field are two important concepts to understand when using a DSLR lens. Aperture refers to the opening in the lens that controls the amount of light entering the camera. It is measured in f-stops, such as f/2.8 or f/16. A lower f-stop (e.g., f/2.8) means a larger aperture, allowing more light to enter the camera, while a higher f-stop (e.g., f/16) means a smaller aperture, allowing less light to enter.
The aperture setting also affects the depth of field, which refers to the range of distance that appears sharp in a photograph. A wide aperture (e.g., f/2.8) creates a shallow depth of field, where the subject is in focus while the background is blurred. This is commonly used in portrait photography to isolate the subject. On the other hand, a narrow aperture (e.g., f/16) creates a deep depth of field, where both the subject and the background are in focus. This is often used in landscape photography to capture a scene with sharp details throughout.
To use the aperture effectively, you can adjust it using the camera's manual mode or aperture priority mode. In manual mode, you have full control over the aperture setting, while in aperture priority mode, you set the desired aperture and the camera automatically adjusts the shutter speed for proper exposure.
It's important to note that the choice of aperture also affects the amount of light reaching the camera's sensor, which can impact the overall exposure of the image. Therefore, it's crucial to consider the lighting conditions and adjust other settings accordingly, such as ISO and shutter speed.
In recent years, there has been a growing trend towards using wider apertures to create artistic effects and emphasize subject isolation. This technique, known as "bokeh," has become popular in various genres of photography, including portraits, food, and still life. By using a wide aperture, photographers can achieve a pleasing background blur, enhancing the visual impact of the subject.
In conclusion, understanding how to use the aperture and depth of field in DSLR lenses is essential for achieving creative control over your photographs. Experimenting with different aperture settings and understanding their impact on exposure and depth of field will allow you to capture stunning images with your DSLR.
4、 Autofocus and Manual Focus
Autofocus and Manual Focus are two important features of DSLR lenses that allow photographers to achieve sharp and precise focus in their images.
Autofocus is the default setting on most DSLR lenses and is designed to automatically adjust the focus based on the subject in the frame. To use autofocus, simply half-press the shutter button to activate the autofocus system. The camera will then analyze the scene and adjust the lens focus accordingly. This is a convenient option for quick and spontaneous shots, as it saves time and effort.
However, there are situations where manual focus is preferred. In low light conditions or when shooting subjects with low contrast, autofocus may struggle to accurately focus. In such cases, switching to manual focus allows the photographer to take control and adjust the focus manually. To use manual focus, switch the lens to the "M" or "MF" mode and rotate the focus ring on the lens barrel until the subject appears sharp in the viewfinder or on the camera's LCD screen.
It's worth noting that some lenses also offer a hybrid autofocus mode, which combines the benefits of both autofocus and manual focus. This mode allows photographers to fine-tune the autofocus manually after the initial autofocus lock. It can be particularly useful when shooting subjects that require precise focus adjustments.
In conclusion, understanding how to use both autofocus and manual focus is essential for DSLR photographers. While autofocus provides convenience and speed, manual focus allows for more control and accuracy in certain shooting conditions. Experimenting with both modes will help photographers determine which option works best for their specific needs and shooting scenarios.
