How To Use Graduated Neutral Density Filter ?
To use a graduated neutral density filter, follow these steps:
1. Attach the filter holder to your camera lens.
2. Slide the graduated neutral density filter into the filter holder.
3. Position the filter so that the dark portion covers the bright area of the scene you want to balance.
4. Adjust the filter's position to achieve the desired effect. You can slide it up or down to control the transition between the dark and clear portions.
5. Take a test shot and review the exposure. Make any necessary adjustments to the filter's position or strength.
6. Once you are satisfied with the result, capture your final image.
Remember to experiment with different filter strengths and positions to achieve the desired balance between the bright and dark areas in your composition. Graduated neutral density filters are particularly useful in landscape photography to balance the exposure between the sky and the foreground.
1、 Understanding Graduated Neutral Density Filters: Types and Functions
A graduated neutral density (ND) filter is a powerful tool for landscape photographers to balance the exposure between the bright sky and the darker foreground. It is especially useful when shooting scenes with high contrast, such as sunrises or sunsets.
To use a graduated ND filter, follow these steps:
1. Choose the right filter: Graduated ND filters come in different strengths, indicated by the number of stops they reduce the light. Common strengths include 1-stop, 2-stop, and 3-stop filters. Select the filter based on the scene's dynamic range and your desired effect.
2. Attach the filter holder: Most graduated ND filters require a filter holder system. Attach the holder to the front of your lens, ensuring it is secure and doesn't cause any vignetting.
3. Position the filter: Slide the graduated ND filter into the holder, aligning the dark portion of the filter with the bright sky. The transition area should cover the horizon line or any other area where the exposure needs to be balanced.
4. Adjust the filter position: Graduated ND filters often have a movable transition area, allowing you to position it precisely where you need it. Experiment with different positions to achieve the desired effect.
5. Meter the exposure: Use your camera's metering system to determine the correct exposure for the scene. Take a test shot and review the histogram to ensure the highlights are not blown out and the shadows are not too dark.
6. Capture the image: Once you have set up the filter and exposure, take the shot. Be mindful of any potential color cast introduced by the filter and adjust the white balance if necessary.
The latest point of view on using graduated ND filters is the emergence of digital post-processing techniques that can replicate the effect of these filters. Software like Adobe Lightroom and Photoshop offer tools to selectively adjust exposure and balance the tones in an image. While these tools can be effective, using a physical graduated ND filter in the field still provides several advantages, such as preserving details in highlights and reducing the need for extensive post-processing. Additionally, using a filter during the capture process allows for a more accurate representation of the scene as it was witnessed, rather than relying on digital manipulation.
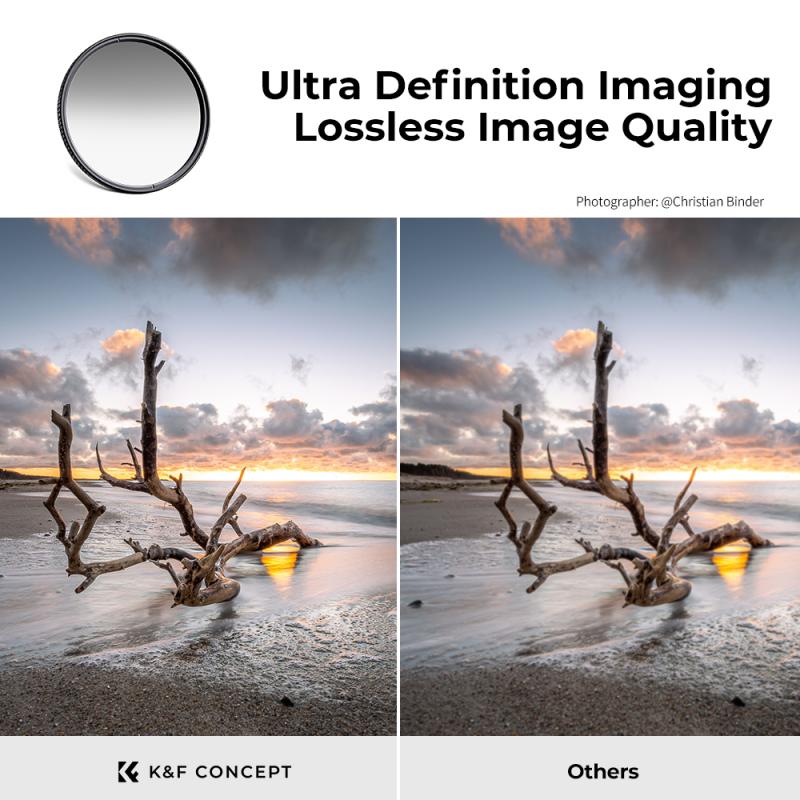
2、 Step-by-Step Guide: Attaching a Graduated Neutral Density Filter
Step-by-Step Guide: Attaching a Graduated Neutral Density Filter
A graduated neutral density (ND) filter is a powerful tool for landscape photographers, allowing them to balance the exposure between the sky and the foreground. Here is a step-by-step guide on how to use a graduated ND filter effectively:
1. Choose the right filter: Graduated ND filters come in different strengths, usually measured in stops. Select a filter that suits the scene and the amount of light you want to control. For example, a 2-stop filter is ideal for subtle adjustments, while a 4-stop filter is better for more dramatic effects.
2. Mount the filter holder: Attach the filter holder to your lens by screwing it onto the filter thread. Make sure it is securely fastened to avoid any light leaks.
3. Insert the filter: Slide the graduated ND filter into the filter holder, ensuring that the dark portion of the filter is positioned over the sky area that needs to be controlled.
4. Adjust the filter position: Graduated ND filters usually have a transition area where the dark and clear portions meet. Position the filter so that the transition aligns with the horizon or any other natural dividing line in your composition.
5. Check the exposure: Before taking the shot, review the exposure settings and adjust them if necessary. Graduated ND filters can reduce the amount of light reaching the sensor, so you may need to compensate by increasing the exposure time or widening the aperture.
6. Capture the image: Once everything is set up, take the shot. Be mindful of any potential color casts caused by the filter and adjust the white balance if needed during post-processing.
Remember, practice makes perfect. Experiment with different filter strengths and compositions to achieve the desired effect. Additionally, keep up with the latest advancements in filter technology, as new products may offer improved features and performance.
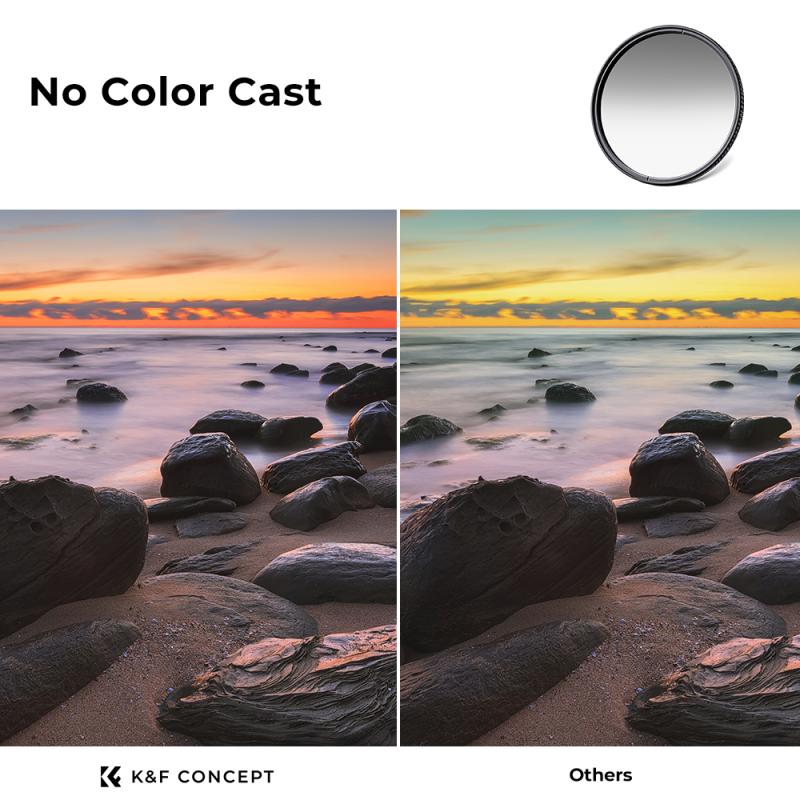
3、 Adjusting Exposure: Using Graduated Neutral Density Filters Effectively
To use a graduated neutral density (ND) filter effectively, follow these steps:
1. Choose the right filter: Graduated ND filters come in different strengths, indicated by the number of stops they reduce the light. Select a filter that suits the scene's dynamic range and the effect you want to achieve.
2. Mount the filter holder: Attach the filter holder to your camera lens securely. Make sure it doesn't cause any vignetting or light leaks.
3. Position the filter: Slide the graduated ND filter into the filter holder, ensuring that the dark portion of the filter is aligned with the bright area of the scene. You can adjust the position of the filter vertically to control the transition line.
4. Meter the scene: Use your camera's light meter to determine the exposure settings for the scene. Take note of the exposure values for the bright and dark areas.
5. Set the exposure: Set your camera to manual mode and dial in the exposure settings based on the metered values. This will ensure that the overall exposure is balanced.
6. Take the shot: Compose your image and take the shot. The graduated ND filter will help to reduce the brightness of the sky or other bright areas, allowing you to capture a well-exposed image with balanced exposure throughout.
The latest point of view on using graduated ND filters effectively is to consider using digital post-processing techniques. While filters are still valuable tools, advancements in software allow for more precise adjustments in exposure and dynamic range. This means that you can achieve similar results by bracketing your shots and blending them together in post-processing. However, using a graduated ND filter in-camera can still save time and effort during the shooting process, especially when dealing with high-contrast scenes. Ultimately, the choice between using filters or post-processing techniques depends on personal preference and the specific requirements of the scene.
4、 Creative Techniques: Enhancing Landscape Photography with Graduated Neutral Density Filters
To use a graduated neutral density (ND) filter effectively in landscape photography, follow these steps:
1. Choose the right filter: Graduated ND filters come in various strengths, typically measured in stops. Select a filter that suits the scene's dynamic range and the effect you want to achieve. For example, a 2-stop filter is ideal for balancing the exposure between the sky and the foreground, while a 3-stop filter can help darken a bright sky.
2. Set up your camera: Mount your camera on a tripod to ensure stability. Compose your shot and set the desired aperture and shutter speed.
3. Attach the filter holder: Slide the filter holder onto the lens and ensure it is securely attached. Graduated ND filters are rectangular and fit into the holder, allowing you to position the darkened portion over the desired area of the frame.
4. Position the filter: Graduated ND filters have a gradient transition from dark to clear. Align the filter so that the dark portion covers the bright area you want to balance, typically the sky. Use the filter's transition line to guide your placement.
5. Take the shot: Once the filter is in place, take the photo. Ensure that the exposure is balanced between the bright and dark areas of the frame.
The latest point of view on using graduated ND filters is that they can be further enhanced with post-processing techniques. By shooting in RAW format, you have more flexibility to adjust the exposure and fine-tune the image in software like Adobe Lightroom or Photoshop. This allows for greater control over the final result, especially when dealing with challenging lighting conditions. Additionally, some photographers are experimenting with using multiple graduated ND filters to achieve more complex exposure adjustments in-camera. This technique requires careful positioning and blending of the filters to maintain a natural-looking result.








![4K Digital Camera for Photography & Video [Autofocus and Stabilisation] 48MP 16X Digital Zoom 3” 180° Flip Screen Vlog Camera with 32G SD Card, Flash Kentfaith 4K Digital Camera for Photography & Video [Autofocus and Stabilisation] 48MP 16X Digital Zoom 3” 180° Flip Screen Vlog Camera with 32G SD Card, Flash Kentfaith](https://img.kentfaith.de/cache/catalog/products/de/GW41.0065/GW41.0065-1-200x200.jpg)
