How To Use Monopod For Video ?
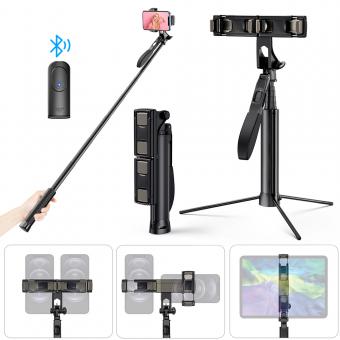
To use a monopod for video, first, attach your camera or smartphone to the monopod's head using a compatible mount. Then, extend the monopod to your desired height and adjust the angle of the head to frame your shot.
When shooting, hold the monopod with both hands and keep it steady. You can also use your body as a stabilizer by keeping your feet shoulder-width apart and bending your knees slightly.
To add movement to your shots, you can walk with the monopod or use it to pan or tilt the camera. However, be sure to move slowly and smoothly to avoid shaky footage.
Overall, using a monopod for video can help you achieve stable shots and add versatility to your filming techniques.
1、 Monopod basics and setup
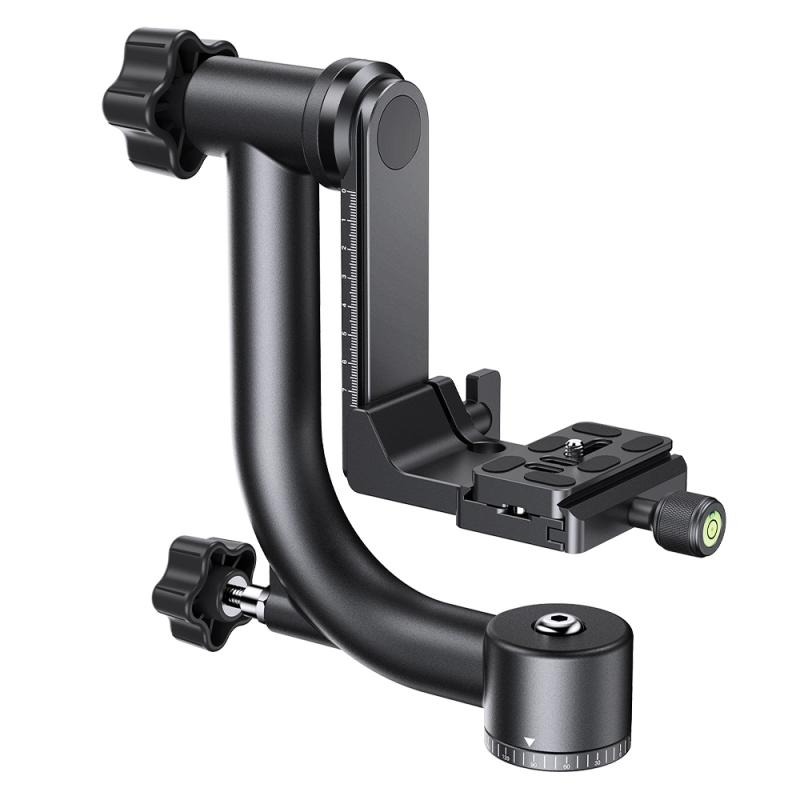
A monopod is a single-legged support device that can be used to stabilize a camera or video camera. It is a great tool for videographers who need to move around quickly and capture footage on the go. Here are some basic steps to set up and use a monopod for video:
1. Choose the right monopod: There are many different types of monopods available, so it's important to choose one that is sturdy and can support the weight of your camera. Look for a monopod with a comfortable grip and a secure locking mechanism.
2. Attach your camera: Most monopods come with a standard screw mount that can be used to attach your camera. Make sure your camera is securely attached to the monopod before you start filming.
3. Adjust the height: Most monopods have adjustable height settings, so you can adjust the height to suit your needs. Make sure the monopod is at the right height for your shot before you start filming.
4. Hold the monopod correctly: Hold the monopod with both hands, with one hand on the grip and the other hand on the base. This will help you to stabilize the monopod and keep your shots steady.
5. Move smoothly: When using a monopod, it's important to move smoothly and avoid jerky movements. This will help you to capture smooth, professional-looking footage.
The latest point of view on using a monopod for video is that it is a versatile tool that can be used in a variety of situations. It is particularly useful for videographers who need to move around quickly and capture footage on the go. With the right setup and technique, a monopod can help you to capture smooth, professional-looking footage that will impress your audience.
2、 Adjusting monopod height and angle
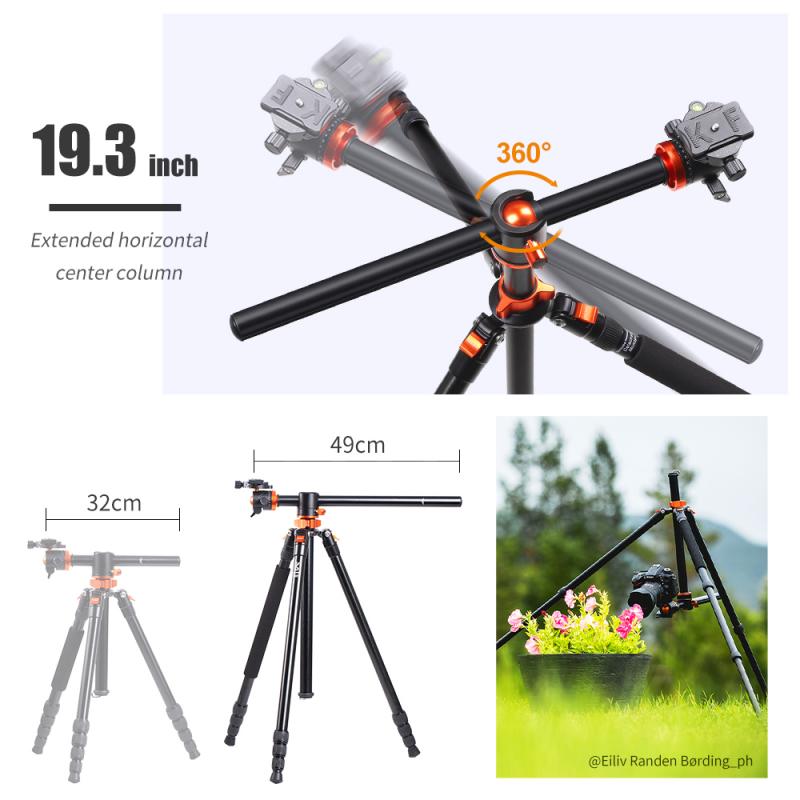
Adjusting monopod height and angle is an essential step in using a monopod for video. To begin, extend the monopod to its full length and adjust the height to your desired level. Make sure the monopod is stable and secure before attaching your camera.
Next, adjust the angle of the monopod to achieve the desired shot. This can be done by tilting the monopod forward or backward, or by rotating it left or right. It's important to keep the monopod steady while making these adjustments to avoid shaky footage.
When using a monopod for video, it's also important to consider the weight of your camera and any additional equipment, such as a microphone or light. Make sure the monopod can support the weight and adjust the height and angle accordingly.
In addition to adjusting the height and angle, it's also important to use proper technique when holding the monopod. Keep your arms close to your body and use your body as a stabilizer. Avoid sudden movements and try to move the monopod smoothly and steadily.
Overall, using a monopod for video can be a great way to achieve stable footage and add variety to your shots. By adjusting the height and angle and using proper technique, you can capture professional-looking footage with ease.
3、 Using monopod for stable shots
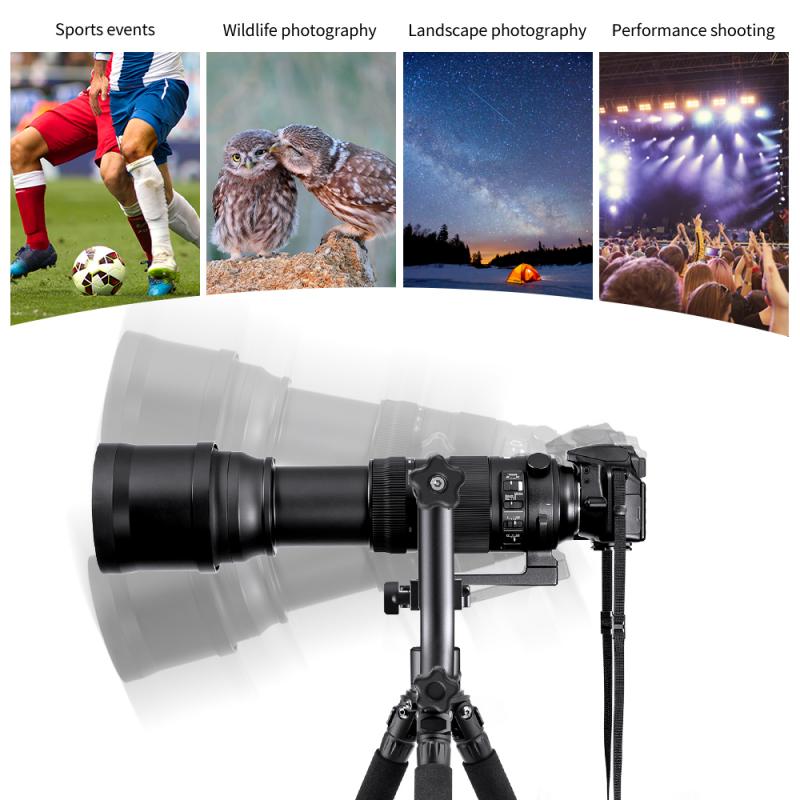
Using monopod for stable shots is a great way to improve the quality of your video footage. A monopod is a single-legged support that can be used to stabilize your camera while shooting. It is a great tool for videographers who need to move around quickly and capture footage on the go. Here's how to use a monopod for video:
1. Choose the right monopod: There are different types of monopods available in the market. Choose the one that suits your camera and your shooting style.
2. Adjust the height: Adjust the height of the monopod to your desired level. This will help you to get the right angle for your shot.
3. Attach your camera: Attach your camera to the monopod using a quick-release plate or a screw mount. Make sure that your camera is securely attached to the monopod.
4. Hold the monopod correctly: Hold the monopod with both hands and keep it close to your body. This will help you to get a stable shot.
5. Use your body as a stabilizer: Use your body as a stabilizer by keeping your feet shoulder-width apart and your knees slightly bent. This will help you to absorb any movement and keep the monopod steady.
6. Move smoothly: Move the monopod smoothly and slowly to avoid any jerky movements. This will help you to get a smooth and stable shot.
In conclusion, using a monopod for stable shots is a great way to improve the quality of your video footage. With the right technique and practice, you can achieve professional-looking shots that will impress your audience.
4、 Panning and tilting with monopod
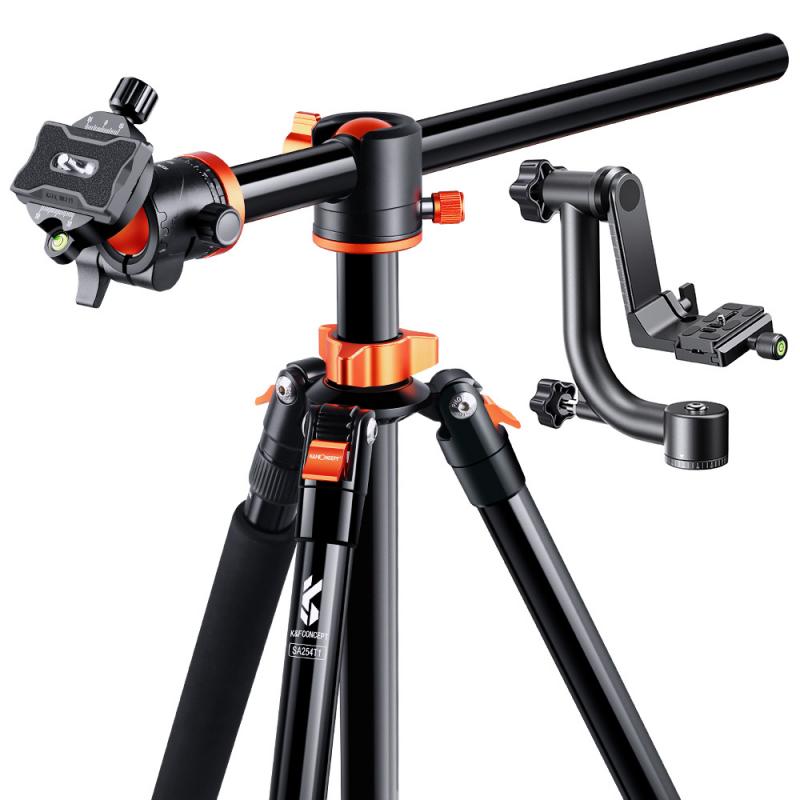
Panning and tilting with a monopod is a great way to add movement and dynamic shots to your video footage. Here's how to use a monopod for video:
1. Choose the right monopod: Look for a monopod that is sturdy and can support the weight of your camera. It should also have a fluid head that allows for smooth panning and tilting.
2. Set up your shot: Find a good location and set up your camera on the monopod. Make sure the camera is level and secure.
3. Adjust the monopod: Adjust the height of the monopod to the desired level. You can also adjust the angle of the monopod to get the right shot.
4. Panning: To pan, hold the monopod with both hands and slowly move it from left to right. Keep the movement smooth and steady.
5. Tilting: To tilt, hold the monopod with one hand and use the other hand to adjust the angle of the camera. Tilt the camera up or down to get the desired shot.
6. Practice: Practice panning and tilting with the monopod to get smooth and steady shots. It takes some practice to get the movement just right.
The latest point of view is that using a monopod for video is a great way to add movement and dynamic shots to your footage. It's also a more portable and affordable option compared to a tripod. With the right technique and practice, you can achieve professional-looking shots with a monopod.


