How To Use National Geographic Microscope ?
To use a National Geographic microscope, first, set up the microscope on a stable surface. Place a slide with the specimen you want to observe on the stage and secure it with the stage clips. Adjust the focus by turning the coarse focus knob to get a rough focus, and then use the fine focus knob for more precise focusing. Use the objective lenses to change the magnification level, starting with the lowest magnification and gradually increasing as needed. Adjust the light intensity using the built-in light source or mirror to ensure proper illumination. Finally, observe the specimen through the eyepiece and make any necessary adjustments to the focus or magnification to get a clear image.
1、 Microscope Parts and Functions
The National Geographic microscope is a powerful tool that allows users to explore the microscopic world. To use the National Geographic microscope effectively, it is important to understand its parts and functions.
1. Eyepiece: The eyepiece, also known as the ocular lens, is where you look through to observe the specimen. It typically has a magnification power of 10x.
2. Objective lenses: The National Geographic microscope usually comes with multiple objective lenses, each with a different magnification power. These lenses are rotated into place to achieve different levels of magnification, ranging from 4x to 100x or more.
3. Stage: The stage is where the specimen is placed for observation. It often has clips or a mechanical stage to hold the slide in place.
4. Coarse and fine focus knobs: The coarse focus knob is used to bring the specimen into rough focus, while the fine focus knob is used for fine-tuning the focus.
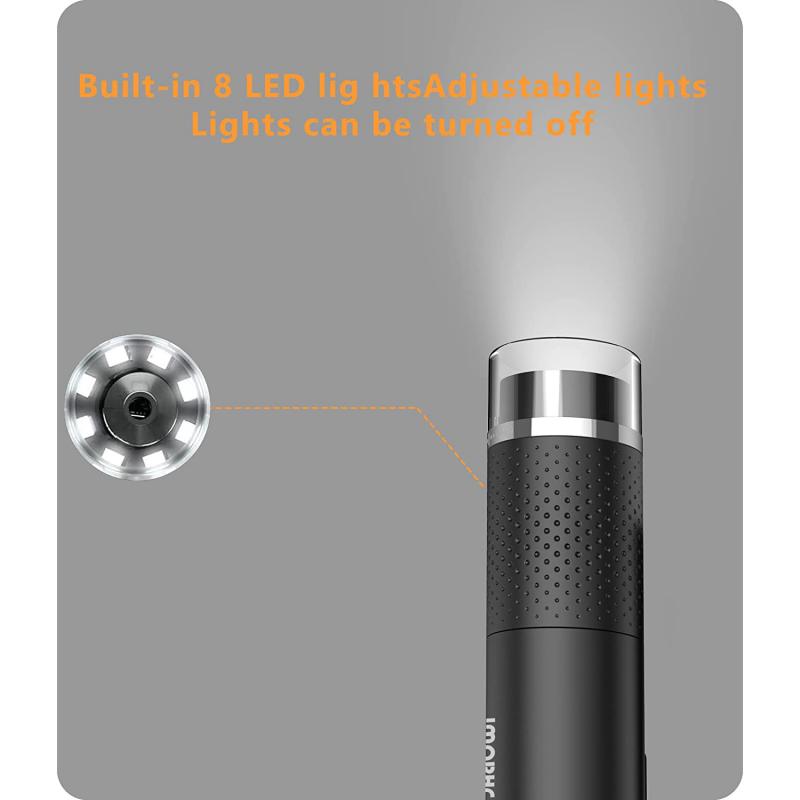
5. Illumination: The National Geographic microscope may have built-in LED lights or a mirror to provide illumination for the specimen. Adjusting the brightness can enhance the visibility of the specimen.
To use the National Geographic microscope, start by placing the specimen on the stage and securing it with the clips or mechanical stage. Adjust the objective lens to the lowest magnification and use the coarse focus knob to bring the specimen into rough focus. Then, use the fine focus knob to fine-tune the focus. If needed, switch to higher magnifications by rotating the objective lens. Adjust the illumination to optimize visibility.
It is important to handle the microscope with care, clean the lenses before and after use, and follow the manufacturer's instructions for maintenance and storage.
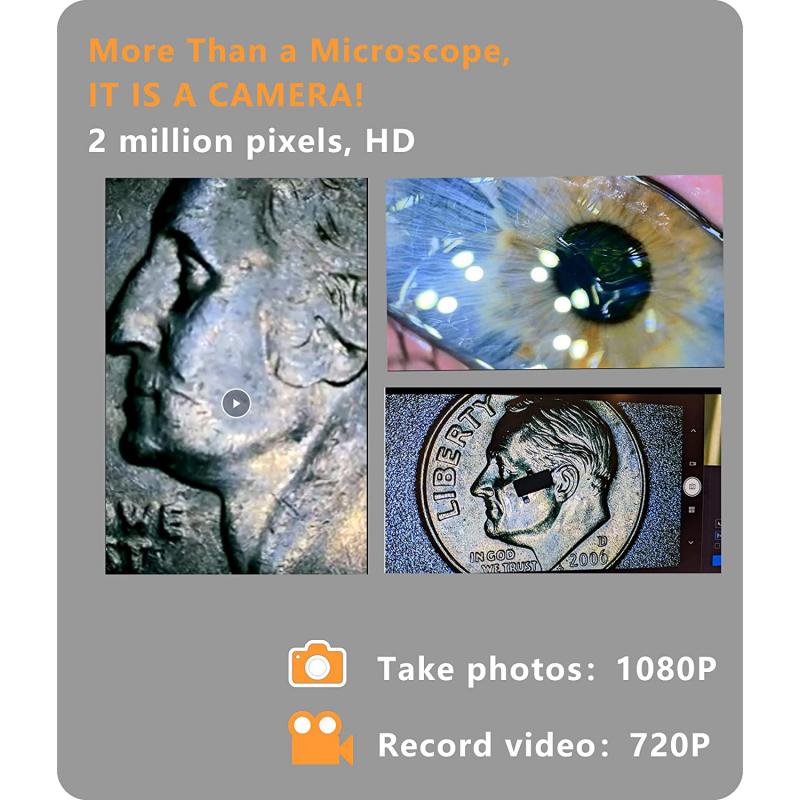
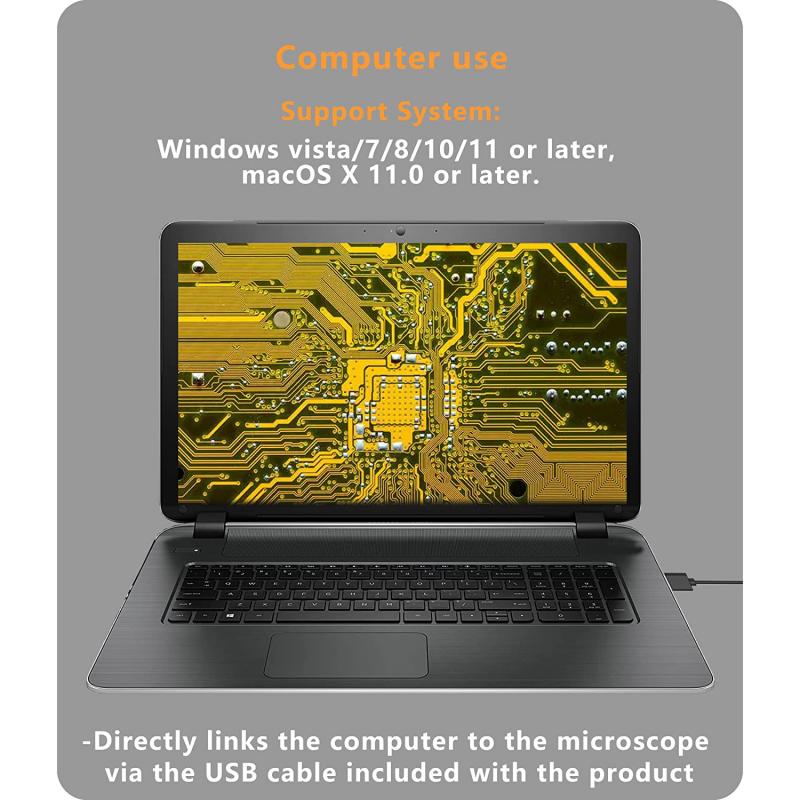
In the latest point of view, advancements in technology have led to the development of digital microscopes. Some National Geographic microscopes now come with built-in cameras or can be connected to a computer or smartphone for capturing and sharing images and videos of the microscopic world. This allows for easier documentation and analysis of specimens. Additionally, some models may have additional features such as phase contrast or fluorescence capabilities, which enable the observation of specific structures or processes in the specimen.
2、 Microscope Setup and Calibration
To use the National Geographic microscope, follow these steps for setup and calibration:
1. Unpack the microscope: Carefully remove the microscope from its packaging, ensuring that all components are present and undamaged.
2. Assemble the microscope: Attach the eyepiece to the top of the microscope tube and secure it in place. Connect the objective lens to the bottom of the tube, ensuring a snug fit. Attach the stage to the base of the microscope and secure it tightly.
3. Install the batteries: If your National Geographic microscope is battery-powered, locate the battery compartment and insert the required batteries. Ensure they are properly aligned and replace the compartment cover.
4. Adjust the lighting: Depending on the model, your microscope may have built-in LED lighting or require an external light source. Adjust the lighting to the desired intensity using the controls provided.
5. Calibrate the microscope: Before using the microscope, it is essential to calibrate it for accurate observations. Place a calibration slide or a slide with a known specimen on the stage. Adjust the focus knobs to bring the specimen into clear view. Use the calibration markings on the slide to determine the magnification level and adjust the eyepiece accordingly.
6. Observe and explore: Once the microscope is set up and calibrated, you can start exploring the microscopic world. Place a prepared slide or specimen on the stage, secure it with the stage clips, and adjust the focus knobs to bring the specimen into focus. Use the magnification controls to zoom in or out as desired.
It is important to consult the user manual specific to your National Geographic microscope model for detailed instructions and any additional features or settings. Additionally, staying updated with the latest advancements in microscopy techniques and sample preparation methods can enhance your overall experience and understanding of the microscopic world.
3、 Sample Preparation Techniques for Microscopy
To use the National Geographic microscope for sample preparation techniques in microscopy, follow these steps:
1. Gather your materials: You will need the National Geographic microscope, glass slides, cover slips, a pipette or dropper, a sample to observe (such as a plant leaf or a prepared slide), and any necessary staining agents or mounting media.
2. Prepare your sample: If you are using a fresh sample, such as a plant leaf, cut a thin section using a sharp blade or razor. If you are using a prepared slide, skip this step. Ensure that your sample is clean and free from debris.
3. Stain your sample (if necessary): Staining can enhance the visibility of certain structures within the sample. Follow the instructions provided with the staining agent and apply it to your sample. Be cautious not to over-stain, as this can obscure details.
4. Mount your sample: Place a drop of mounting media or water onto a clean glass slide. Gently place your sample onto the drop, ensuring it is centered. If using a cover slip, carefully lower it onto the sample at a slight angle to avoid trapping air bubbles. Slowly lower the cover slip to avoid crushing the sample.
5. Adjust the microscope: Place the prepared slide onto the microscope stage and secure it in place. Adjust the focus using the coarse and fine focus knobs until the sample comes into clear view. Start with the lowest magnification objective lens and gradually increase the magnification as needed.
6. Observe and analyze: Once your sample is in focus, use the microscope's eyepiece and objective lenses to explore the sample's details. Take note of any interesting structures or patterns and record your observations.
It is important to note that the latest point of view in sample preparation techniques for microscopy emphasizes the use of advanced imaging techniques such as confocal microscopy, super-resolution microscopy, and electron microscopy. These techniques allow for higher resolution and more detailed imaging of samples. Additionally, there is a growing focus on non-destructive imaging methods that minimize sample damage and allow for repeated observations. Researchers are also exploring new staining techniques and fluorescent probes to enhance the visualization of specific structures within samples. Overall, the field of sample preparation for microscopy is constantly evolving, with new techniques and technologies being developed to improve imaging capabilities and provide deeper insights into the microscopic world.
4、 Adjusting Magnification and Focus
To use the National Geographic microscope, follow these steps to adjust the magnification and focus:
1. Set up the microscope: Place the microscope on a stable surface and ensure it is properly plugged in or has fresh batteries. Adjust the light source to provide adequate illumination.
2. Choose the objective lens: The National Geographic microscope typically comes with multiple objective lenses, each providing different levels of magnification. Start with the lowest magnification lens (e.g., 4x) and work your way up to higher magnifications as needed.
3. Adjust the eyepiece: Look through the eyepiece and adjust the focus wheel until the image appears clear. Some microscopes may have a diopter adjustment ring on the eyepiece, which can be used to fine-tune the focus for individual eyes.
4. Adjust the stage height: Raise or lower the stage using the coarse adjustment knob until the specimen is in focus. The coarse adjustment knob moves the stage up and down in larger increments.
5. Fine-tune the focus: Use the fine adjustment knob to make small adjustments to the focus until the image is sharp and clear. This knob moves the stage in smaller increments, allowing for precise focusing.
6. Change the magnification: To increase the magnification, rotate the nosepiece to switch to a higher power objective lens. Refocus using the fine adjustment knob after changing the magnification.
7. Repeat steps as needed: If you need to switch to a different objective lens, repeat steps 4-6 to adjust the focus and magnification accordingly.
It is important to note that the specific instructions may vary slightly depending on the model of the National Geographic microscope you are using. Therefore, it is always recommended to refer to the instruction manual provided with your microscope for detailed and accurate instructions.
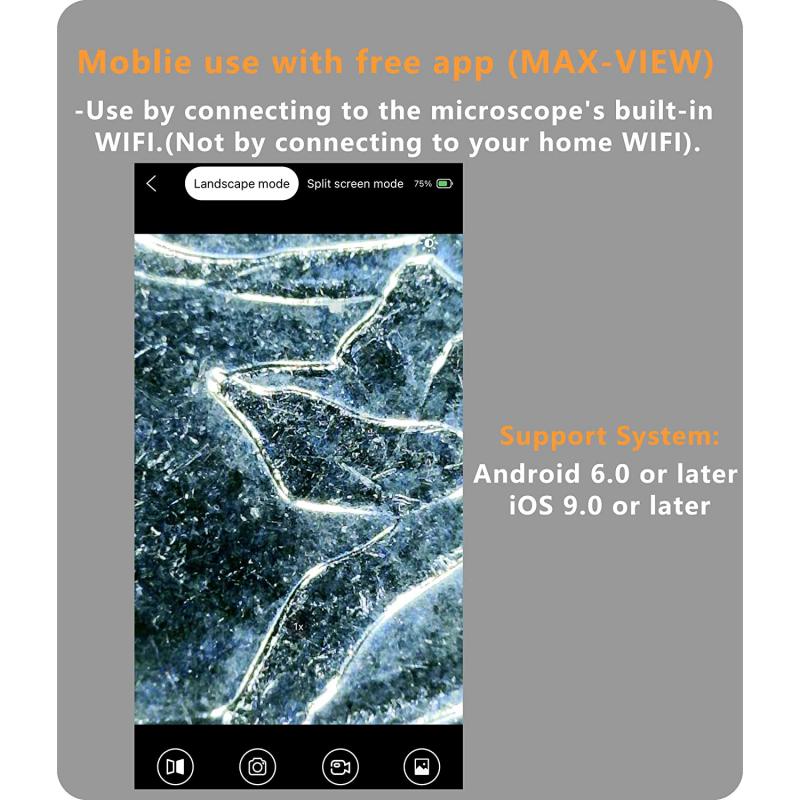
Additionally, with advancements in technology, some National Geographic microscopes may now come with digital features, such as built-in cameras or smartphone adapters. These features allow you to capture images or videos of your observations and share them with others. If your microscope has these capabilities, consult the user manual or National Geographic's website for instructions on how to utilize these features effectively.












There are no comments for this blog.