How To Use Nd Filter Polorized ?
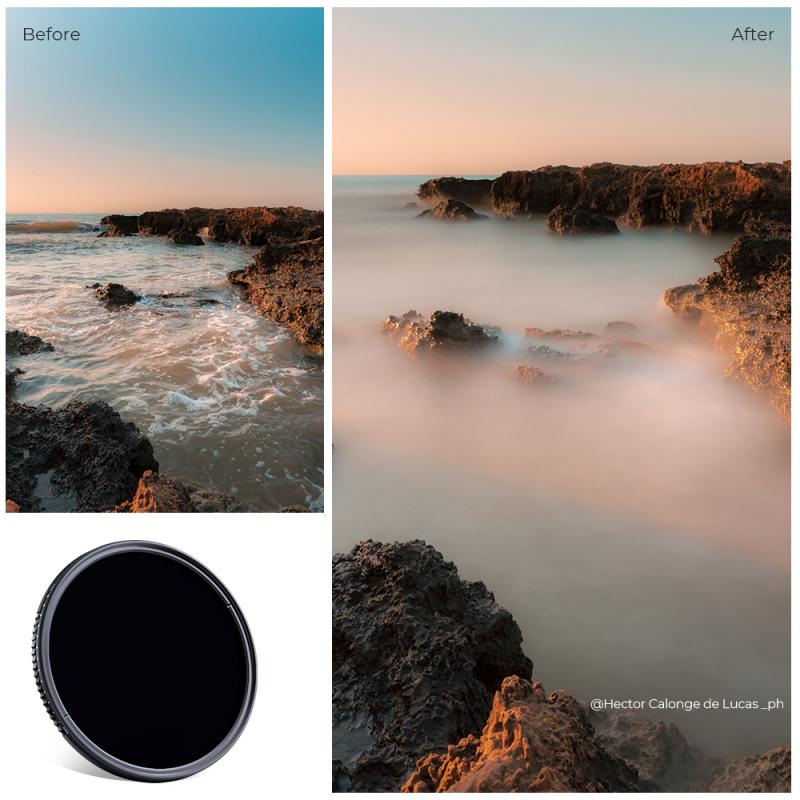
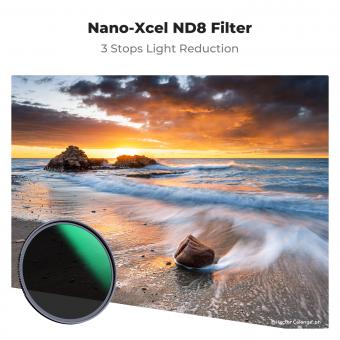
To use an ND (Neutral Density) filter, simply attach it to the front of your camera lens. ND filters are used to reduce the amount of light entering the lens, allowing you to use slower shutter speeds or wider apertures in bright conditions. This is particularly useful for achieving long exposure effects, such as capturing smooth water or creating motion blur in moving subjects.
To use a polarizing filter, attach it to your lens and rotate it to achieve the desired effect. Polarizing filters are used to reduce reflections and glare from non-metallic surfaces, such as water or glass. By rotating the filter, you can adjust the amount of polarization and control the level of reflection reduction in your images.
It's important to note that the specific steps for using ND and polarizing filters may vary depending on the brand and type of filter you have. It's recommended to refer to the manufacturer's instructions for your specific filter to ensure proper usage.
1、 Understanding ND Filters: Types, Uses, and Benefits
To use an ND (Neutral Density) filter, you first need to attach it to your camera lens. ND filters come in different sizes, so make sure you choose the correct size for your lens. Once attached, you can adjust the filter's density to control the amount of light entering the camera.
When using an ND filter, it is important to understand its purpose. ND filters reduce the amount of light that reaches the camera's sensor without affecting the color or contrast of the image. This allows you to use longer shutter speeds or wider apertures in bright conditions, resulting in creative effects.
To use an ND filter effectively, follow these steps:
1. Set your camera to manual mode or aperture priority mode.
2. Determine the amount of light reduction you need. This will depend on the lighting conditions and the effect you want to achieve.
3. Adjust the filter's density by rotating it. Most ND filters have markings indicating the level of light reduction.
4. Compose your shot and focus as usual.
5. Adjust your camera settings to compensate for the reduced light. You may need to use a slower shutter speed or wider aperture.
6. Take the photo and review the results. Adjust the filter's density or camera settings as needed.
The latest point of view on using ND filters is that they are not only useful for controlling exposure but also for creative purposes. For example, using a long exposure with an ND filter can create smooth, flowing waterfalls or streaking clouds. Additionally, ND filters can be used to achieve a shallow depth of field in bright conditions, allowing for subject isolation and bokeh effects.
Overall, understanding how to use an ND filter and experimenting with different settings will help you achieve stunning and unique photographs.
2、 Step-by-Step Guide: Attaching an ND Filter to Your Lens
Step-by-Step Guide: Attaching an ND Filter to Your Lens
Using an ND (Neutral Density) filter can greatly enhance your photography by allowing you to control the amount of light entering your camera lens. A polarized ND filter combines the benefits of both a polarizing filter and an ND filter, providing even more creative possibilities. Here's a step-by-step guide on how to use a polarized ND filter:
1. Choose the right filter: Ensure that you have the correct size and type of filter for your lens. Polarized ND filters come in various sizes and strengths, so select one that suits your needs.
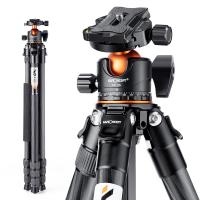
2. Set up your camera: Mount your camera on a tripod to avoid any camera shake. This is especially important when using longer exposure times.
3. Attach the filter: Screw the polarized ND filter onto the front of your lens. Make sure it is securely attached to prevent any light leakage.
4. Adjust the polarization: Rotate the outer ring of the filter to adjust the polarization effect. This will help reduce reflections and glare, especially when shooting landscapes or water scenes.
5. Set the exposure: Depending on the lighting conditions, you may need to adjust your camera's exposure settings. With a polarized ND filter, you can use longer shutter speeds to capture motion blur or achieve a shallower depth of field in bright conditions.
6. Compose your shot: Frame your subject and adjust the composition as desired. Take test shots to ensure the exposure and polarization are to your liking.
7. Capture the image: Once you are satisfied with the settings and composition, press the shutter button to capture the image.
Remember, practice makes perfect. Experiment with different settings and compositions to fully explore the creative possibilities of using a polarized ND filter. Stay updated with the latest techniques and trends in photography to continually improve your skills.

3、 Adjusting ND Filter Strength for Proper Exposure Control
To use an ND (Neutral Density) filter, especially a polarized one, you need to follow a few steps to ensure proper exposure control and achieve the desired effect in your photographs.
1. Choose the right ND filter strength: ND filters come in different strengths, usually measured in stops. The strength you choose depends on the amount of light you want to block. For example, a 3-stop ND filter will reduce the amount of light entering the lens by three stops, allowing you to use slower shutter speeds or wider apertures in bright conditions.
2. Attach the filter to your lens: Screw the ND filter onto the front of your lens or use a filter holder system if you have one. Make sure it is securely attached to avoid any light leaks.
3. Adjust the polarization: If you are using a polarized ND filter, rotate the filter to adjust the polarization effect. This can help reduce reflections and glare from non-metallic surfaces like water or glass, resulting in more vibrant colors and increased contrast.
4. Set your exposure settings: With the ND filter in place, you will need to compensate for the reduced light entering the lens. Adjust your camera settings accordingly, such as increasing the exposure time or widening the aperture. Use a tripod to avoid camera shake when using longer exposure times.
5. Experiment and review: Take test shots and review the results on your camera's LCD screen. Adjust the filter strength or polarization as needed to achieve the desired effect and exposure.
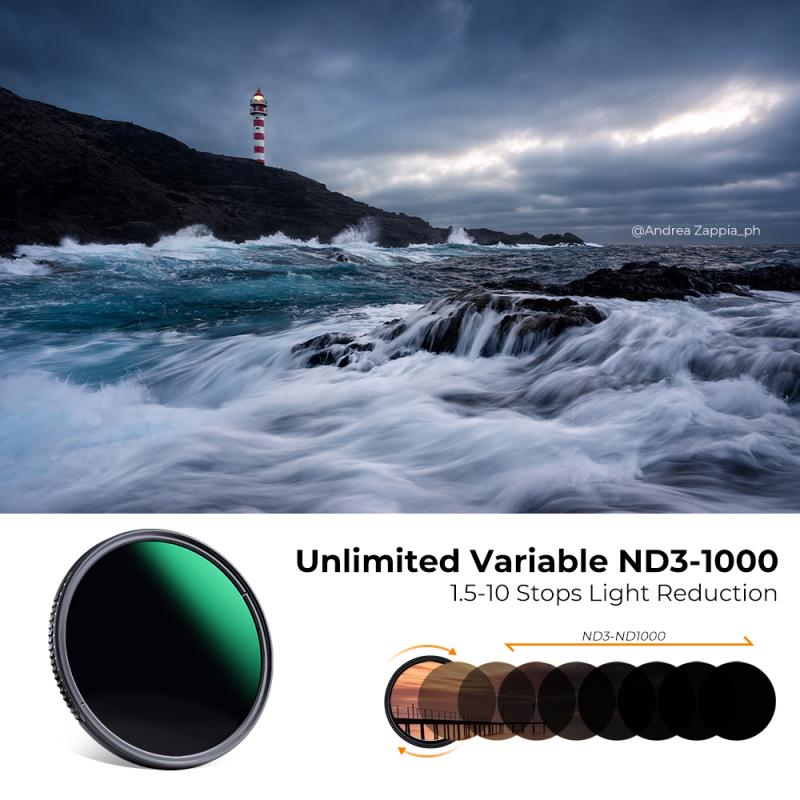
It's important to note that the latest point of view regarding ND filters is the increasing popularity of variable ND filters. These filters allow you to adjust the strength by rotating the filter, providing more flexibility in controlling exposure. However, variable ND filters can sometimes introduce color casts or vignetting, so it's essential to invest in high-quality filters to minimize these issues.
Overall, using an ND filter, especially a polarized one, can greatly enhance your photography by allowing you to control exposure and capture stunning images in challenging lighting conditions.
4、 Utilizing ND Filters for Long Exposure Photography
Utilizing ND Filters for Long Exposure Photography
ND filters, or Neutral Density filters, are essential tools for long exposure photography. They help to reduce the amount of light entering the camera, allowing for longer exposure times and creating stunning effects such as motion blur in water or clouds. When combined with a polarizing filter, the results can be even more impressive.
To use an ND filter polarized, follow these steps:
1. Choose the right ND filter: ND filters come in different strengths, measured in stops. The higher the number of stops, the darker the filter. Select the appropriate strength based on the lighting conditions and the effect you want to achieve.
2. Attach the filter: Screw the ND filter onto the front of your lens or use a filter holder system if you have one. Ensure it is securely attached to avoid any light leaks.
3. Set up your camera: Mount your camera on a tripod to keep it steady during the long exposure. Compose your shot and focus on the subject.
4. Adjust camera settings: Switch your camera to manual mode and set a low ISO to minimize noise. Choose a small aperture (high f-stop number) to increase the depth of field. With the ND filter, you will need a longer shutter speed, so set your camera to Bulb mode or use a slow shutter speed.
5. Polarize the filter: Rotate the polarizing filter to achieve the desired effect. A polarizing filter helps to reduce reflections and enhance colors, making it a valuable addition to long exposure photography.
6. Capture the shot: Press the shutter button and keep it pressed for the desired exposure time. Use a remote shutter release or a timer to avoid camera shake.
Remember to experiment with different ND filter strengths and polarizing angles to achieve the desired effect. Additionally, keep in mind that the latest advancements in ND filters include variable ND filters, which allow you to adjust the strength of the filter by rotating it, providing more flexibility in different lighting conditions.
Overall, utilizing ND filters, especially when combined with a polarizing filter, can greatly enhance your long exposure photography, allowing you to capture stunning images with unique effects.








There are no comments for this blog.