How To Use Nd Filters ?
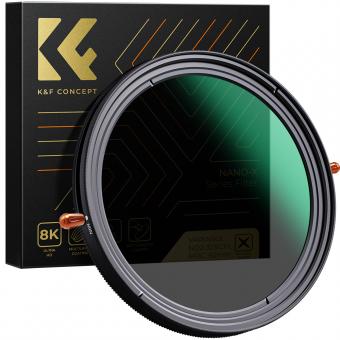
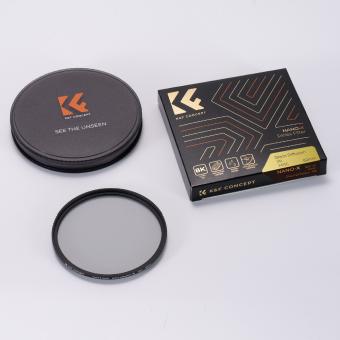
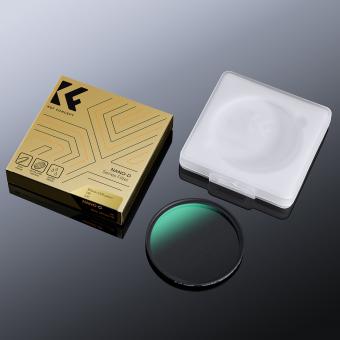
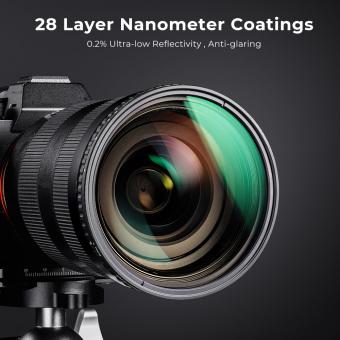
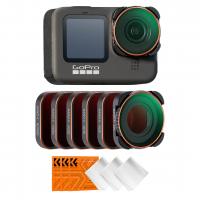
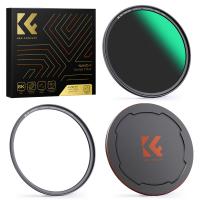
To use ND filters, simply attach the filter to the front of your camera lens. ND filters are designed to reduce the amount of light entering the lens, allowing you to use longer shutter speeds or wider apertures in bright conditions. This can be useful for various photography techniques such as long exposure photography, creating motion blur, or achieving a shallow depth of field in bright light. Experiment with different ND filter strengths to achieve the desired effect and adjust your camera settings accordingly.
1、 Types of ND filters and their specific uses
ND filters, or Neutral Density filters, are essential tools for photographers and videographers to control the amount of light entering the camera lens. They are particularly useful in situations where the available light is too bright, such as when shooting in bright sunlight or capturing long-exposure shots. Here's a guide on how to use ND filters effectively and the different types available:
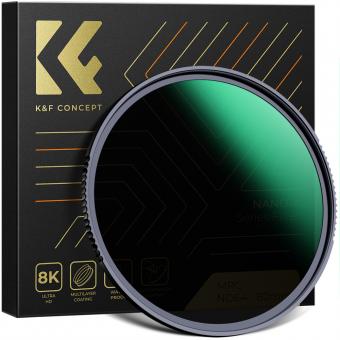
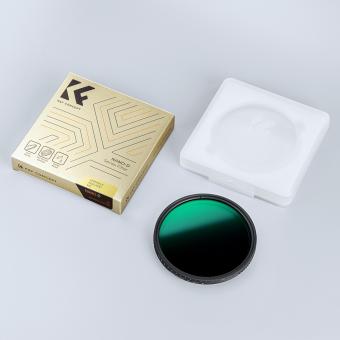
1. Screw-on ND Filters: These filters are attached directly to the front of the lens. They come in various strengths, measured in stops, which indicate the amount of light reduction. Screw-on filters are easy to use and suitable for beginners.
2. Square/Rectangular ND Filters: These filters are placed in a filter holder that attaches to the lens. They offer more flexibility as they can be stacked or adjusted individually to achieve the desired light reduction. Square filters are commonly used in landscape photography.
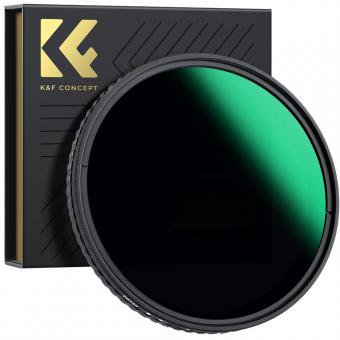
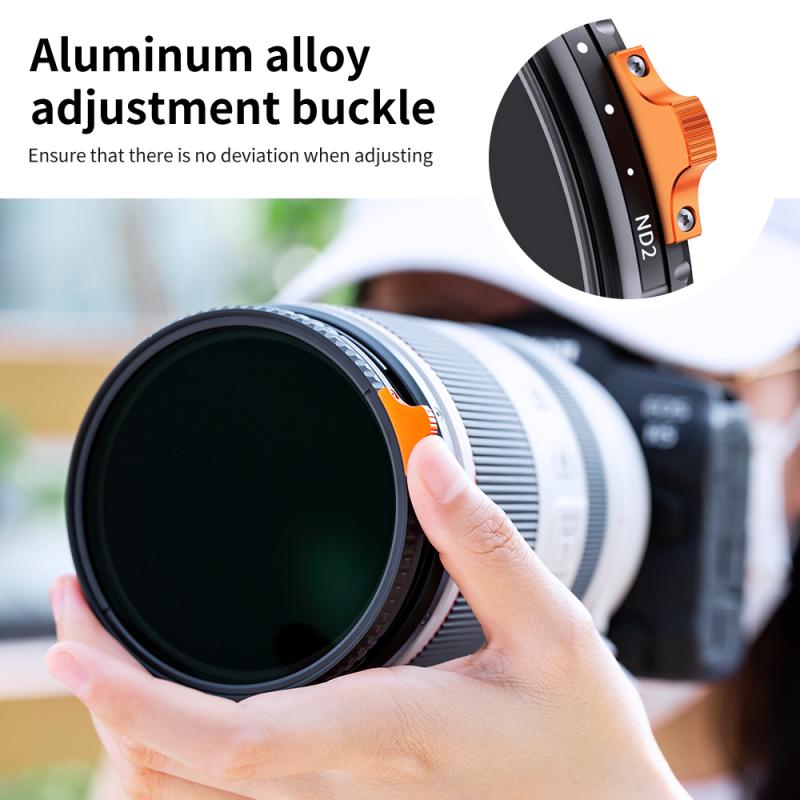
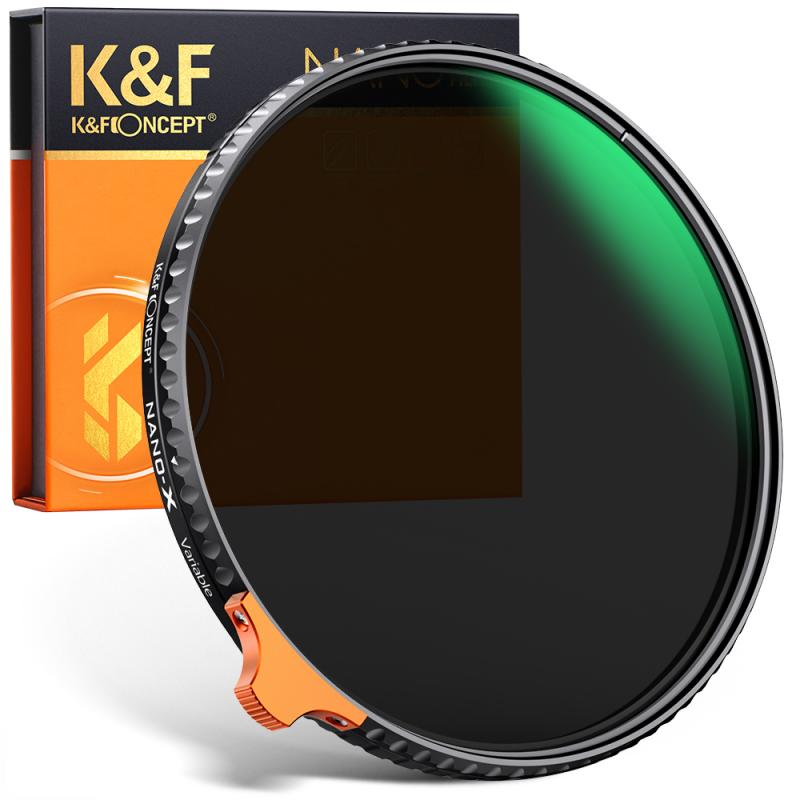
3. Variable ND Filters: These filters provide adjustable light reduction by rotating the filter ring. They are convenient for situations where the lighting conditions change frequently, allowing you to adjust the strength of the filter on the go.
The specific uses of ND filters vary depending on the desired effect. For example, a stronger ND filter (higher number of stops) is ideal for long-exposure photography, creating smooth waterfalls or capturing light trails at night. A lighter ND filter can be used to reduce the intensity of bright sunlight, preventing overexposure and allowing for wider apertures or slower shutter speeds.
In recent years, there has been an increase in the popularity of variable ND filters due to their convenience and versatility. However, it's important to note that some variable ND filters may introduce color casts or image quality degradation, so it's crucial to invest in high-quality filters from reputable brands.
Ultimately, the choice of ND filter and its specific use depends on the photographer's creative vision and the shooting conditions. Experimentation and practice are key to mastering the art of using ND filters effectively.
2、 Step-by-step guide to attaching an ND filter to a camera
Step-by-step guide to attaching an ND filter to a camera:
1. Choose the right ND filter: ND filters come in different strengths, indicated by the number on the filter. Determine the amount of light reduction you need based on your shooting conditions.
2. Remove the lens cap: Before attaching the filter, remove the lens cap from your camera lens.
3. Check the filter size: Ensure that the filter you have is compatible with your camera lens. The filter size is usually indicated on the front of the lens or in the camera's manual.
4. Screw on the filter: Hold the filter with the side labeled "front" facing the lens. Align the threads on the filter with those on the lens and gently screw it on. Be careful not to overtighten, as it may become difficult to remove later.
5. Adjust the filter position: Once attached, you can rotate the filter to adjust its position. This is particularly useful when using a circular polarizing filter to control reflections or when using a graduated ND filter to darken specific areas of the frame.
6. Test and adjust settings: With the filter attached, check your camera's exposure meter and adjust the settings accordingly. ND filters reduce the amount of light entering the camera, so you may need to compensate by increasing the exposure time or widening the aperture.
7. Capture your shot: Once you have adjusted the settings, you are ready to capture your shot. Experiment with different filter strengths and compositions to achieve the desired effect.
It's worth noting that the latest point of view on using ND filters is that they are essential tools for photographers and videographers. ND filters allow for greater control over exposure, enabling the use of wider apertures or longer shutter speeds even in bright conditions. They are particularly useful in landscape photography, where they can help create motion blur in waterfalls or capture long exposures of moving clouds. Additionally, ND filters are commonly used in videography to achieve a cinematic look by maintaining a shallow depth of field in bright environments. Overall, understanding how to use ND filters effectively can greatly enhance your photography and videography skills.
3、 Understanding the different ND filter strengths and their effects
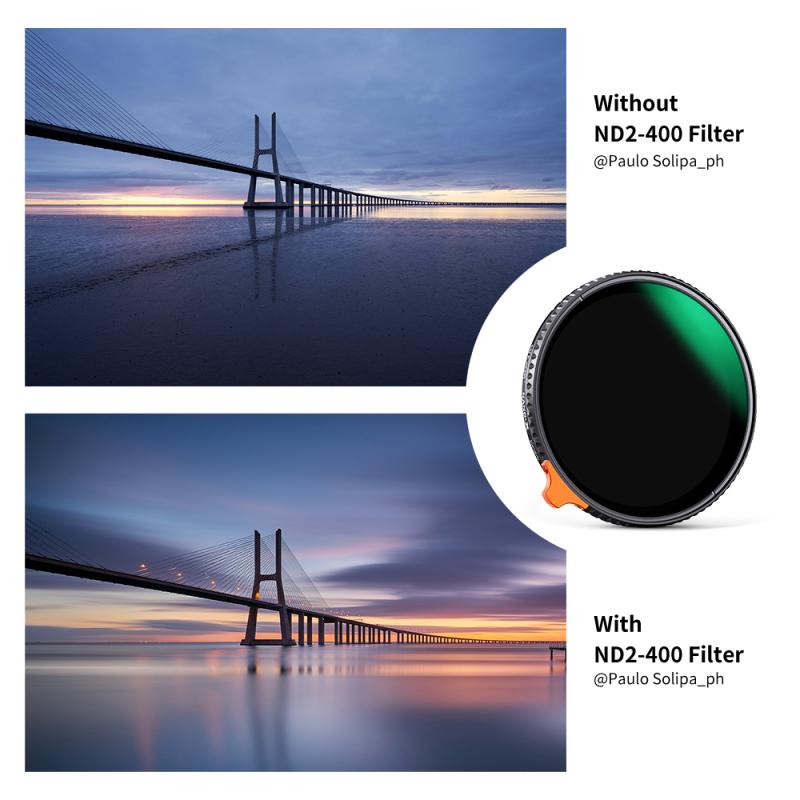
Understanding the different ND filter strengths and their effects is essential for photographers and videographers looking to control exposure and achieve creative effects in their work. ND filters, or neutral density filters, are designed to reduce the amount of light entering the camera without affecting the color or quality of the image. They come in various strengths, typically measured in stops, and each strength has its own unique effect.
To use ND filters effectively, start by selecting the appropriate strength based on the lighting conditions and desired effect. ND filters are available in different strengths, such as ND2, ND4, ND8, ND16, and so on, with each strength reducing the light by a specific number of stops. For example, an ND2 filter reduces the light by 1 stop, while an ND16 filter reduces it by 4 stops.
The primary purpose of using ND filters is to control exposure in bright conditions. By reducing the amount of light entering the camera, you can use wider apertures or slower shutter speeds without overexposing the image. This is particularly useful in situations like shooting in bright sunlight or capturing long-exposure shots of moving water or clouds.
Additionally, ND filters can also be used creatively to achieve specific effects. For instance, using a stronger ND filter like ND16 or ND32 allows for longer exposures, resulting in motion blur effects for moving subjects. This can be particularly useful in landscape photography or capturing the smooth flow of water in rivers or waterfalls.
It's important to note that the latest point of view on ND filters is that they are still widely used and valued by photographers and videographers. While some cameras now offer built-in electronic ND filters, traditional physical ND filters remain popular due to their versatility and ability to be used with a wide range of lenses and camera systems.
In conclusion, understanding the different strengths of ND filters and their effects is crucial for achieving the desired exposure and creative effects in photography and videography. By selecting the appropriate strength and using them effectively, photographers can have greater control over their images and enhance their creative vision.
4、 Techniques for adjusting exposure settings when using ND filters
Techniques for adjusting exposure settings when using ND filters:
1. Understand the purpose of ND filters: ND (Neutral Density) filters are used to reduce the amount of light entering the camera, allowing for longer exposures or wider apertures in bright conditions. They are commonly used in landscape photography to create motion blur in waterfalls or capture cloud movement.
2. Determine the strength of the ND filter: ND filters come in various strengths, denoted by the number of stops they reduce the light by (e.g., ND2, ND4, ND8, etc.). The higher the number, the darker the filter and the longer the exposure required.
3. Set the camera to manual mode: When using ND filters, it's best to have full control over the exposure settings. Switch your camera to manual mode to adjust the aperture, shutter speed, and ISO manually.
4. Calculate the exposure time: With an ND filter, the exposure time will be significantly longer than without one. To calculate the correct exposure time, start by metering the scene without the filter, then adjust the shutter speed accordingly. For example, if the metered exposure is 1/125s, and you're using an ND8 filter (3 stops), the new exposure time would be 1/15s (3 stops slower).
5. Use a tripod: Longer exposures can result in camera shake, so it's crucial to use a sturdy tripod to keep the camera steady. This is especially important when using stronger ND filters that require exposures of several seconds or more.
6. Consider using a remote shutter release: To further minimize camera shake, use a remote shutter release or the camera's self-timer function to trigger the shutter without touching the camera.
7. Experiment with different settings: ND filters offer creative possibilities, so don't be afraid to experiment with different exposure times, apertures, and compositions to achieve the desired effect. For example, longer exposures can create smooth, dreamy water effects, while wider apertures can create a shallow depth of field.
Remember, the above techniques are general guidelines, and the specific settings may vary depending on the lighting conditions, desired effect, and the strength of the ND filter being used. It's always recommended to practice and experiment to find the best settings for your particular situation.


