How To Use Polarizer Filter Dslr Video ?
To use a polarizer filter for DSLR video, follow these steps:
1. Attach the polarizer filter to your lens. Make sure it is securely screwed on and aligned properly.
2. Turn on your camera and switch to video mode.
3. Adjust the polarizer filter by rotating it until you achieve the desired effect. This may involve reducing glare or reflections, enhancing colors, or increasing contrast.
4. Check your camera's exposure settings and adjust as necessary to compensate for any changes in light caused by the polarizer filter.
5. Start recording your video and monitor the results on your camera's LCD screen or viewfinder.
6. If necessary, make further adjustments to the polarizer filter during filming to maintain the desired effect.
7. When you are finished filming, remove the polarizer filter from your lens and store it in a protective case to prevent damage.
1、 Understanding Polarizer Filter Functionality
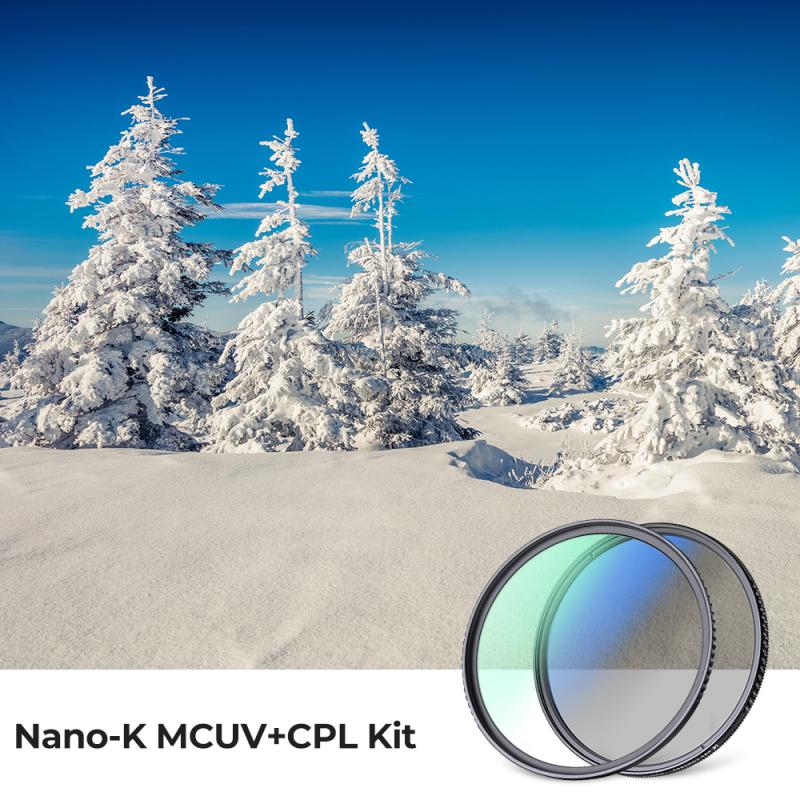
How to use polarizer filter DSLR video:
To use a polarizer filter on your DSLR video, follow these steps:
1. Attach the polarizer filter to your lens: Screw the filter onto the front of your lens, making sure it is securely attached.
2. Adjust the filter: Rotate the filter until you achieve the desired effect. Polarizer filters work by reducing glare and reflections, so you may need to adjust the filter to get the best results.
3. Check your exposure: Polarizer filters can reduce the amount of light entering your lens, so you may need to adjust your exposure settings to compensate.
4. Shoot your video: Once you have adjusted the filter and exposure settings, you can start shooting your video.
Understanding Polarizer Filter Functionality:
Polarizer filters are a popular accessory for DSLR video shooters. They work by reducing glare and reflections, which can improve the overall quality of your footage. Polarizer filters are particularly useful when shooting outdoors, as they can help to reduce the glare from water, glass, and other reflective surfaces.
There are two types of polarizer filters: linear and circular. Linear polarizers are less expensive, but they can interfere with the autofocus and metering systems on some cameras. Circular polarizers are more expensive, but they are designed to work with all types of cameras.
When using a polarizer filter, it is important to remember that they can reduce the amount of light entering your lens. This means that you may need to adjust your exposure settings to compensate. Additionally, polarizer filters can also affect the color balance of your footage, so you may need to adjust your white balance settings as well.
Overall, polarizer filters are a useful tool for DSLR video shooters. They can help to improve the quality of your footage by reducing glare and reflections, and they are relatively easy to use.
2、 Choosing the Right Polarizer Filter for Your DSLR Camera
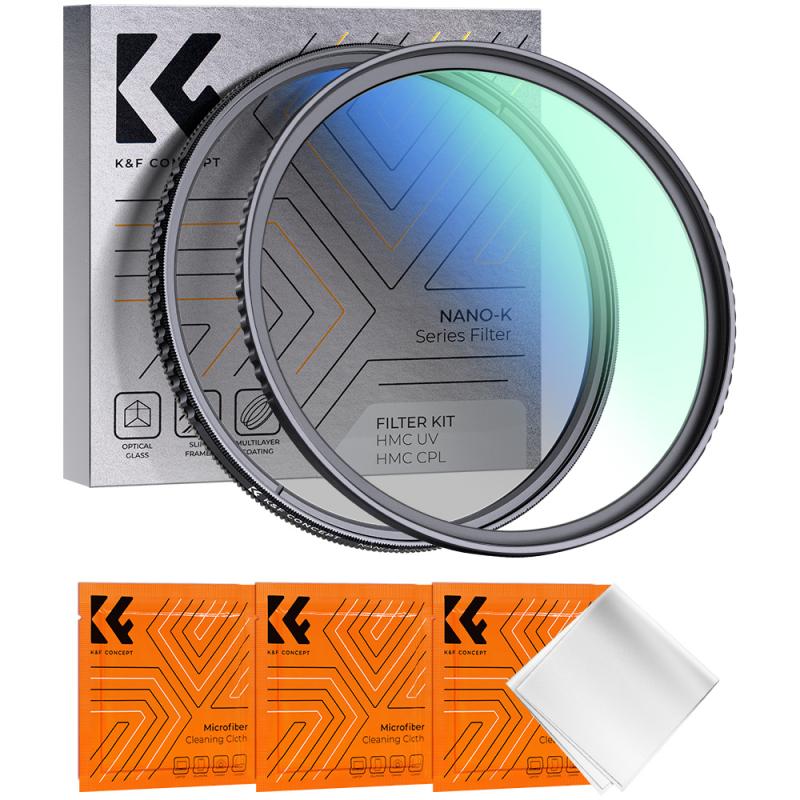
How to Use Polarizer Filter DSLR Video:
Using a polarizer filter for DSLR video is a great way to enhance the quality of your footage. Here are the steps to use a polarizer filter for DSLR video:
1. Choose the right polarizer filter: There are two types of polarizer filters - circular and linear. Circular polarizer filters are recommended for DSLR cameras as they work well with autofocus and metering systems.
2. Attach the filter to your lens: Screw the filter onto the front of your lens. Make sure it is securely attached.
3. Adjust the filter: Rotate the filter until you achieve the desired effect. Polarizer filters work by reducing glare and reflections, so you can adjust the filter to reduce glare on water or to enhance the colors of the sky.
4. Check your exposure: Polarizer filters can reduce the amount of light entering your camera, so you may need to adjust your exposure settings accordingly.
Choosing the Right Polarizer Filter for Your DSLR Camera:
When choosing a polarizer filter for your DSLR camera, there are a few things to consider. Firstly, make sure you choose a circular polarizer filter as they work best with autofocus and metering systems. Secondly, consider the size of your lens and choose a filter that fits securely. Finally, consider the quality of the filter. Cheaper filters may produce lower quality images, so it is worth investing in a high-quality filter for the best results.
In recent years, there has been a growing trend towards using polarizer filters for DSLR video. This is because polarizer filters can enhance the quality of footage by reducing glare and reflections, and enhancing colors. However, it is important to note that polarizer filters can also reduce the amount of light entering your camera, so you may need to adjust your exposure settings accordingly. Overall, using a polarizer filter for DSLR video is a great way to enhance the quality of your footage and create stunning visuals.
3、 Installing and Mounting the Polarizer Filter on Your Lens
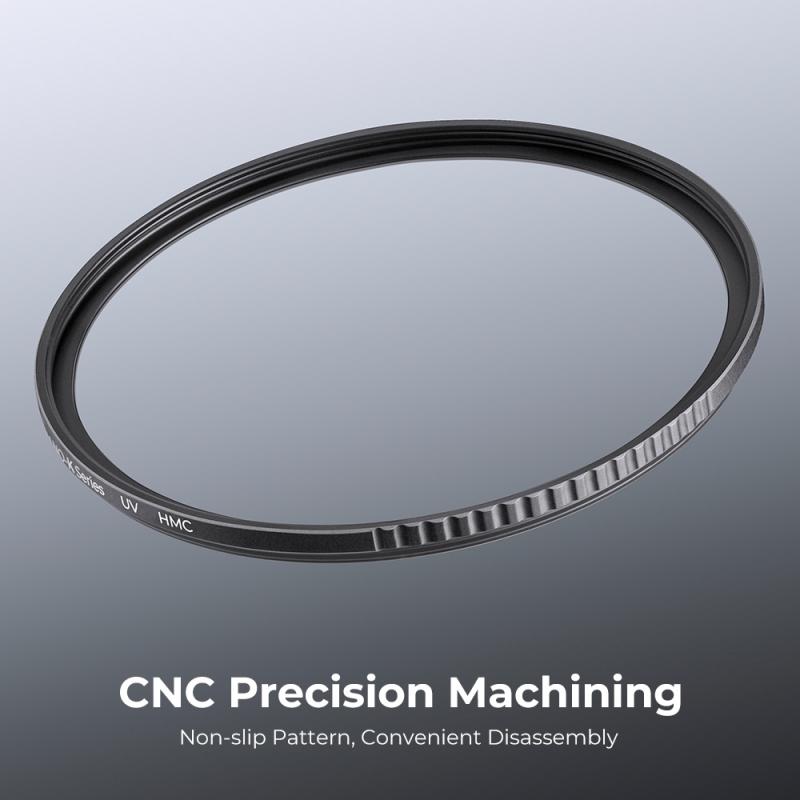
Installing and Mounting the Polarizer Filter on Your Lens:
A polarizer filter is a great tool for any photographer or videographer looking to enhance their images and videos. It helps to reduce glare and reflections, deepen colors, and increase contrast. Here are the steps to install and mount a polarizer filter on your DSLR camera lens:
1. Choose the right size: Make sure you choose a polarizer filter that fits your lens. Check the diameter of your lens and purchase a filter that matches.
2. Screw on the filter: Once you have the right size filter, simply screw it onto the front of your lens. Make sure it is securely attached.
3. Adjust the filter: Polarizer filters have a rotating ring that allows you to adjust the amount of polarization. Rotate the ring until you achieve the desired effect.
4. Shoot: Once the filter is mounted and adjusted, you are ready to start shooting. Experiment with different angles and lighting conditions to see the full effect of the polarizer filter.
When using a polarizer filter for DSLR video, it is important to keep in mind that the filter can reduce the amount of light entering the lens. This can result in a darker image, so you may need to adjust your exposure settings accordingly. Additionally, be aware that the rotating ring on the filter can create a visible change in polarization as you rotate it, which may not be desirable in some shots. Overall, a polarizer filter can be a valuable tool for enhancing your DSLR video footage, but it is important to use it appropriately and with consideration for its potential impact on your image.
4、 Adjusting Polarizer Filter Settings for Optimal Video Quality
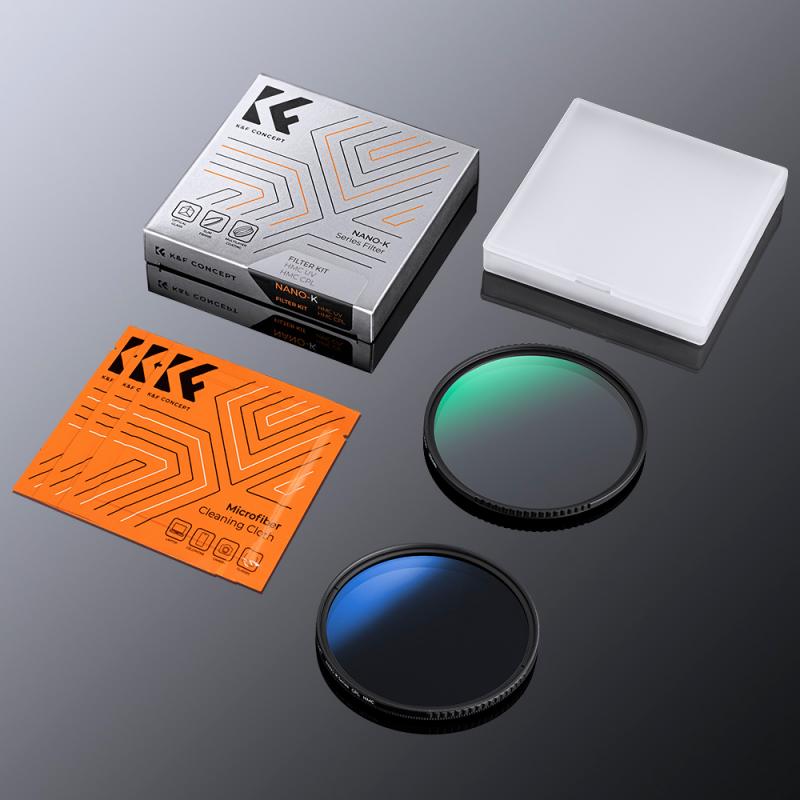
Adjusting Polarizer Filter Settings for Optimal Video Quality
Using a polarizer filter on your DSLR camera can greatly enhance the quality of your video footage. A polarizer filter helps to reduce glare and reflections, making colors appear more vibrant and saturated. However, it's important to adjust the filter settings properly to achieve the best results.
First, make sure the filter is properly attached to your lens. Then, adjust the filter's rotation to achieve the desired effect. Rotating the filter will change the angle at which it blocks light, so experiment with different angles to find the best one for your shot.
It's also important to be aware of the potential drawbacks of using a polarizer filter. Using a polarizer filter can reduce the amount of light that enters the lens, which can result in darker footage. To compensate for this, you may need to adjust your camera's exposure settings or use additional lighting.
Additionally, using a polarizer filter can sometimes result in uneven polarization, which can cause parts of the image to appear darker than others. To avoid this, try to keep the filter at a consistent angle throughout your shot.
Overall, using a polarizer filter can greatly enhance the quality of your DSLR video footage. Just be sure to adjust the filter settings properly and be aware of the potential drawbacks.












There are no comments for this blog.