How To Use T Mount Adapter ?
To use a T-mount adapter, follow these steps:
1. Start by attaching the T-mount adapter to your camera body. The adapter typically screws onto the camera's lens mount.
2. Once the adapter is securely attached, you can then mount the T-mount lens or accessory onto the adapter. The T-mount lens or accessory will have a T-thread on one end, which should be aligned with the adapter's T-mount opening.
3. Align the lens or accessory with the adapter and gently twist it clockwise until it locks into place. Make sure it is securely attached to avoid any accidental detachment.
4. Once the lens or accessory is mounted, you can adjust the focus and other settings on your camera as needed.
5. When you are finished using the T-mount lens or accessory, simply reverse the steps to remove it. Twist it counterclockwise to detach it from the adapter, and then unscrew the adapter from the camera body.
Remember to handle the T-mount lens or accessory with care and avoid touching the glass elements to prevent any damage.
1、 Understanding the T-mount adapter and its purpose in photography.
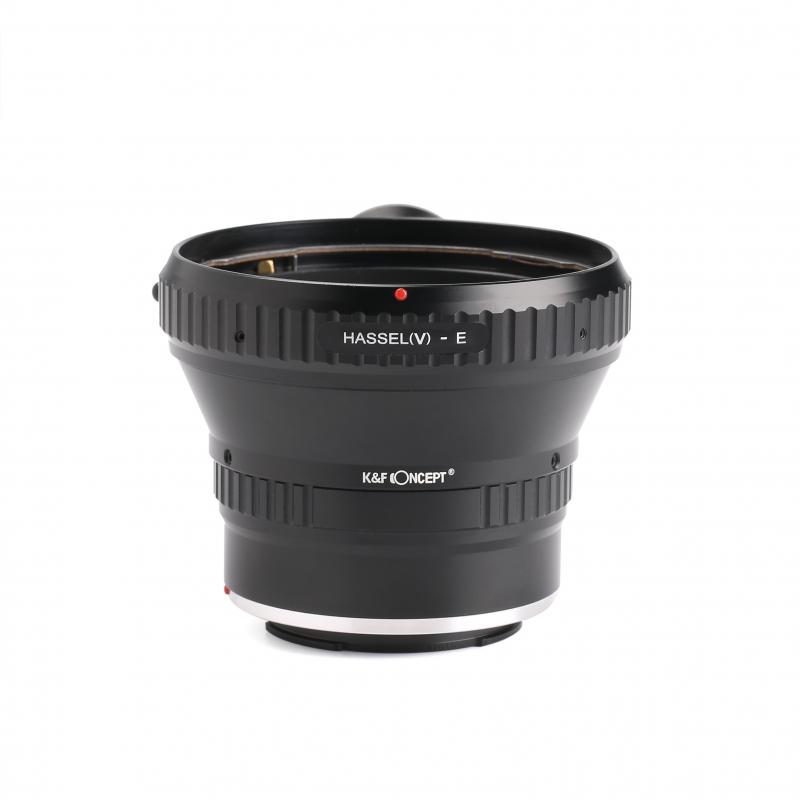
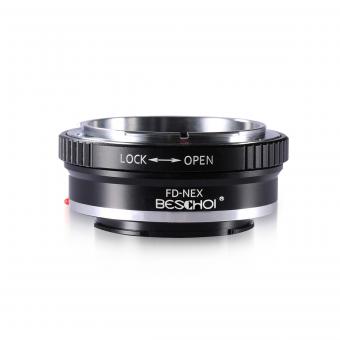
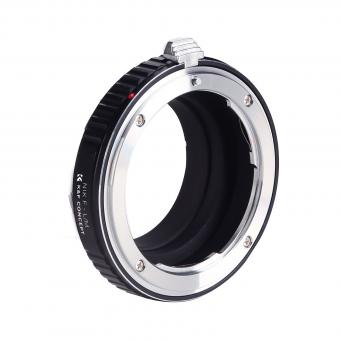
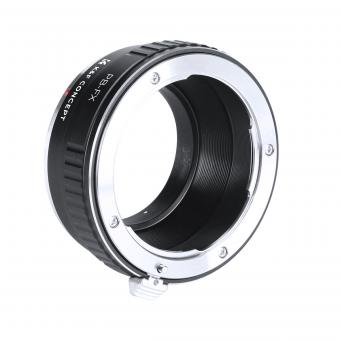
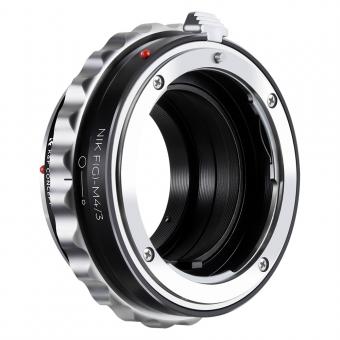
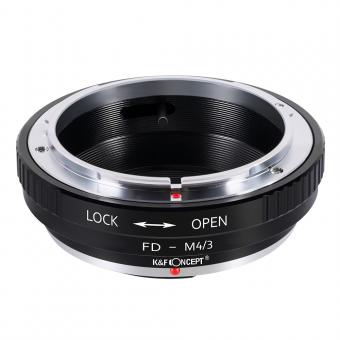
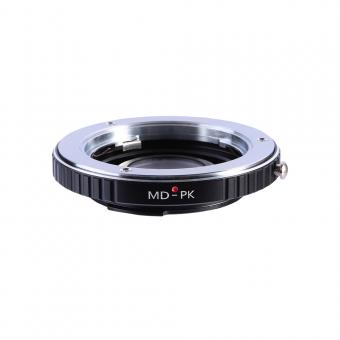
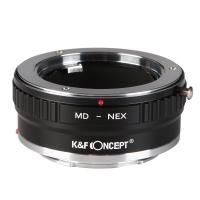
Understanding the T-mount adapter and its purpose in photography is essential for photographers who want to expand their lens options. A T-mount adapter is a device that allows you to attach lenses with different mounts to your camera body. It consists of two parts: the T-mount itself, which is a standardized thread, and the specific lens mount that connects to the camera body.
To use a T-mount adapter, you first need to attach the T-mount to your camera body. This involves removing the existing lens and aligning the T-mount with the camera's lens mount. Once securely attached, you can then connect the desired lens to the T-mount adapter. The lens should have a compatible mount with the T-mount adapter, such as Canon EF, Nikon F, or Sony E-mount.
Using a T-mount adapter opens up a world of possibilities for photographers. It allows you to use lenses from different manufacturers, vintage lenses, or even specialty lenses that may not have a direct mount for your camera. This versatility can greatly enhance your creative options and enable you to capture unique images.
It is important to note that when using a T-mount adapter, some functionalities may be limited. Autofocus, electronic aperture control, and image stabilization may not work, depending on the specific lens and camera combination. Manual focusing and aperture control are typically required when using a T-mount adapter.
In conclusion, understanding how to use a T-mount adapter is crucial for photographers looking to expand their lens options. It provides the flexibility to use lenses with different mounts, opening up new creative possibilities. However, it is important to be aware of the limitations and be prepared to manually control certain functions when using a T-mount adapter.
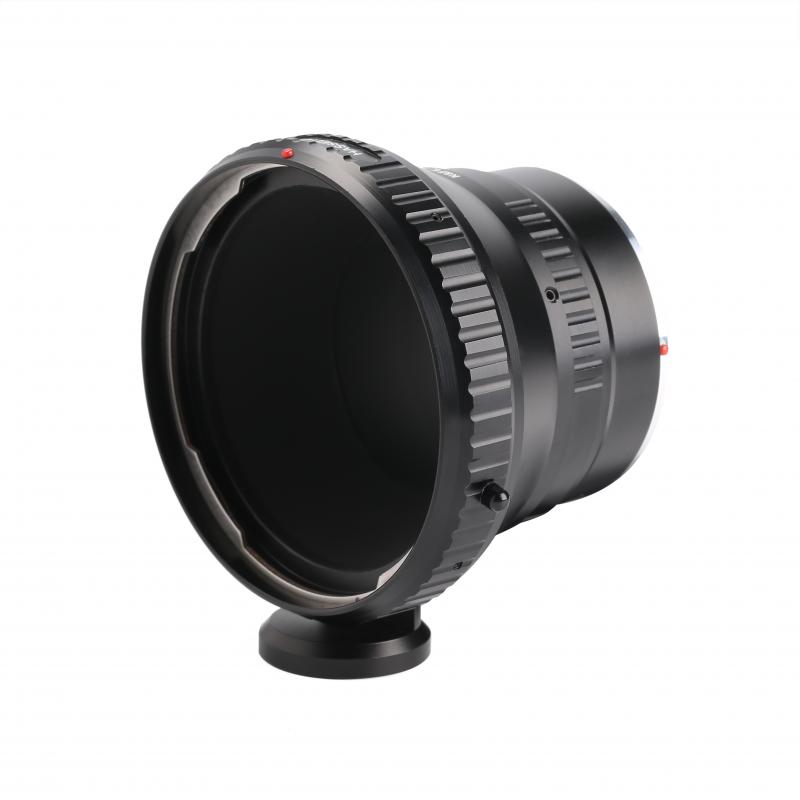
2、 Steps to attach a T-mount adapter to your camera.
Steps to attach a T-mount adapter to your camera:
1. Identify the type of T-mount adapter you need for your camera. T-mount adapters are available for various camera brands, so ensure you choose the correct one.
2. Remove the lens from your camera by pressing the lens release button and twisting the lens counterclockwise. Set the lens aside in a safe place.
3. Take the T-mount adapter and align it with the camera's lens mount. The adapter should have a series of notches or grooves that match the camera's lens mount. Carefully slide the adapter onto the lens mount, ensuring a secure fit.
4. Once the adapter is in place, rotate it clockwise until it locks into position. You may hear a click or feel a slight resistance when the adapter is fully attached.
5. Now, you can attach the lens to the T-mount adapter. Line up the lens with the adapter's opening and rotate it clockwise until it locks into place. Again, you may hear a click or feel a slight resistance when the lens is securely attached.
6. Double-check that the T-mount adapter and lens are firmly attached to the camera. Give them a gentle tug to ensure they are secure.
7. Your camera is now ready to use with the T-mount adapter. Turn on the camera and adjust the settings as desired. You can now start capturing images using the lens attached via the T-mount adapter.
It's worth noting that T-mount adapters allow you to use lenses from different camera systems on your camera. This versatility can be particularly useful if you have lenses from older or discontinued camera brands that you still want to use. However, keep in mind that using a T-mount adapter may result in some limitations, such as manual focus and exposure control.
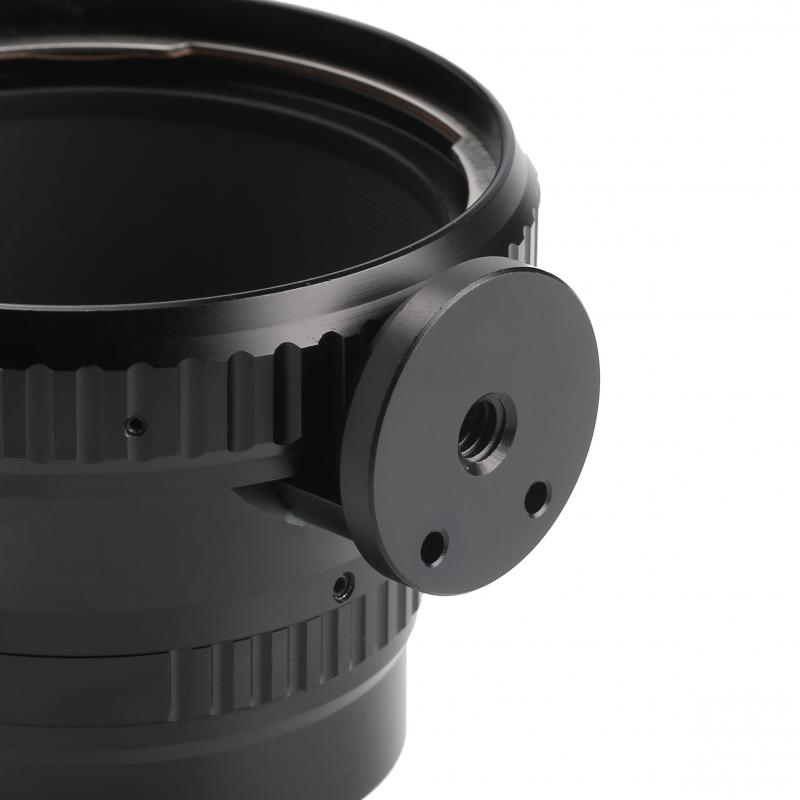
3、 Choosing the right T-mount adapter for your specific camera model.
Choosing the right T-mount adapter for your specific camera model is essential to ensure compatibility and optimal performance. T-mount adapters are used to connect lenses with different mounts to your camera body, allowing you to use a wide range of lenses on your camera.
To use a T-mount adapter, follow these steps:
1. Determine the lens mount type: Identify the mount type of the lens you want to use. Common mount types include Canon EF, Nikon F, Sony E, and Micro Four Thirds.
2. Research compatible T-mount adapters: Look for T-mount adapters that are specifically designed for your camera model and lens mount type. Check for compatibility with your camera's autofocus and exposure functions.
3. Purchase the adapter: Once you have identified the right T-mount adapter, purchase it from a reputable retailer or manufacturer.
4. Attach the adapter to your camera: Remove the lens from your camera body and attach the T-mount adapter in its place. Ensure that the adapter is securely attached.
5. Mount the lens: Attach the lens you want to use to the T-mount adapter. Make sure it is properly aligned and securely mounted.
6. Adjust camera settings: Depending on your camera model, you may need to manually adjust certain settings such as aperture, focus, and exposure when using a T-mount adapter. Consult your camera's manual for specific instructions.
7. Test and adjust: Take test shots to ensure that the lens is functioning correctly with the T-mount adapter. Make any necessary adjustments to achieve the desired results.
It is important to note that the latest point of view regarding T-mount adapters is that they offer a cost-effective solution for photographers who want to expand their lens options without investing in new lenses. T-mount adapters allow photographers to use vintage or third-party lenses on their modern camera bodies, providing a unique creative opportunity. However, it is important to research and choose a high-quality adapter to ensure proper functionality and avoid any potential compatibility issues.
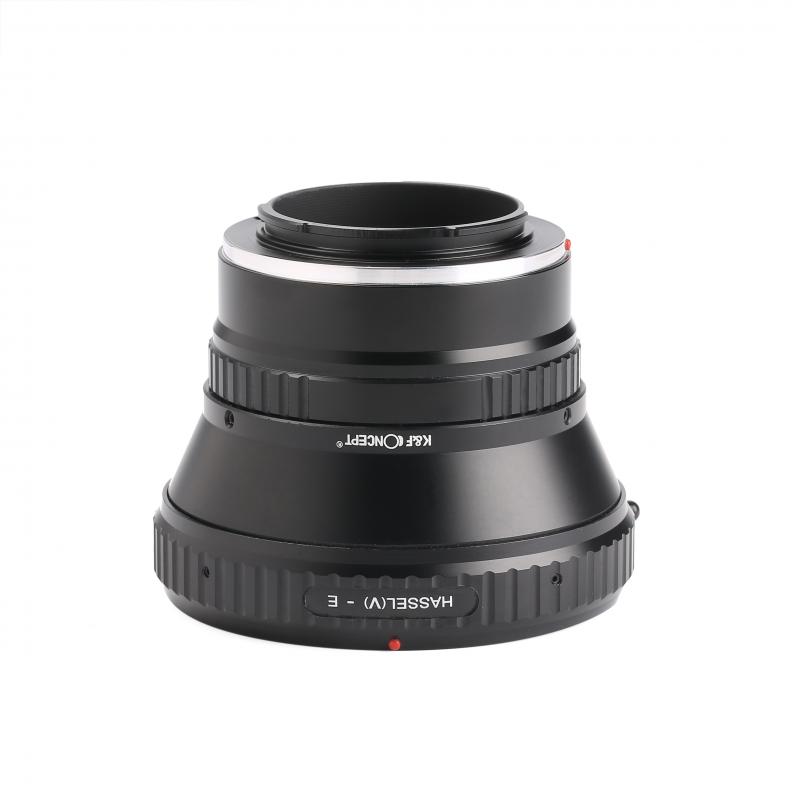
4、 Adjusting camera settings when using a T-mount adapter.
When using a T-mount adapter, it is important to adjust your camera settings to ensure optimal performance and image quality. Here is a step-by-step guide on how to do so:
1. Mount the T-mount adapter onto your camera body. Ensure it is securely attached.
2. Attach the T-mount lens onto the adapter. Make sure it is properly aligned and tightened.
3. Set your camera to manual mode. This allows you to have full control over the exposure settings.
4. Adjust the aperture setting on the lens. Most T-mount lenses have a manual aperture ring that you can rotate to select the desired aperture value. Alternatively, some T-mount lenses have a preset aperture, which requires you to set the desired aperture value on the camera body itself.
5. Set the focus manually. T-mount lenses do not have autofocus capabilities, so you will need to adjust the focus ring on the lens to achieve sharp focus. Utilize the camera's focus assist features, such as focus peaking or magnification, to help you achieve accurate focus.
6. Select the appropriate ISO setting. Depending on the lighting conditions, you may need to adjust the ISO to ensure proper exposure. Keep in mind that higher ISO values can introduce more noise in the image.
7. Adjust the shutter speed. Use the camera's light meter or histogram to determine the correct exposure. Experiment with different shutter speeds to achieve the desired effect, whether it's freezing motion or creating motion blur.
8. Take test shots and review the results. Check the images on your camera's LCD screen to ensure proper exposure and focus. Make any necessary adjustments to the settings if needed.
It's important to note that the specific steps may vary slightly depending on the camera model and T-mount lens you are using. Always refer to the camera and lens manuals for detailed instructions.
In conclusion, adjusting camera settings when using a T-mount adapter involves setting the camera to manual mode, adjusting the aperture, focusing manually, selecting the appropriate ISO, and adjusting the shutter speed. By following these steps, you can maximize the performance and image quality when using a T-mount adapter.
