How To Use Wireless Microphone Type C ?
To use a wireless microphone with a Type C connector, follow these steps:
1. Ensure that your wireless microphone is compatible with Type C connectors. Check the product specifications or consult the user manual for confirmation.
2. Connect the wireless receiver to your audio device or sound system using a Type C to 3.5mm audio adapter or cable, if necessary. Some wireless microphone systems may have a built-in Type C output that can directly connect to compatible devices.
3. Power on the wireless microphone and the receiver. Make sure they are both properly charged or have fresh batteries.
4. Pair the wireless microphone with the receiver according to the manufacturer's instructions. This usually involves pressing a pairing button on both devices and waiting for them to establish a connection.
5. Adjust the volume levels on the receiver and the audio device to ensure optimal sound quality.
6. Test the wireless microphone by speaking or singing into it while monitoring the audio output. Make any necessary adjustments to the microphone's position or settings to achieve the desired sound.
Remember to consult the specific instructions provided by the manufacturer of your wireless microphone system for detailed guidance on setup and usage.
1、 Understanding the basics of wireless microphone technology
Understanding the basics of wireless microphone technology is essential before learning how to use a wireless microphone type C. Wireless microphones have become increasingly popular in recent years due to their convenience and flexibility. They allow performers, presenters, and speakers to move freely without being restricted by cables.
To use a wireless microphone type C, follow these steps:
1. Check compatibility: Ensure that your device supports USB Type C connectivity. Most modern smartphones, tablets, and laptops have this feature.
2. Charge the microphone: Before using the wireless microphone, make sure it is fully charged. Connect it to a power source using the provided USB Type C cable and allow it to charge for the recommended time.
3. Pairing: Turn on the wireless microphone and put it in pairing mode. On your device, go to the Bluetooth settings and search for available devices. Select the wireless microphone from the list and pair it with your device.
4. Adjust settings: Once paired, you may need to adjust the microphone settings on your device. This includes selecting the microphone as the audio input source and adjusting the volume levels.
5. Test and use: Before using the wireless microphone in a live setting, it is advisable to test it in a controlled environment. Check the audio quality, range, and any additional features the microphone may have.
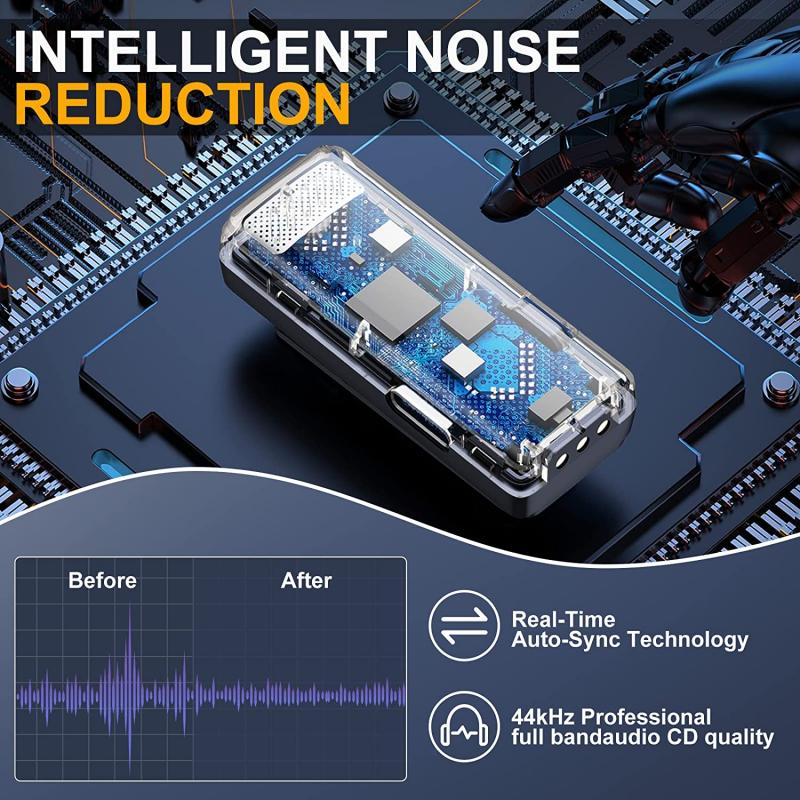
It is important to stay updated with the latest advancements in wireless microphone technology. Manufacturers are constantly improving the range, battery life, and audio quality of wireless microphones. Additionally, some wireless microphones now offer advanced features such as noise cancellation, multiple channel options, and compatibility with virtual assistants like Siri or Google Assistant.
In conclusion, understanding the basics of wireless microphone technology is crucial for using a wireless microphone type C effectively. By following the steps mentioned above and staying informed about the latest advancements, you can make the most out of your wireless microphone experience.
2、 Choosing the right wireless microphone for Type C devices
Choosing the right wireless microphone for Type C devices can greatly enhance your audio recording experience. With the increasing popularity of Type C devices, it is important to ensure compatibility and functionality when selecting a wireless microphone. Here's a guide on how to use a wireless microphone with Type C devices:
1. Compatibility: Ensure that the wireless microphone you choose is compatible with Type C devices. Look for models that explicitly mention Type C compatibility in their specifications.
2. Connection: Connect the wireless receiver to your Type C device using a Type C to 3.5mm adapter or a Type C to 3.5mm cable. Make sure the connection is secure to avoid any audio disruptions.
3. Power: Some wireless microphones require batteries or charging. Ensure that the microphone is powered up before use. If it is rechargeable, connect it to a power source using a Type C cable.
4. Pairing: Follow the manufacturer's instructions to pair the wireless microphone with your Type C device. This usually involves turning on the microphone and the receiver, and pressing a pairing button or following a specific sequence.
5. Adjustments: Once the wireless microphone is connected and paired, adjust the audio levels on your Type C device to ensure optimal sound quality. You may need to adjust the microphone's volume or sensitivity settings as well.
6. Testing: Before recording, test the wireless microphone to ensure it is functioning properly. Speak into the microphone and listen for clear and crisp audio through your Type C device's speakers or headphones.
It is important to note that technology is constantly evolving, and new advancements in wireless microphone technology may bring about changes in the way they are used with Type C devices. Therefore, it is always recommended to refer to the manufacturer's instructions and stay updated with the latest developments in wireless microphone compatibility and usage.

3、 Connecting a wireless microphone to a Type C device
To connect a wireless microphone to a Type C device, you will need a few additional accessories and follow these steps:
1. Check compatibility: Ensure that your wireless microphone system is compatible with Type C devices. Most wireless microphone systems come with a receiver that has a 3.5mm audio output. To connect it to a Type C device, you will need a Type C to 3.5mm adapter.
2. Purchase a Type C to 3.5mm adapter: Look for a high-quality adapter that supports audio input. It is recommended to choose an adapter that has a built-in digital-to-analog converter (DAC) for better sound quality.
3. Connect the wireless microphone receiver: Plug the 3.5mm audio output of the wireless microphone receiver into the Type C to 3.5mm adapter.
4. Connect the adapter to the Type C port: Insert the Type C end of the adapter into the Type C port of your device. Ensure a secure connection.
5. Adjust audio settings: Once connected, go to your device's audio settings and select the Type C as the audio input source. You may need to adjust the microphone gain or volume levels to achieve optimal sound quality.
It's important to note that some Type C devices may not support analog audio input through the Type C port. In such cases, you may need to consider using a USB audio interface that supports Type C connectivity.
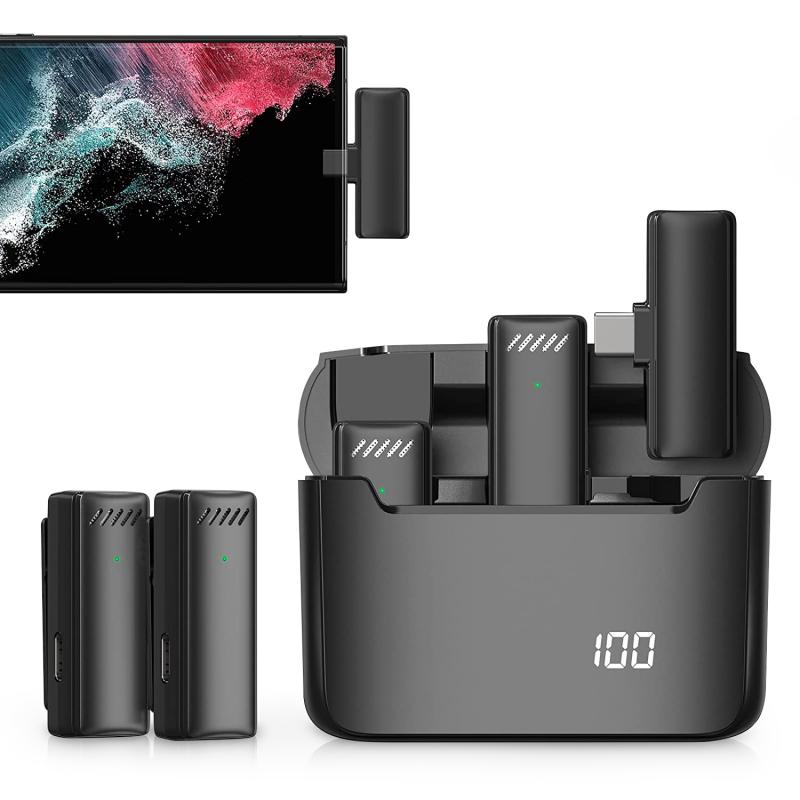
As technology evolves, wireless microphone systems are also adapting to the changing landscape. Some newer wireless microphone models are designed specifically for Type C devices, eliminating the need for adapters. These models come with a Type C connector, allowing for a direct connection without any additional accessories.
4、 Adjusting settings and troubleshooting wireless microphone issues
To use a wireless microphone with a Type C connector, follow these steps:
1. Check compatibility: Ensure that your wireless microphone is compatible with devices that have a Type C connector. Some microphones may require an adapter to connect to Type C ports.
2. Connect the microphone: Plug the wireless microphone into the Type C port on your device. Make sure it is securely connected.
3. Adjust settings: Open the audio settings on your device and select the wireless microphone as the input source. You may need to navigate to the sound settings or audio preferences to make this selection.
4. Test the microphone: Speak into the microphone and check if the audio is being picked up by your device. Adjust the microphone's volume if necessary.
5. Troubleshooting: If you encounter any issues, try the following troubleshooting steps:
- Ensure the microphone is charged or has fresh batteries.
- Check if the microphone is within range of the receiver or transmitter.
- Verify that the microphone and receiver are on the same frequency or channel.
- Restart your device and reconnect the microphone.
- Update the firmware or drivers for the microphone if available.
It's important to note that the latest point of view on wireless microphones with Type C connectors is that they offer a more convenient and versatile option for connecting to modern devices. Type C connectors are becoming increasingly common on smartphones, tablets, and laptops, making it easier to use wireless microphones without the need for additional adapters. Additionally, Type C connectors often provide faster data transfer speeds and improved audio quality compared to older connector types.













There are no comments for this blog.