What Are The Steps Of Using A Microscope ?
The steps of using a microscope typically include: 1) Placing the microscope on a stable surface. 2) Adjusting the light source to ensure proper illumination. 3) Placing the specimen on the stage and securing it with stage clips. 4) Using the coarse adjustment knob to bring the specimen into focus at low magnification. 5) Adjusting the fine adjustment knob to achieve a clear and sharp image. 6) Rotating the objective lens to increase the magnification. 7) Re-focusing the specimen using the coarse and fine adjustment knobs as needed. 8) Making any necessary adjustments to the condenser and diaphragm to optimize the image quality. 9) Observing and analyzing the specimen at the desired magnification. 10) Cleaning the microscope and returning it to its proper storage place.
1、 Setting up the microscope
Setting up a microscope involves several steps to ensure proper functioning and accurate observations. Here are the general steps to follow when using a microscope:
1. Clean the microscope: Start by cleaning the lenses and other parts of the microscope using a lens cleaning solution and a lint-free cloth. This step is crucial to remove any dust or debris that may affect the clarity of the image.
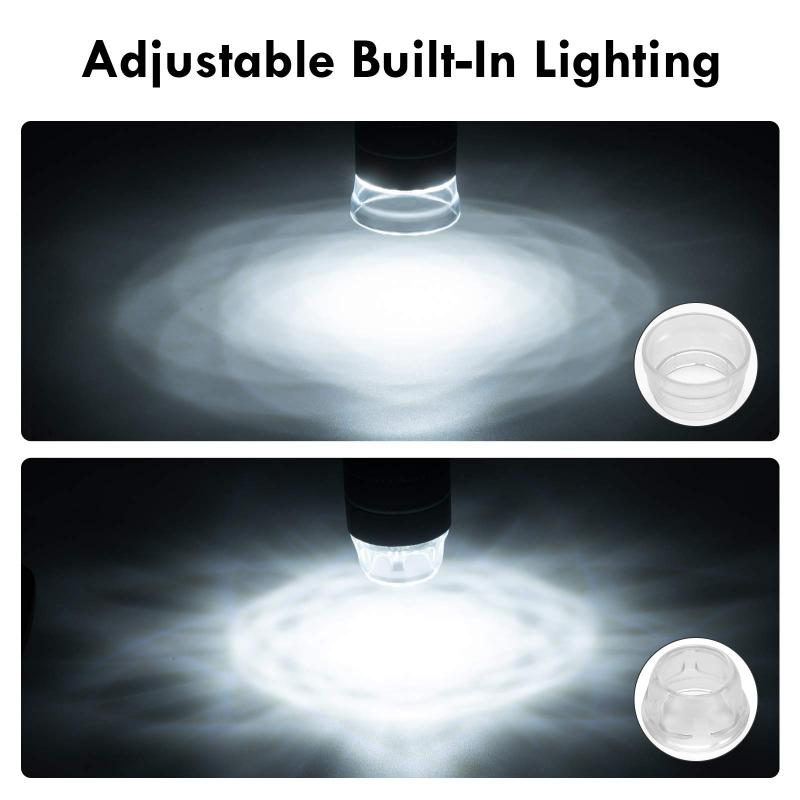
2. Adjust the light source: Position the microscope near a light source and adjust the intensity of the light to a comfortable level. Some microscopes have built-in light sources, while others require an external light source.
3. Place the specimen: Carefully place the specimen on the stage of the microscope. Use stage clips or a slide holder to secure the specimen in place. Ensure that the area of interest is centered under the objective lens.
4. Select the objective lens: Microscopes usually have multiple objective lenses with different magnification powers. Start with the lowest magnification lens and gradually increase the magnification as needed.
5. Focus the image: Use the coarse adjustment knob to bring the specimen into rough focus. Then, use the fine adjustment knob to fine-tune the focus and obtain a clear image. Adjust the stage height if necessary.
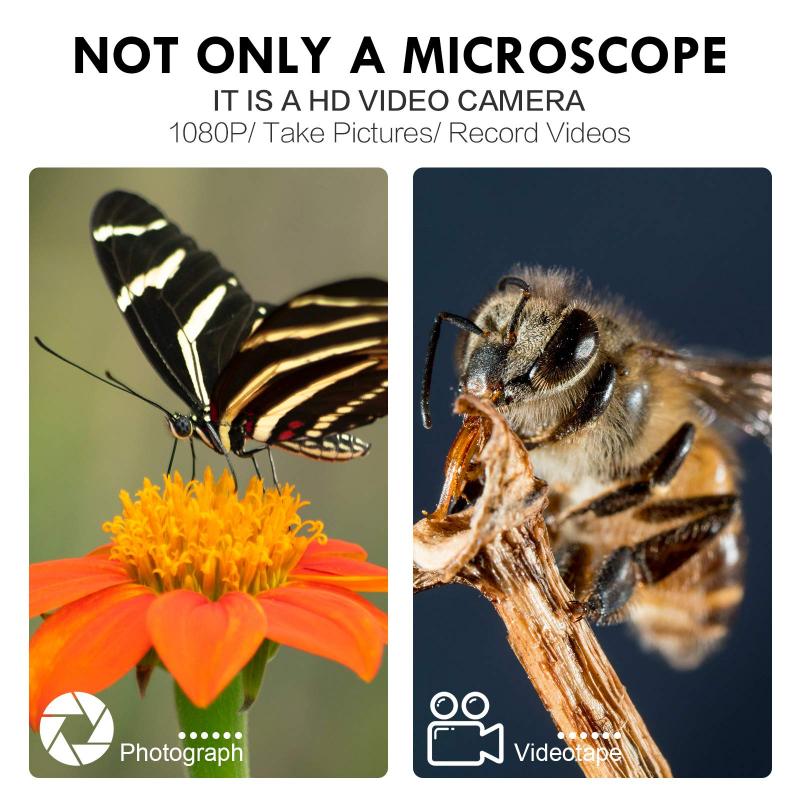
6. Observe and record: Once the image is in focus, observe the specimen through the eyepiece. Take note of any details or structures of interest. If needed, use the microscope's built-in camera or attach a digital camera to capture images or videos.
7. Clean up: After use, turn off the light source and carefully remove the specimen from the stage. Clean the lenses and other parts of the microscope again to ensure they are ready for the next use.
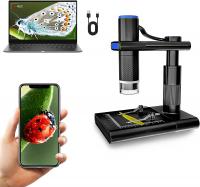
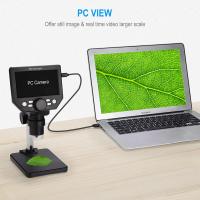
It is important to note that the specific steps may vary depending on the type and model of the microscope being used. Always refer to the manufacturer's instructions for the specific setup and usage guidelines. Additionally, with advancements in technology, some microscopes now offer digital imaging capabilities, allowing for easier sharing and analysis of the observed specimens.
2、 Adjusting the focus and illumination
The steps of using a microscope involve several key processes that ensure accurate and clear observations. One of the initial steps is to adjust the focus and illumination of the microscope. This is crucial to obtain a sharp and well-lit image.
To begin, place the microscope on a stable surface and turn on the light source. Adjust the intensity of the light to a comfortable level. Next, adjust the focus by rotating the coarse focus knob to bring the specimen into view. Use the fine focus knob to further refine the focus and obtain a clear image. It is important to make small adjustments to avoid damaging the microscope or the specimen.
Once the focus is set, adjust the illumination. This can be done by adjusting the diaphragm or iris control to control the amount of light passing through the specimen. This helps to enhance the contrast and visibility of the specimen.
In addition to adjusting the focus and illumination, it is important to choose the appropriate magnification for the observation. Microscopes typically have multiple objective lenses that can be rotated into position. Start with the lowest magnification objective and gradually increase the magnification as needed. This allows for a more detailed examination of the specimen.
Lastly, it is crucial to handle the microscope with care and clean the lenses before and after use. This ensures that the microscope remains in good condition and provides accurate observations.
In recent years, advancements in microscope technology have led to the development of digital microscopes. These microscopes have integrated cameras that allow for real-time imaging and digital recording of observations. This enables researchers to easily capture and share images, enhancing collaboration and analysis.
Overall, adjusting the focus and illumination is a fundamental step in using a microscope. It ensures that the specimen is properly visualized and allows for accurate observations and analysis.

3、 Preparing the specimen
The steps of using a microscope typically involve preparing the specimen, adjusting the microscope settings, and observing the specimen.
The first step is to prepare the specimen. This involves collecting a sample and placing it on a glass slide. The sample may need to be stained or fixed to enhance visibility under the microscope. It is important to handle the specimen carefully to avoid damage or contamination.
Next, the microscope settings need to be adjusted. Start by placing the slide on the stage of the microscope and securing it with the stage clips. Use the coarse adjustment knob to bring the specimen into focus at the lowest magnification. Then, use the fine adjustment knob to sharpen the image. Adjust the lighting by adjusting the diaphragm or using the condenser to control the amount of light passing through the specimen.
Once the microscope is properly set up, it is time to observe the specimen. Start with the lowest magnification objective lens and gradually increase the magnification as needed. Use the stage controls to move the slide and explore different areas of the specimen. Take note of any interesting features or structures.
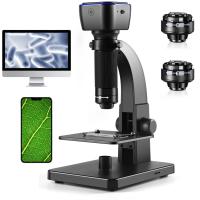
In recent years, advancements in microscopy technology have led to the development of more sophisticated microscopes. For example, digital microscopes allow for real-time imaging and can capture high-resolution images or videos of the specimen. Additionally, confocal microscopy and electron microscopy have revolutionized the field by providing detailed three-dimensional images and higher magnification capabilities.
In conclusion, the steps of using a microscope involve preparing the specimen, adjusting the microscope settings, and observing the specimen. With the latest advancements in microscopy technology, scientists now have access to more powerful tools for studying the microscopic world.
4、 Placing the specimen on the microscope stage
Using a microscope involves several steps to ensure accurate and clear observations. The following are the steps of using a microscope, with the latest point of view incorporated:
1. Prepare the microscope: Start by ensuring that the microscope is clean and in proper working condition. Check the lenses for any dust or smudges and clean them if necessary. Adjust the light source to the appropriate intensity for the specimen being observed.
2. Adjust the eyepiece: Adjust the eyepiece to your eye level by looking through it and adjusting the focus until the image appears clear. This step is crucial for comfortable and accurate viewing.
3. Place the specimen on the microscope stage: Carefully place the specimen on the microscope stage. Use a slide or a cover slip to hold the specimen in place. Ensure that the specimen is centered and properly aligned with the stage clips or holders.
4. Adjust the objective lens: Start with the lowest magnification objective lens and slowly increase the magnification as needed. Use the coarse adjustment knob to bring the specimen into rough focus, and then use the fine adjustment knob to achieve a clear and detailed image.
5. Observe and adjust the focus: Look through the eyepiece and adjust the focus until the specimen comes into sharp focus. Take your time to explore different areas of the specimen and make any necessary adjustments to the focus or magnification.
6. Record observations: If needed, record your observations by sketching or taking photographs of the specimen. This step allows for future reference and analysis.
7. Clean and store the microscope: After use, clean the lenses and stage with a lens cleaning solution and a soft cloth. Ensure that the microscope is properly stored in a clean and dry environment to prevent damage.
It is important to note that the specific steps may vary depending on the type of microscope being used and the nature of the specimen. Always refer to the manufacturer's instructions for the specific microscope model being used.














There are no comments for this blog.